I have been working on a new project and I thought I would post a tutorial here for everyone. I know I have been blog absent lately, but it was a very busy winter!! We are still homeschooling, but I also have a work from home job now. This is one of the things what led to me having to close down the shop unfortunately. As much as I would like to be able to do it all, it’s just not possible. I have some ideas in the works for other projects, but for now I am happy to just be quilting again!! You should be seeing me around these parts a lot more for a while. Hope that’s okay with everyone!!
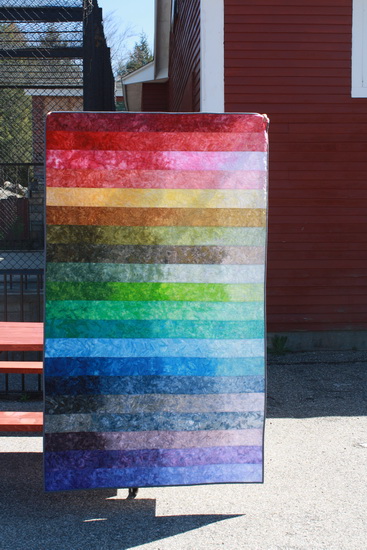
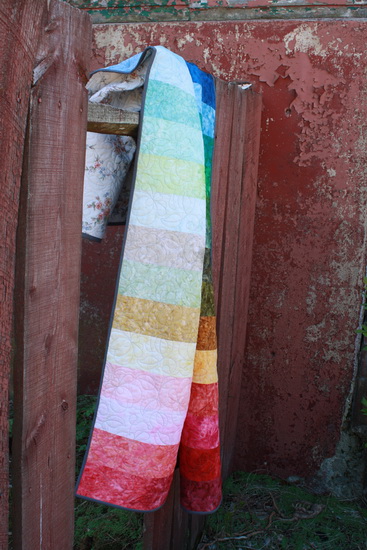
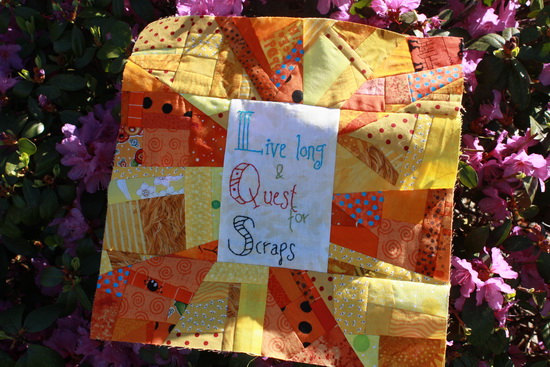
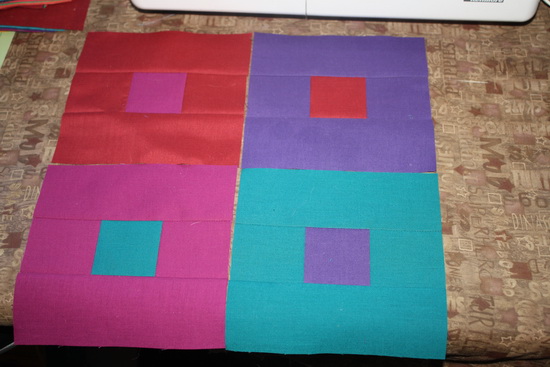
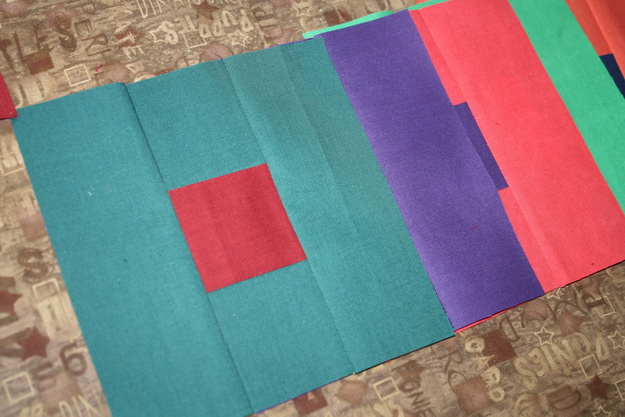
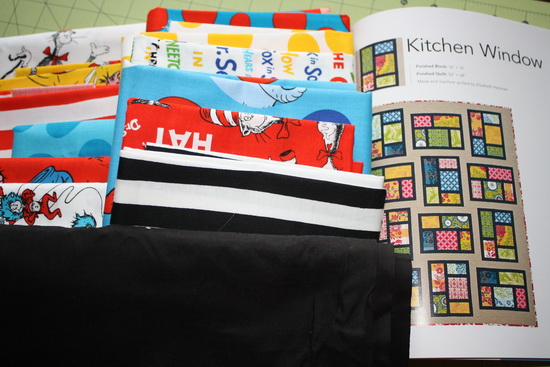
I will explain a bit more about this project in another post, but I saw a lovely quilt from Red Pepper Quilts, and I knew I had to make it (that link will take you to the quilt). I didn’t see a tutorial on her blog for this, but it really is a rather old block anyway. I was able to figure it out pretty quickly. I decided to share my steps here so others may have as much fun as me!! Here is the block we will end up with today:

These blocks are not difficult per say, but they can be time consuming. There is a lot of fussy cutting and fussy placement involved to get everything to line up. You will see in my inspiration quilt, that she didn’t always care as much if everything was perfectly lined up, but I am a little bit of a perfectionist so I am going to try my best to get them to all line up just right!! My instructions are my perfectionist way of doing this block, but please feel free to adapt to your level of perfectionism/speed preference. I would not sit down and make 100 of these blocks in one sitting, I might go insane that way. My plan is to do a few at a time as I am doing other projects to break up the time spent and not feel like I am under a spell. 🙂
Please let me know if you have any questions after reading these, I just made them up real quick as I did one block, so I may have left something out.
Supplies
Starch
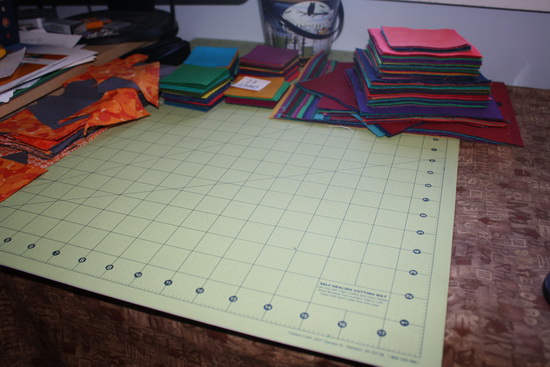
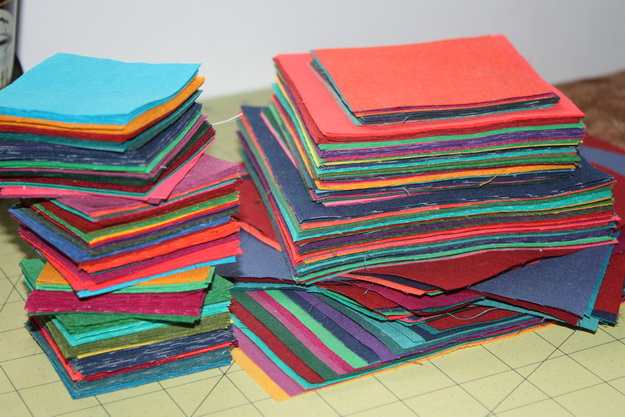
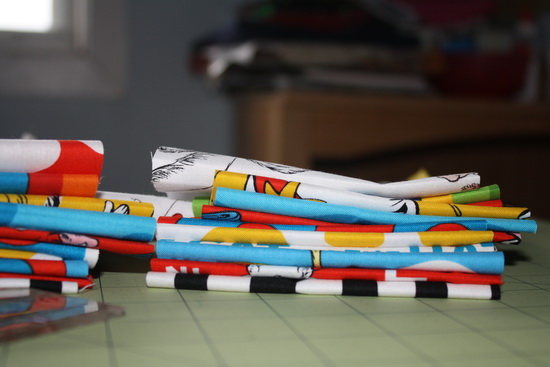
Striped Fabrics
Scissors
Ruler with a 45 degree line
Rotary Cutter
Sewing Machine
Iron
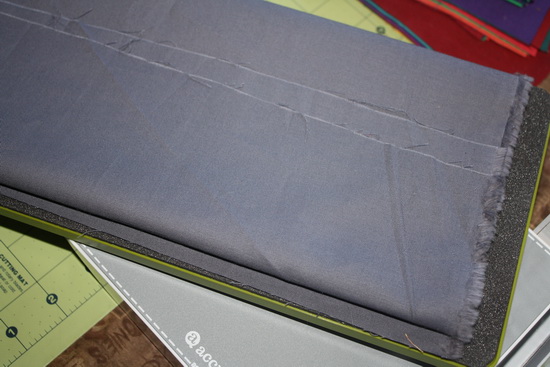
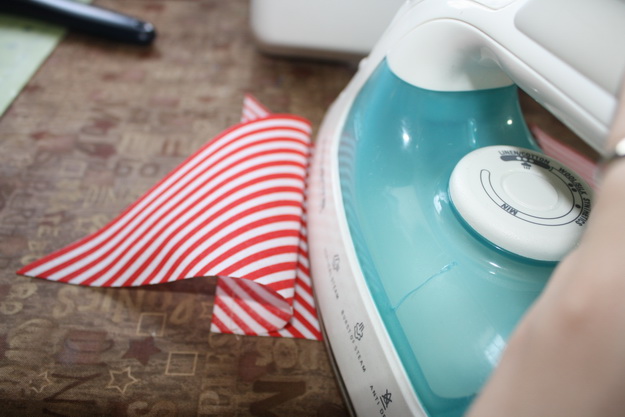
The first thing you want to do when making this block is to starch your fabric. I know many of you do not use starch, and I am sure these would turn out fine without it, but since we are working with bias edges, I prefer to starch my fabric so there is less pull.
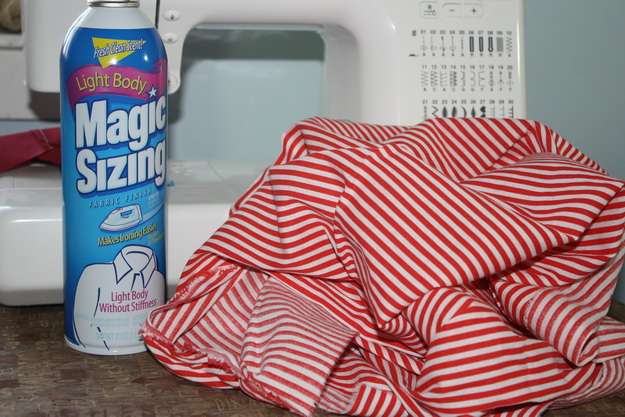
Be sure that you iron the starch really well so the fabric is no longer wet. Wet fabric is floppy fabric and we do not want that here.

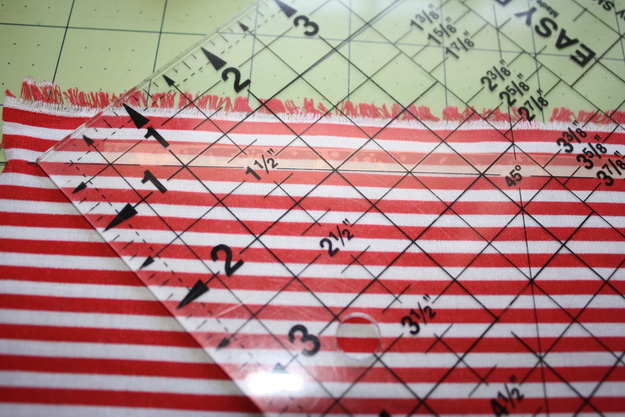
Before we get to cutting the fabric, be sure that you have a ruler with a 45 degree line. You can see in my picture that I have highlighted that line with ruler tape.

This is the line we will be using the most for these blocks, so make sure sure you are familiar with it!! 🙂
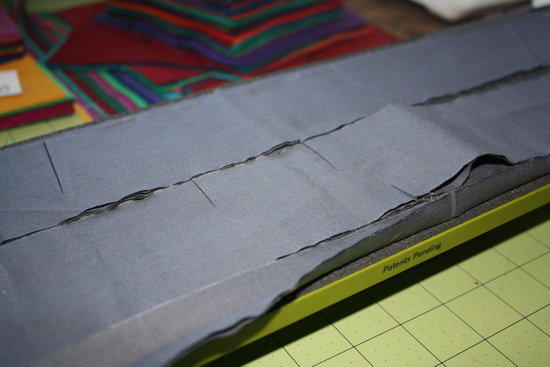
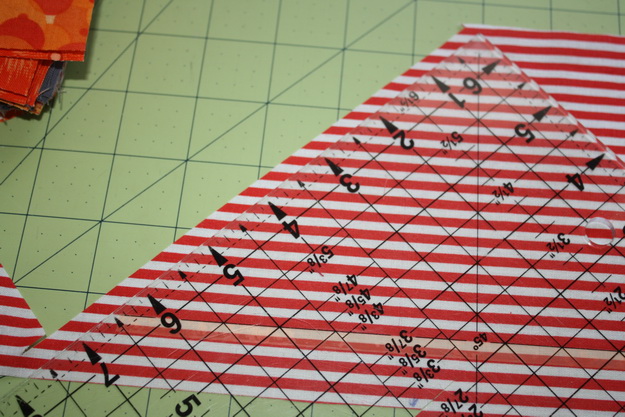
Now take your ruler and place the 45 degree line on the top of one of the stripes. Since the stripes are all the same size in this block, it makes it easier. I will place my 45 at the top of a red stripe for all 4 triangles. If the stripes were different widths, you would want to be sure to always place your line at the top of the same stripe in a new repeat every time. This way your triangle has the same stripes all the way down to the point.

The next part takes a little practice, but with a firm hand you can do it!! Run your rotary cutter up the ruler to just past that 45 degree line. The right side will be easier, the left side takes practice. I use my right hand and just be sure my rotary cutter is against the ruler. It’s awkward, but it works. Your triangle should pull away easily.

You can see in that pic, that my 45 degree line is not the top stripe on that piece, so what I do is mark with an arrow which stripe is my top stripe and then I cut it later. I will use a rotary cutter or scissors, whichever get me a more precise cut. (For this particular block I used scissors).

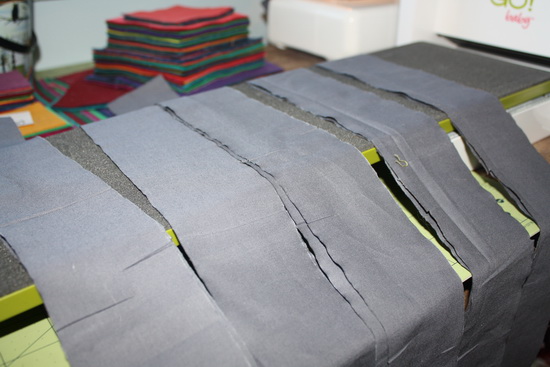
Then you just move your ruler down the fabric to the next line that has no cuts in it and repeat. Since you are farther down the fabric, you won’t be able to just run your rotary cutter right off the fabric, so just mark your top line and cut your triangle out with scissors now.

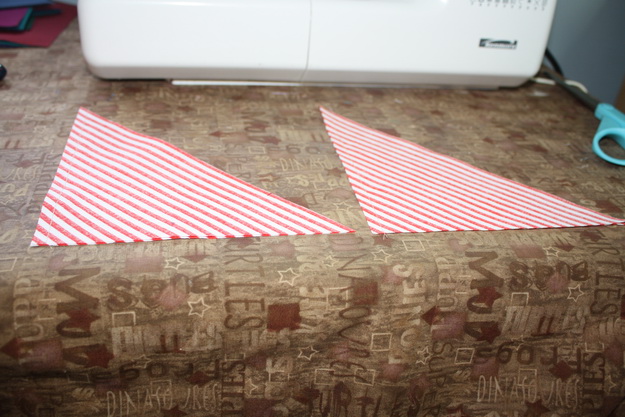
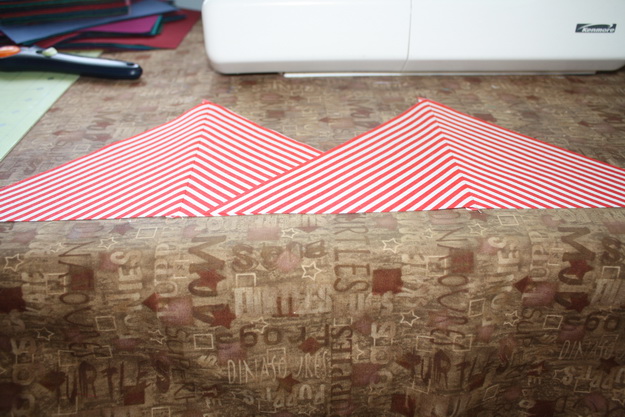
This is what your fabric looks like when 2 triangles are cut.
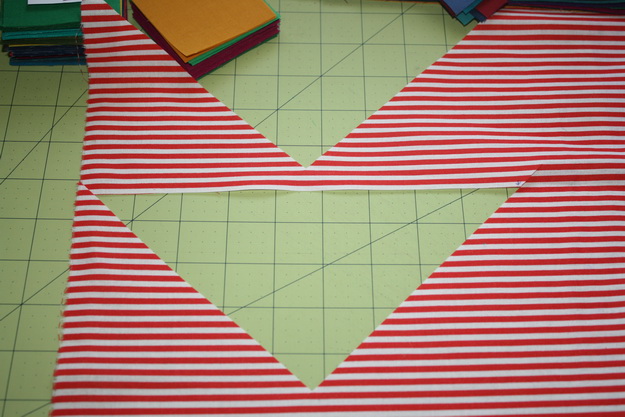
On this fabric I was only able to fit 3 triangles top to bottom, so I moved next to the first triangle I cut. Since my stripes are all the same, I was able to flip my ruler to save fabric, but if my stripes were not all the same, I would not be able to do this.
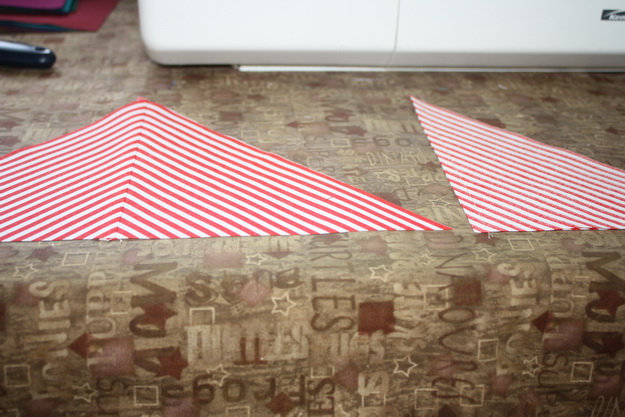
Now you have your 4 triangles cut.

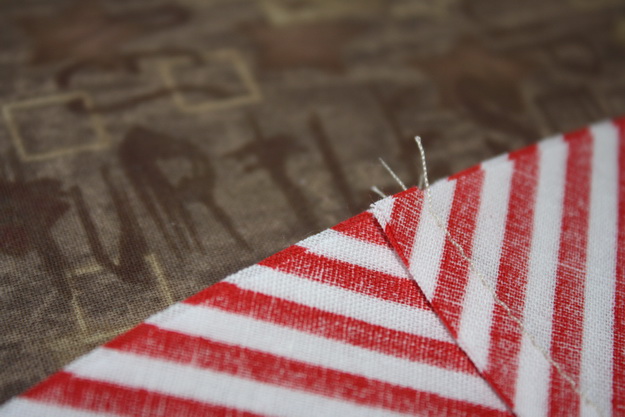
You may notice that your stripes are not exactly even (you can tell by the center points).
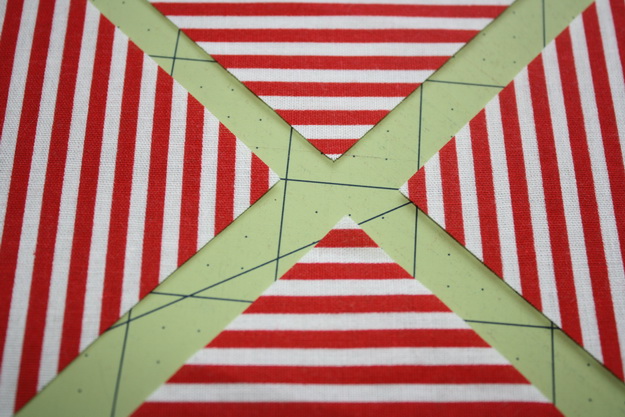
But that is okay, so long as they are pretty close, we are going to do some more fiddling to get them just right.
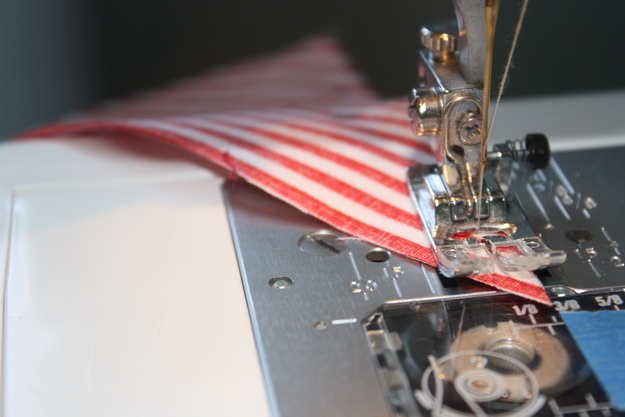
For this block, it’s best if you don’t use a quarter inch foot that has the guard. There may be time where some of your fabric goes over that quarter inch, and you don’t want anything to get caught up. I use my regular old foot and I have a good visual on what is roughly a quarter inch from the top of the foot. You do not need an exact quarter inch for this block as we will be trimming to size at the end anyway.

Place two of the triangles right sides together.

Take one side and push the fabric back or forth until the stripes line up precisely.
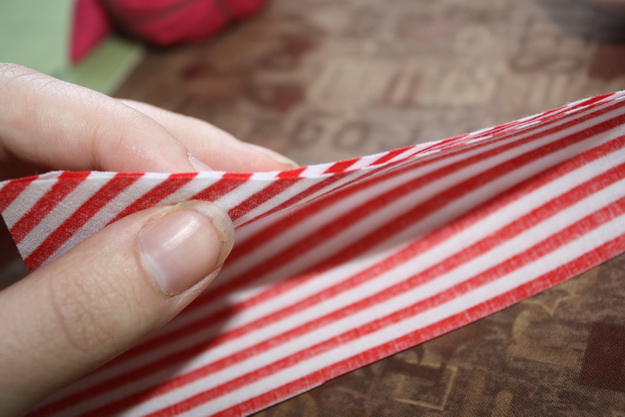
This will cause a slight gap/overlap on the opposite side, but that is okay. This will be on the outside of the block and will get trimmed away when you square up the block. (This pic shows the other side, the side you are going to sew on should be flush)

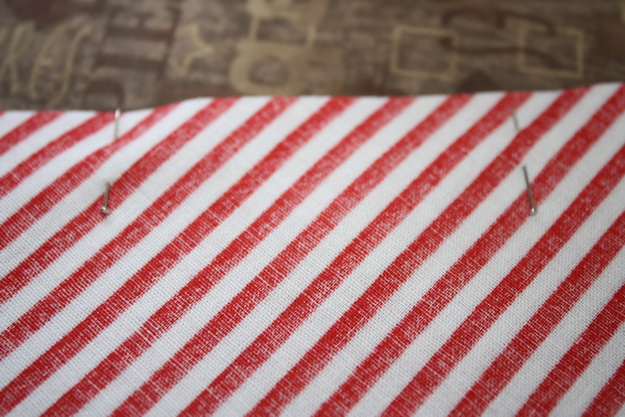
Pin your block on the edge where you lined up the stripes. Be sure not to pin with the stripe, your pins won’t be straight that way!! I do this all the time, so if you find you do, just move them. LOL
Sew the triangles together.
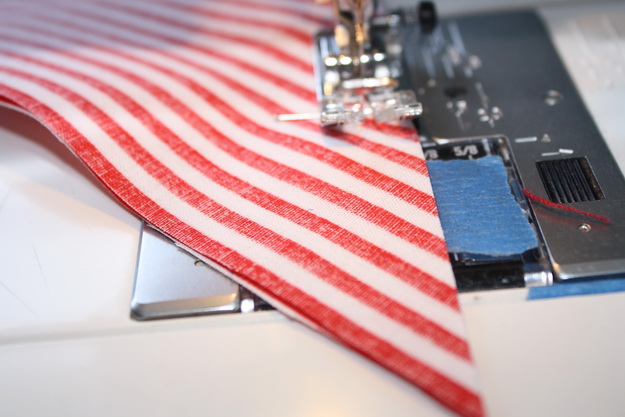
Do the same for the other two triangles and go ahead and chain stitch (run them through the machine without cutting the thread).
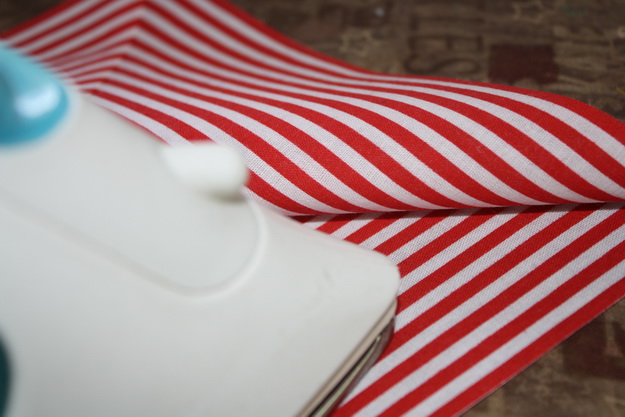
Once they are both sewn, lay them on your ironing board facing the exact same way.
Iron the seams to set them.

Then iron the block open with the seams to one side. I personally would not iron the seams open rather than to one side at this point as it will make your life easier to have those interlocking seams at the next step.
Iron the next side open the same way.
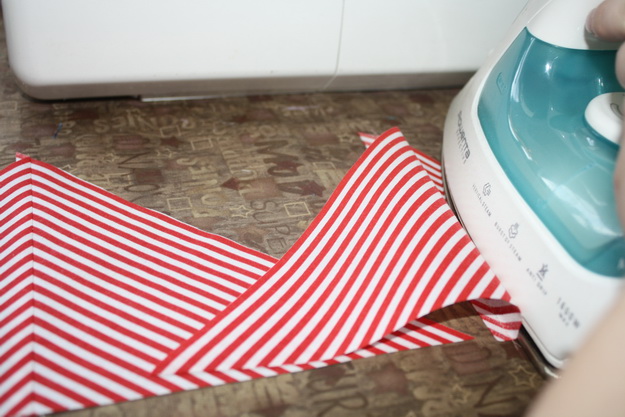
Now you have both sides open.
Place these two right sides together.

You will see that your seams nest together, make sure they are right up against each other.
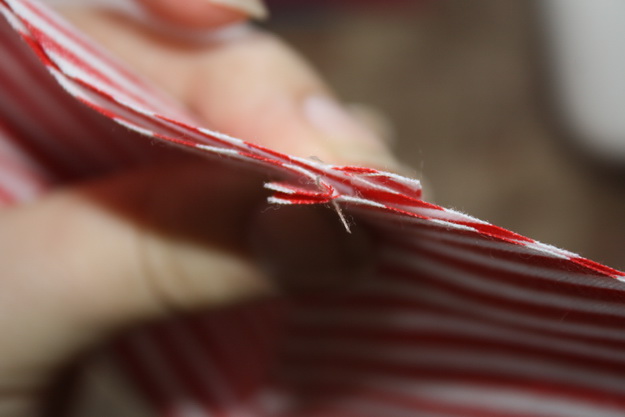
Now here comes the fiddly part. Once again we want to be sure our stripes line up. This may mean that your top edge is slightly off set. You will always keep the middle seam nestled, but slide the top block up and down along that “spine” slightly until your stripes are all lined up. You can see in this image that my blocks are offset by less than 1/8 inch, but my stripes all line up.
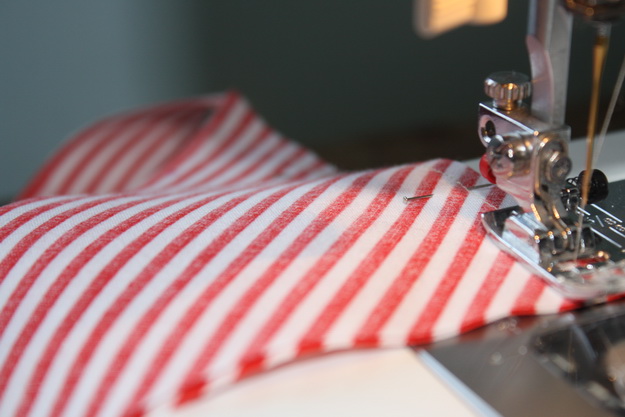
Pin again, and sew. You will sew a quarter inch from the shortest edge, which is why it’s good to have a visual on the top of your foot for where that quarter inch is. Remember though if you are off a bit on your quarter inch, that is perfectly fine, they will be squared up at the end.
Set your seam with an iron.
This seam can be ironed open or to one side, I always do one side anyway, but it won’t make a difference at this point.
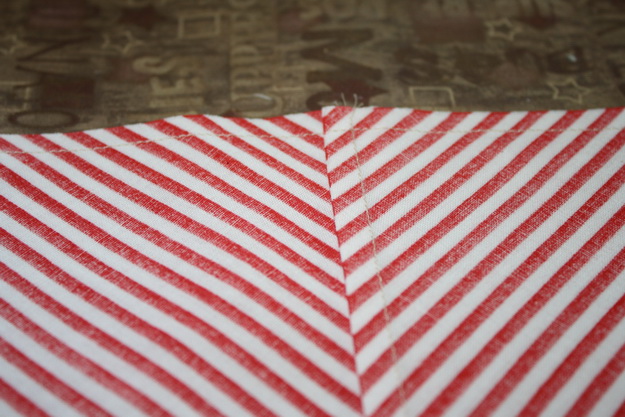
Now stand back and enjoy your handy work.
See how those lovely stripes line up?

Square up your blocks utilizing the 45 degree line on a ruler. (No pics of this sorry!)
I hope this tutorial is useful to someone. If there are any questions, do not hesitate to ask!!
Cheers!
Rachel