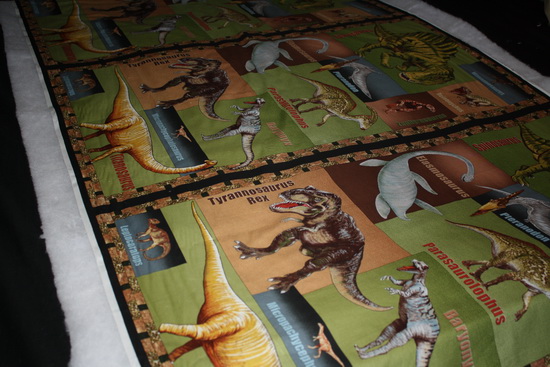
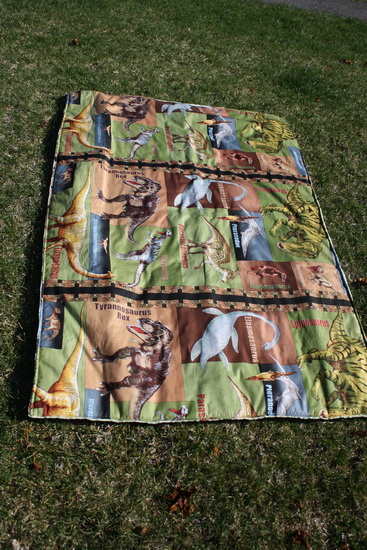
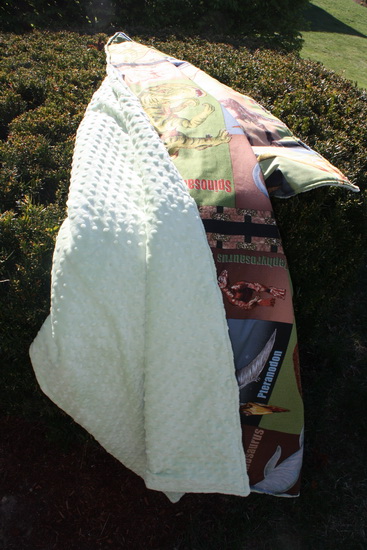
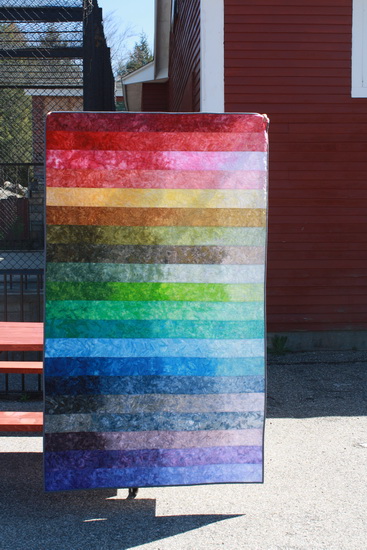
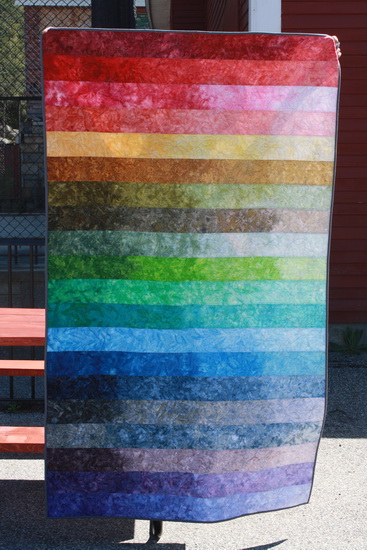
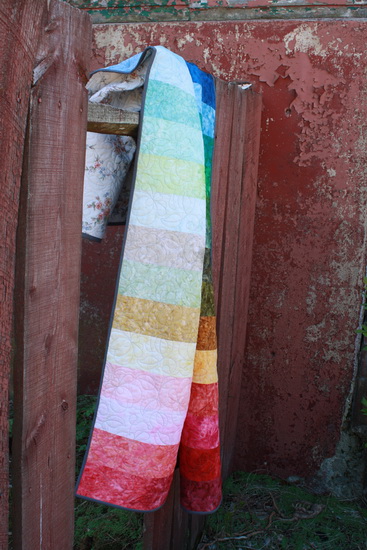
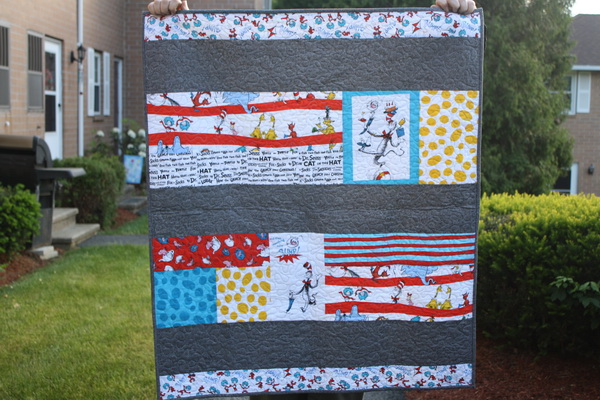
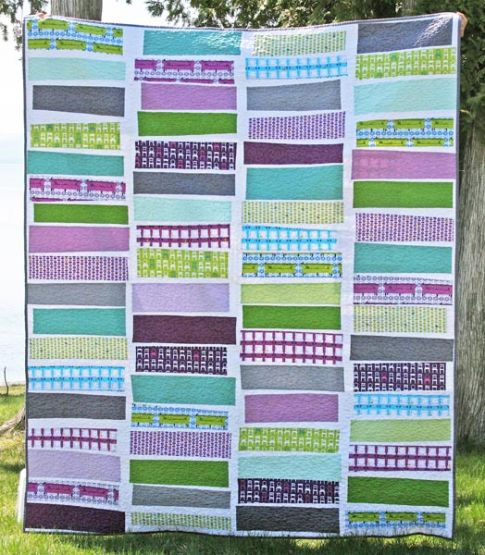
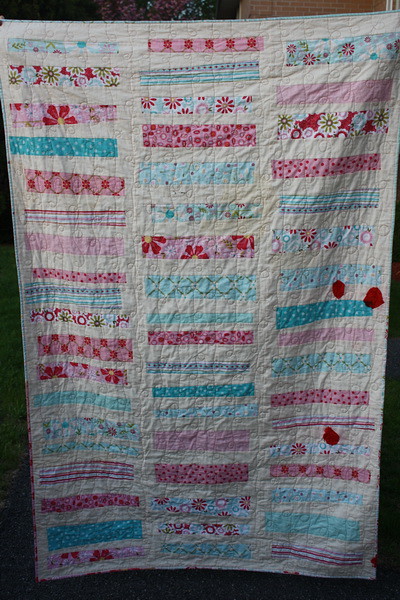
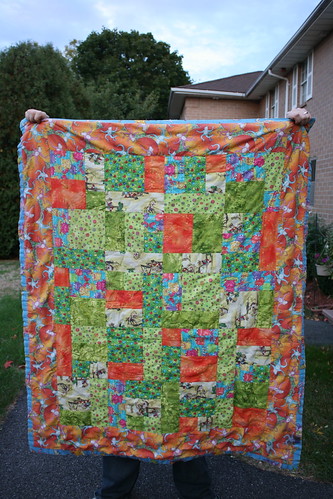
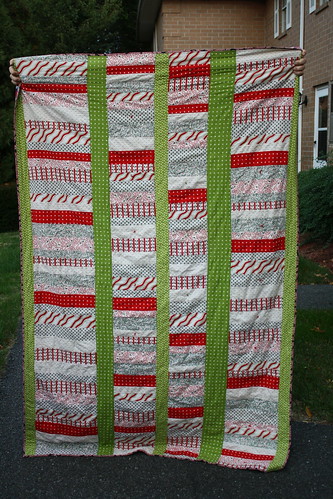
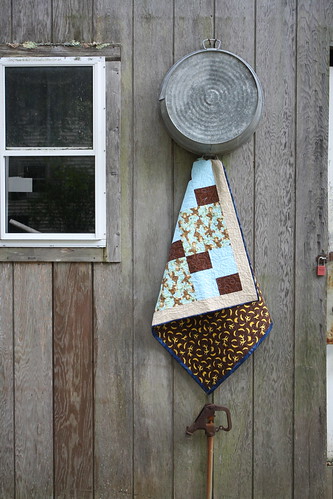
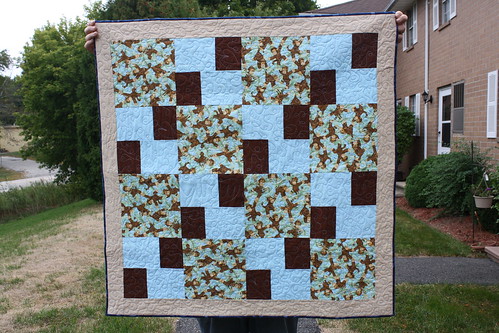
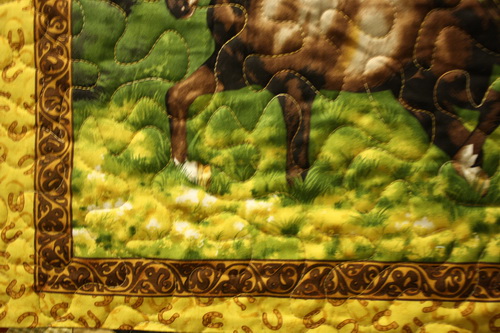
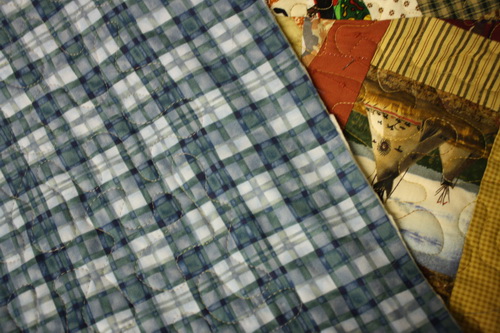
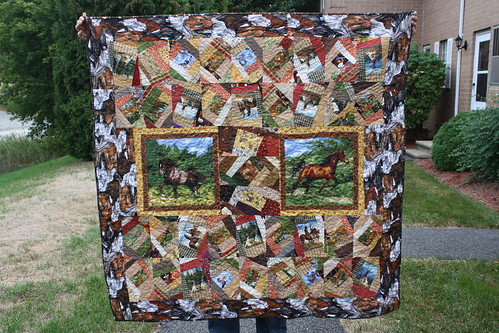
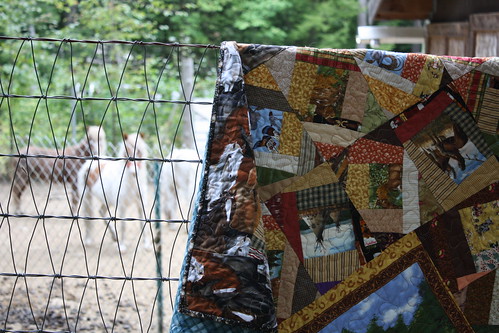
I am not sure if this is considered a pattern or a tutorial, I guess it’s a pattern since it ends with a finished product, but I always feel like when I just blog about it, I should call it a tutorial! Either way, my post about my Scrappy Irish Chain quilt is one of the more popular ones on my blog. I get quite a few Google hits from people looking for this type of quilt. The Original Post does not have an actual tutorial on it, so I thought I would make one up. This gave me a good excuse to test out EQ7 and some pattern writing skills too! My hope is to make some actual patterns to sell using EQ7, but of course first I have to have good practice with it. So you get the benefit of all my practice patterns! Here is the original quilt I made:
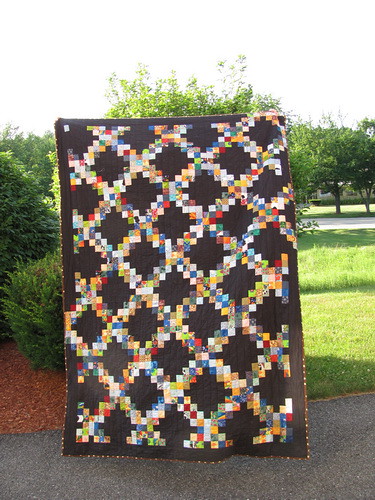
I only had black fabric at the time, but I love how it looks and it’s very different from other Irish Chains I have seen. I really should take the time to get some new pictures of it, but for now, I will just teach you how to make your own!
*One side note, this tutorial will have solid borders, but mine has pieced borders. I couldn’t figure out how put that together in EQ7, so I just stuck with the solid borders. Someday I will figure out how to describe the pieced borders for you.
Tip: When you are making a new pattern, I would highly suggest making a test of each block first to be sure that the instructions are correct before you cut into all your fabric. Pattern writers try their best to make no mistakes, but no one is perfect and it’s best to find out there is a mistake when you have only cut a small amount of fabric than after you cut it all. This also gives you the chance to test the technique and understand how it works before you have to assemble the whole thing.
Materials Needed
Based on fabrics that are 42 inches wide
3 Yards background fabric
3 Yards scrappy fabric
Finished Quilt Size
56.5 inches x 79 inches
Directions
This quilt is made up of 2 blocks.
Block A
Block B
We will be putting these two blocks together to form the whole quilt.
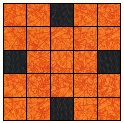
Assembling Block A
We will be making 35 of these blocks. Cut 140, 2-inch squares from the background fabric. From various scraps cut, 735, 2-inch squares.
For one block, you will need 4 pieces of background fabric, and 21 pieces of scrap fabric.
Refer to the image above for the correct placement of the pieces. When sewing try to press the seams for each row all in one direction. Then alternate the direction for each row, this will make assembling the rows much easier. Here is a guide for sewing.
BF=Background fabric
SF=Scrap Fabric
> or < = Direction to press seams
Row 1
SF > SF > BF > SF > SF
Row 2
SF < SF < SF < SF < SF
Row 3
BF > SF > SF > SF > BF
Row 4
SF < SF < SF < SF < SF
Row 5
SF > SF > BF > SF > SF
Now sew the 5 rows together, I find it easier to sew in pairs rather than just adding one row at a time. Here is my method:
Step 1: Sew together 1 + 2; 3 + 4
Step 2: Sew together 3&4 + 5
Step 3: Sew the last 2 sections together
You will have 35, 7.5 inch blocks when you are done.
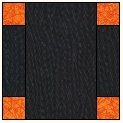
Assembling Block B
We will be making 35 of these blocks. Cut 70, 2 x 5 inch rectangles and 35, 5 x 8 inch rectangles from background fabric. From various scraps, cut 140, 2 inch blocks.
For one block, you will need 4 pieces of scrappy fabric, 2, 2 x 5 pieces of background fabric, and 1, 5 x 8 piece of background fabric.
Refer to the image above for the correct placement of the pieces. To each end of the 2 x 5 rectangle, sew one scrappy square. You will make 70 of these pieces. Take two of these, and sew them to each side of the 5 x 8 rectangles.
You will have 35, 7.5 inch blocks when you are done.
Assembling the Quilt

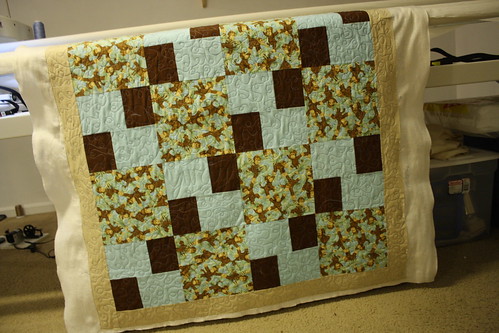
To assemble the blocks, you will be alternating the blocks in each row. There will be 7 blocks in a row, with each row starting with the opposite block as the one above it. Please refer to the picture as a guide, but here is a placement guide as well.
A B A B A B A
B A B A B A B
A B A B A B A
B A B A B A B
A B A B A B A
B A B A B A B
A B A B A B A
B A B A B A B
A B A B A B A
B A B A B A B
Once each row is assembled, sew them all together. Once again, I like to sew the rows together in pairs. This will make assembly much easier than sewing one row on at a time. Be sure to match up the seams as you are sewing as well. My method of sewing these rows together is as follows:
Step 1: Sew together 1 + 2; 3 + 4; 5 + 6; 7 + 8; 9 + 10
Step 2: Sew together 1&2 + 3&4; 5&6 + 7&8
Step 3: Sew together 5&6&7&8 + 9&10
Step 4: Sew the last 2 sections together
Assembling the Borders
For the borders, cut 7, 2.5 inch strips from background fabric, selvedge to selvedge. This will give you 7 strips approximately 42 inches long. Trim the actual selvedge part from all the strips, squaring up the ends in the process.
Take two strips and sew them together end to end to form a strip that is about 84 inches long. Repeat. You will now have 2, 84 inch strips. Sew these strips to the left and right sides of the quilt. The strips will be larger than the quilt on the top and bottom. When pinning, be sure to leave a little extra on each side for easing in. Start pinning the borders on in the middle of the quilt and work your way out. Be careful not to stretch the blocks as you are pinning. Once the borders are sewn on, trim the ends so they are square with the top and bottom of the quilt.
Take one more strip and cut it in half, sew each half to another strip forming two strips that are about 63 inches long. Attach these to the top and bottom of the quilt in the same manner as above.
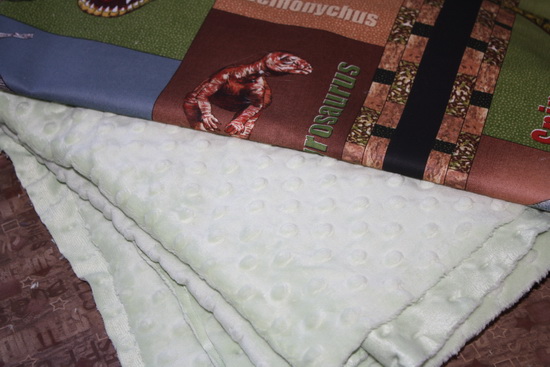
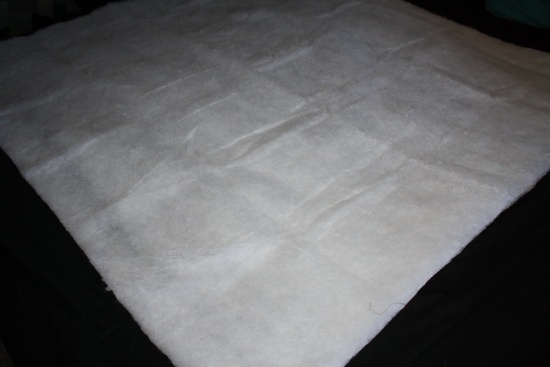
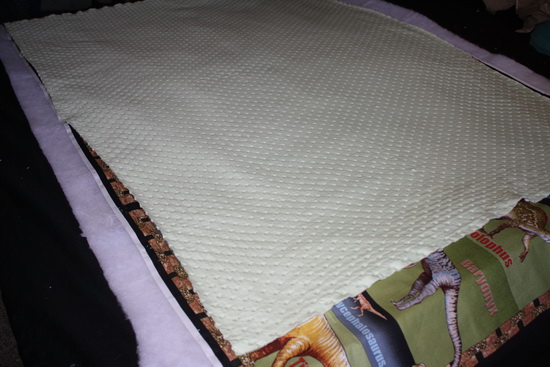
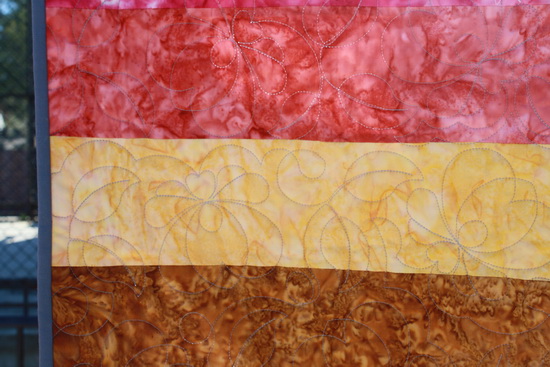
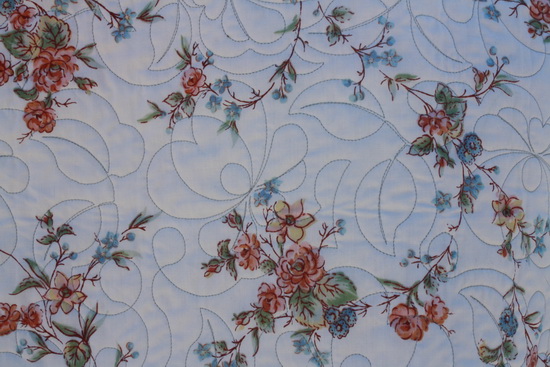
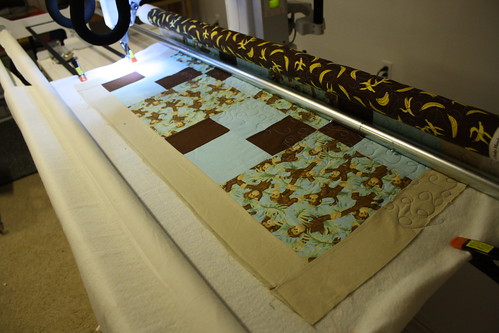
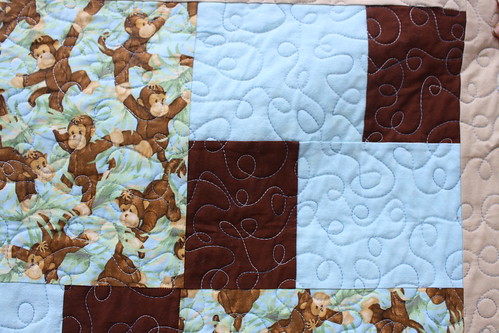
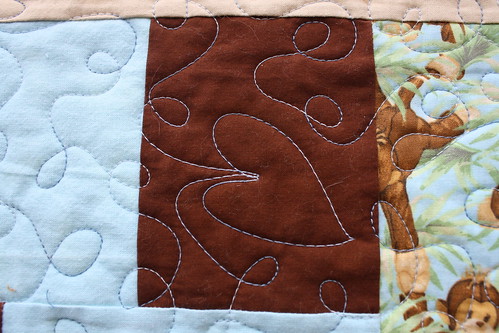
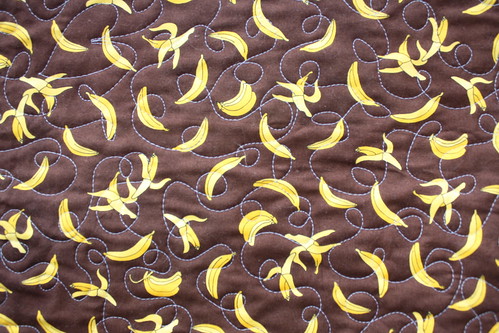
And your top is done! Now just use your preferred method of basting, quilting, and binding your quilt. Then take a step back and enjoy all your hard work!
If there are any questions about this tutorial or if I have made any mistakes, please feel free to let me know! I considered turning this into a PDF as well, if that would be useful to anyone, let me know in the comments and I will get on that.
Happy Quilting!
Rachel