Posted on

Football Shirt & Accessories Roundup!

With football season fast approaching, now is the time to pick up some unique shirts for the family and some great accessories to go with them!

This shirt is perfect for the football mom watching her little (or not so little) ones play this fun sport!


Football Mom Shirt

Accessorize this shirt with a personalized silver football charm bracelet from BlessedRideCompany.


Silver Football Charm Bracelet
 
 
Get ready to wear your favorite players number with this fun Football jersey style shirt!


Football Number Shirt

Keep your legs and arms warm during the game with this comfy blanket from seechriscreate.


Football Blanket
 
 
Throwing a sports themed birthday? Deck out your toddler in this unique shirt!


Football Tie Shirt

Keep your legs and arms warm during the game with this comfy blanket from thelittlestfunk.


Football Leg Warmers
 
 
Add a little football to your Christmas spirit this year!


Santa Football Shirt

Decorate your tree this year as well with this ornament from ChristmasClay.


Football Christmas Ornament
 
 
Happy Buying!
Rachel

Posted on

What Size Shirt Do I Need?

Buying shirts online can be a scary proposition! Every seller uses a different brand shirt, and you can never really be sure of how the shirts will fit. Today I am going to explain more about the shirts I use in my shop and how you can find just the perfect size for you or your child.

For my shirts, I use Gildan brand for the Youth and Adult sizes. I like this brand as I feel it holds the design really well, washes up nicely without much fuss, and stands up best over time. For the Toddler and Infant sizes I use Rabbit Skins. This brand also washes up well and holds up over time, and it’s one of the best kids brands out there right now. I regularly stock all my sizes in 3 colors. Black, White, and Dark Heather Grey. I can pretty much do any design on any of these 3 colors.

One thing to note is there is some variation in my dark heather grey shirts. The youth and adult sizes are all the same color as above. However, because I use a different brand for the toddler and infant shirts (Gildan does not do the dark heather grey in those sizes), the color is a bit darker on those sizes.

And also, the infant sizes in the dark heather grey is a one-piece, in the white and black the infant sizes are shirts. Again, Rabbit Skins only makes this dark heather grey in the one-piece style, not in a shirt style for infants.

One question I get asked a lot is how the adult shirts are sizing-wise. My adult shirts are a regular unisex sized shirt. The material is super soft and should not be tight fitting to the body. I used to use junior style shirts quite some time ago, but the tighter fit of that style shirt is not a good fit for women of all shapes and sizes. Personally I always had to purchase a size or two up with that style just to prevent the shirts from clinging to every bump on my body! The shirts I use now are a regular cut, one that we are used to seeing in the past. I think you’ll find that you can just choose your regular size and be fine. I would say the majority of my buyers pick their regular size and I very rarely have complaints about sizing unless someone thought these were junior style shirts!

If you are still worried about sizing on the adult shirts, the best way to choose the right size is to make use of the size chart included in the shirt listings. Here is the chart:

Using the size chart is really best for you and especially for your child. My son was always at least 2 sizes bigger then the “regular” sizes, so just choosing 3T when he was 3 would have never worked. The size chart above helps you figure out the best size without worrying about the size on the actual tag.

To use the chart best, take a t-shirt that fits the subject you are buying for really well. Lay it flat and measure the width.

Take that measurement and compare it to the chart. You can see here that this shirt measures 13 inches, so it would be a 2T as compared to the chart. If your measurement falls in between two numbers, always go with the bigger size. You can also measure the length, but that number isn’t as critical to the sizing of the shirt as the width is.

I hope this post helps you choose the right style and size shirt from my shop. As always if you have any questions, do not hesitate to contact me!

Happy sizing!
Rachel

Posted on 1 Comment

It’s here!

I hope everyone had a great Thanksgiving. I know I did! There is nothing quite like reconnecting with family. But today and this weekend is all about getting the deals! This weekend, from Black Friday to Cyber Monday, I will be hosting a giveaway. Purchase anything from either of my Etsy shops here:

Scrapendipity Designs on Etsy
Scrapendipitees on Etsy

Or directly from this website here:

Scrapendipity Designs

And you will be entered to win a $75 Etsy gift card! You can use the gift card in one of my own Etsy shops, or you can even use it to purchase something from any of the other great shops on Etsy. There are lots of handmade items there that would make great Christmas gifts for anyone on your Christmas list!
 
 
Here is just a small selection of items available at my shops:


Here are the details for the giveaway:

1. You must make a purchase from one of the 3 shops linked above between November 28,2014 12:01 AM EST and December 1, 2014 11:59 PM EST
2. Only one entry per person, per household even if multiple purchases are made.
3. The winner will be contacted by email and/or Etsy convo. If I do not hear a response within 48 hours, another winner will be picked.
4. The Etsy giftcard will be emailed to the email address used to confirm you as a winner.
 
 
**Bonus**
Comment on this blog post what you purchased from my shops this weekend for an extra entry!

Happy Shopping!
Rachel

Posted on

Christmas Designs

Is everyone full of turkey yet? I hate when retailers do Christmas too early, but I am so excited for the season this year! I have had a few *blah* Christmases for the past couple years, but this year just feels different! For this reason, I wanted to share the designs I have for this season. I may have a few new ones coming as well, so be sure to check my shop every so often.

Also, I will be announcing my Black Friday Giveaway terms tomorrow morning here on the blog, so be sure to check that out as well!


Happy crafting!
Rachel

Posted on 1 Comment

Iron on Transfer Paper — Light vs. Dark

There is a huge difference between iron on transfer paper for light shirts and iron on transfer for dark shirts. Today I am going to explain those differences. First of all, the paper you buy should clearly state on the front if it is for dark fabrics or light fabrics. You can see in these pictures this is in the top right corner.


The light paper comes 10 to a pack and the dark paper comes 5 to a pack, so bear that in mind when planning your projects.

The biggest difference between the two papers though is the paper for light fabrics is clear and the paper for dark fabrics is white. This will make all the difference in creating your shirt. When you are making shirts with any type of paper, it is important to trim the paper. Even the clear paper will leave behind a trace of the paper, so the closer you trim the better overall look you will have.

Since printers do not print white, you have to use the paper to create white on your projects. The paper for light fabrics is clear, so any parts of your design that are white will show up as the color of the shirt. When you have white sections in your designs and use this paper, it will be best to put it on a white shirt so your white parts stay white. Here is an example of this:


You can see the cream colored pins stay cream colored on this white shirt.

If you use the paper for light fabric with a design that has white/light parts on a color shirt, those white/light parts will be the color of the shirt. This is not wrong, just a different look then you might be going for. Here is an example of this:


You can see that the cream colored pins are now the grey color of the shirt.

The paper for dark fabrics is white. So the color of the shirt will not show through at all. But this is like printing to a white sheet of paper, so if you are unable to trim the design exactly you will have white around those parts. However, this is the only way to keep white sections of your design white on a color shirt. Here is an example of this:


You can see that the pins are white on this blue shirt, but there is also white around the lettering on this design. You just have to trim as best you can.

If you have a design with no white and black or dark colors only, you can use the clear paper to put it on a lighter colored shirt. This will give the illusion of floating text. Here is an example of that:


But remember this will not work with light colors in the design because the color of the shirt will over power it.

And a design that is easily trimmed out can be put on a color shirt with no problems using paper for dark fabrics. This will give you a very professional look. Here is an example:


Often if a design has text and someone wants to put it on a dark color shirt, I will suggest putting a border around the design. This will give an easy place to trim and I can put a little design inside the border so you don’t just have a stark white background from the paper for dark shirts. This is a great workaround for getting text on a darker shirt. Here is a mock-up example of this:


I hope this helps you choose which color shirt/type of paper you should be using in your projects! If you ever have any questions, please feel free to contact me and I am happy to help you decide what is best to use.

Happy crafting!
Rachel

Posted on

Sports, Sports, Sports!

Tis the season for sporting events! Whether it be a game on TV, supporting your little b-ball player, or even your toddler’s birthday party, we all love sports and want to show our team pride. I have lots of sports designs in my shop so you can make your own shirt that shows your love for any player on the field. You can customize any of these designs with a name as well! Don’t see a sport you love? Just send me a message and I am happy to put one together for you. Click on any of the pictures below to be taken right to the listing!

Baseball Shirts


Soccer Shirts


Football Shirts


Basketball Shirts


All of these designs are available as digital downloads so you can print and make your own shirts, as printed iron ons where all you have to do is iron to a shirt of your choosing, or as a finished shirt so you have nothing more to do!

Posted on

Valentine’s Day for Boys!

If you have a son, I am sure you know how hard it can be to find cute designs for boys on Valentine’s Day. With all the pink and red that abounds, boys Valentine’s Day outfits can be nearly impossible to find!! I have listed quite a few new iron on transfer designs in my shop that will work perfectly for your little man. If you have never worked with digital files, they are super easy to use! It’s literally as easy as print and iron. If you have questions, you can contact me right through Etsy and I am always happy to help with any questions you might have. To buy the designs below, just click the pictures to be taken right to the shop for purchasing.

Kisses 25 Cents – Boys Valentine Outfit

Little Heart Breaker – Boys Valentine Shirt

Love Alphabet – Kids Valentine T-Shirt

Grey Chevron Tie – Toddler Valentine Tie

I Dig You – Boys Dump Truck Valentine

Love – Boys Valentine’s Day Outfit

Mustache Valentine – Funny Boys T-Shirt

Happy Crafting!
Rachel

Posted on

Tutorial for Black Text on a Color Shirt with Iron on Transfers

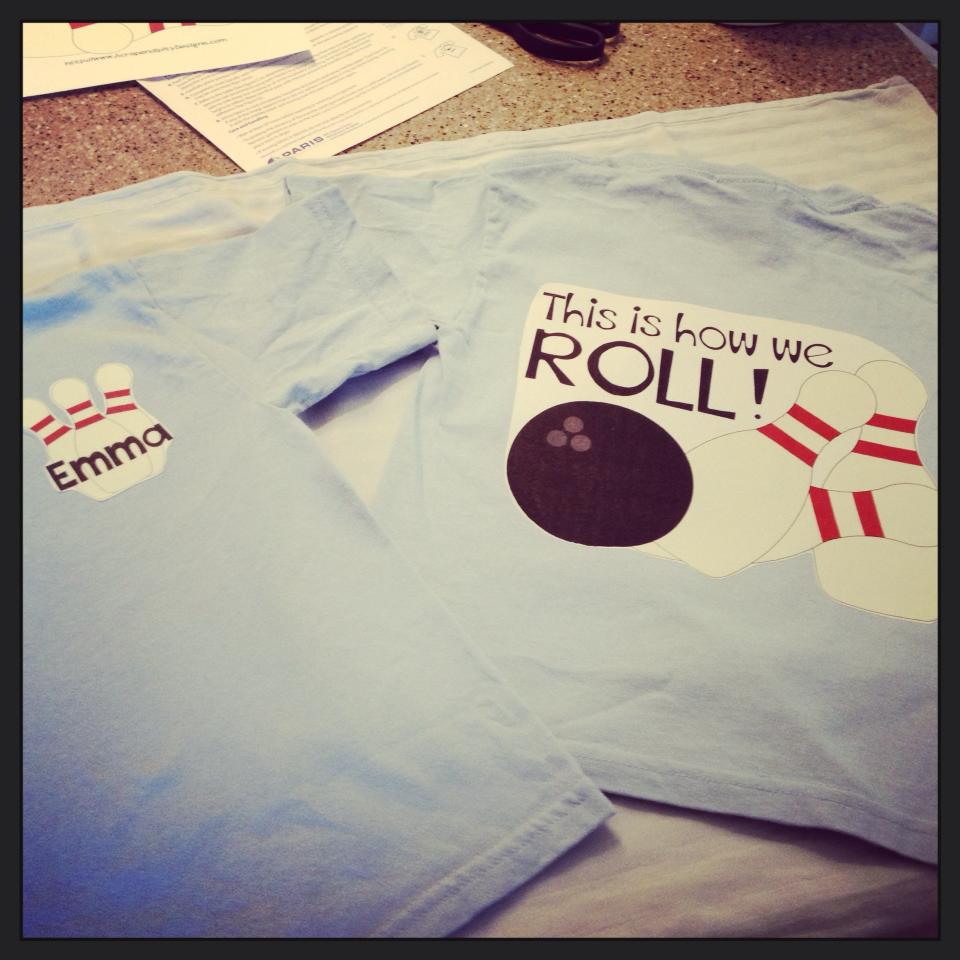
Using iron on transfer is very different than screen printing. You cannot always get the same look, but the cost savings of being able to do it yourself is great. Screen printing is not a DIY project, but with a little practice you can get a screen printed look even with iron on transfers. Today I am going to show you how to get black text on a color shirt with no white around the text. This method really only works for dark text and a shirt that is not too dark. If the color of the shirt is too close to the color of the text, then the text will not show up well at all. Keep that in mind when picking out a shirt color.

Materials
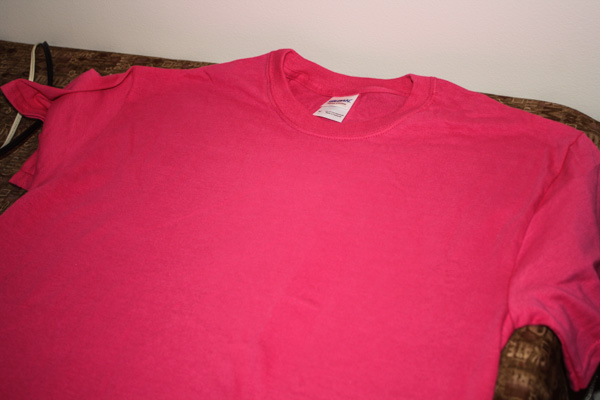
1 Shirt in a fun color
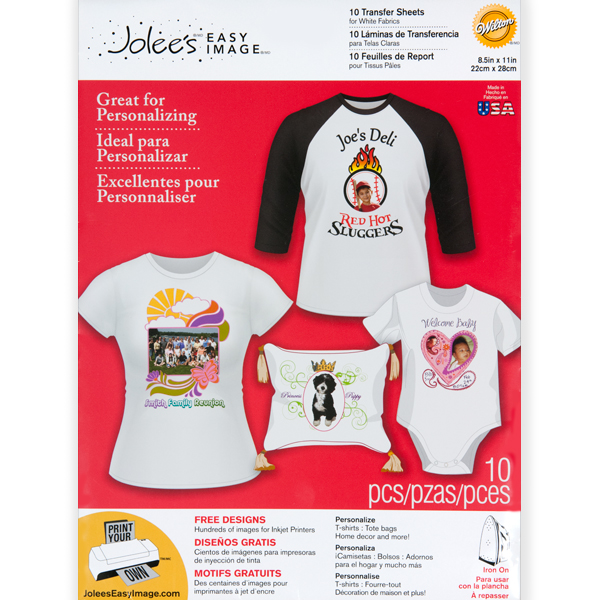
1 Sheet iron on transfer paper for White/Light shirts
Printer
Iron
Pillow case
Smooth, heat proof surface

Instructions

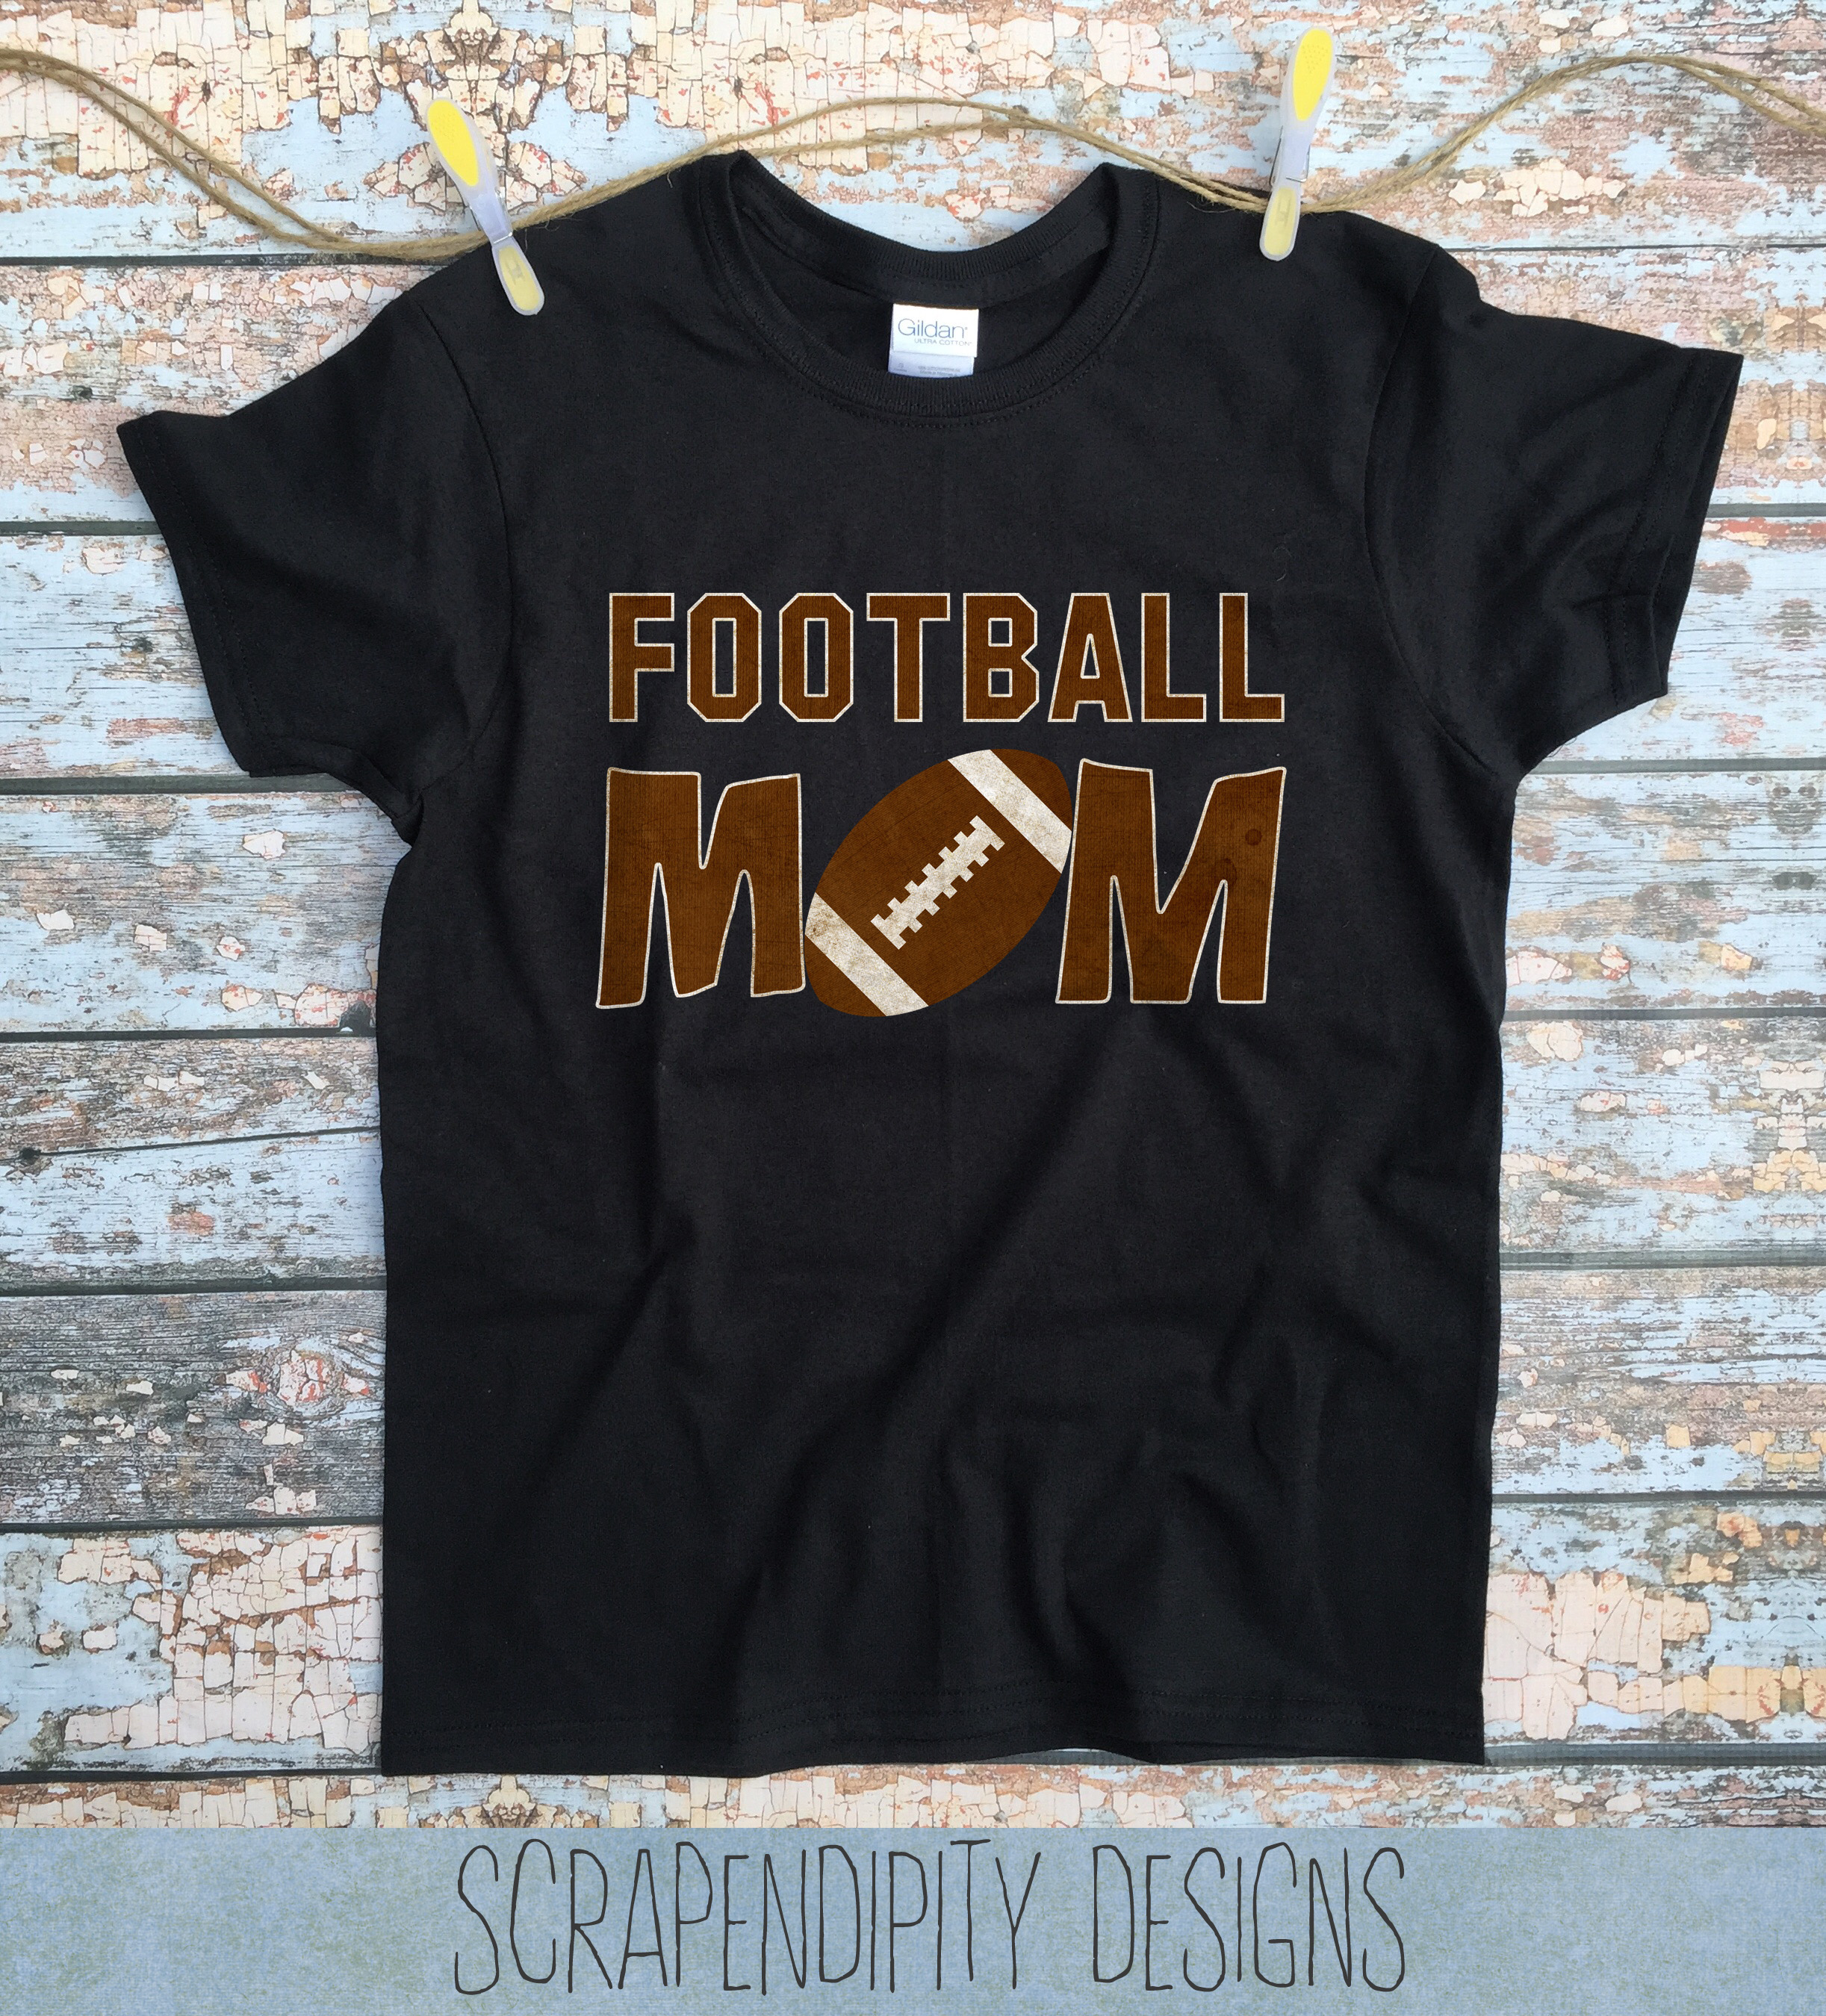
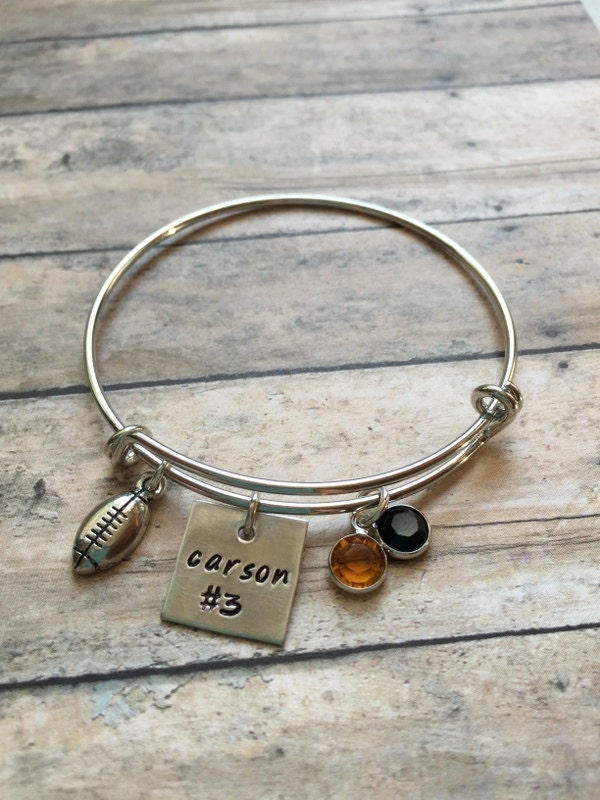
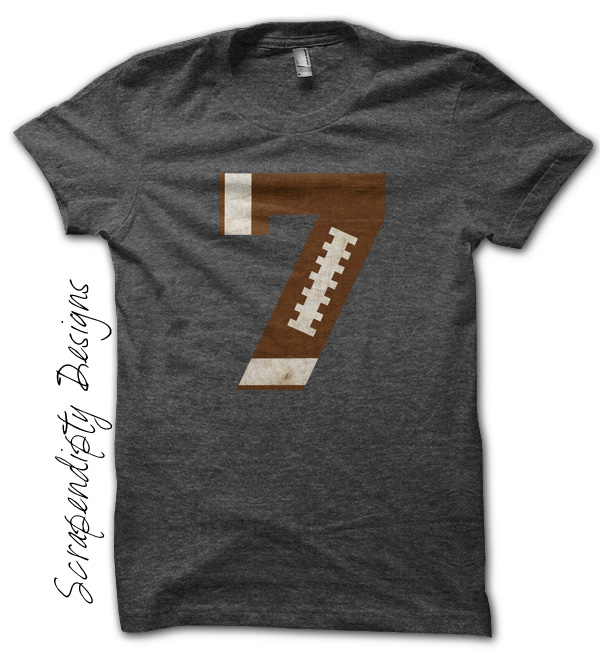
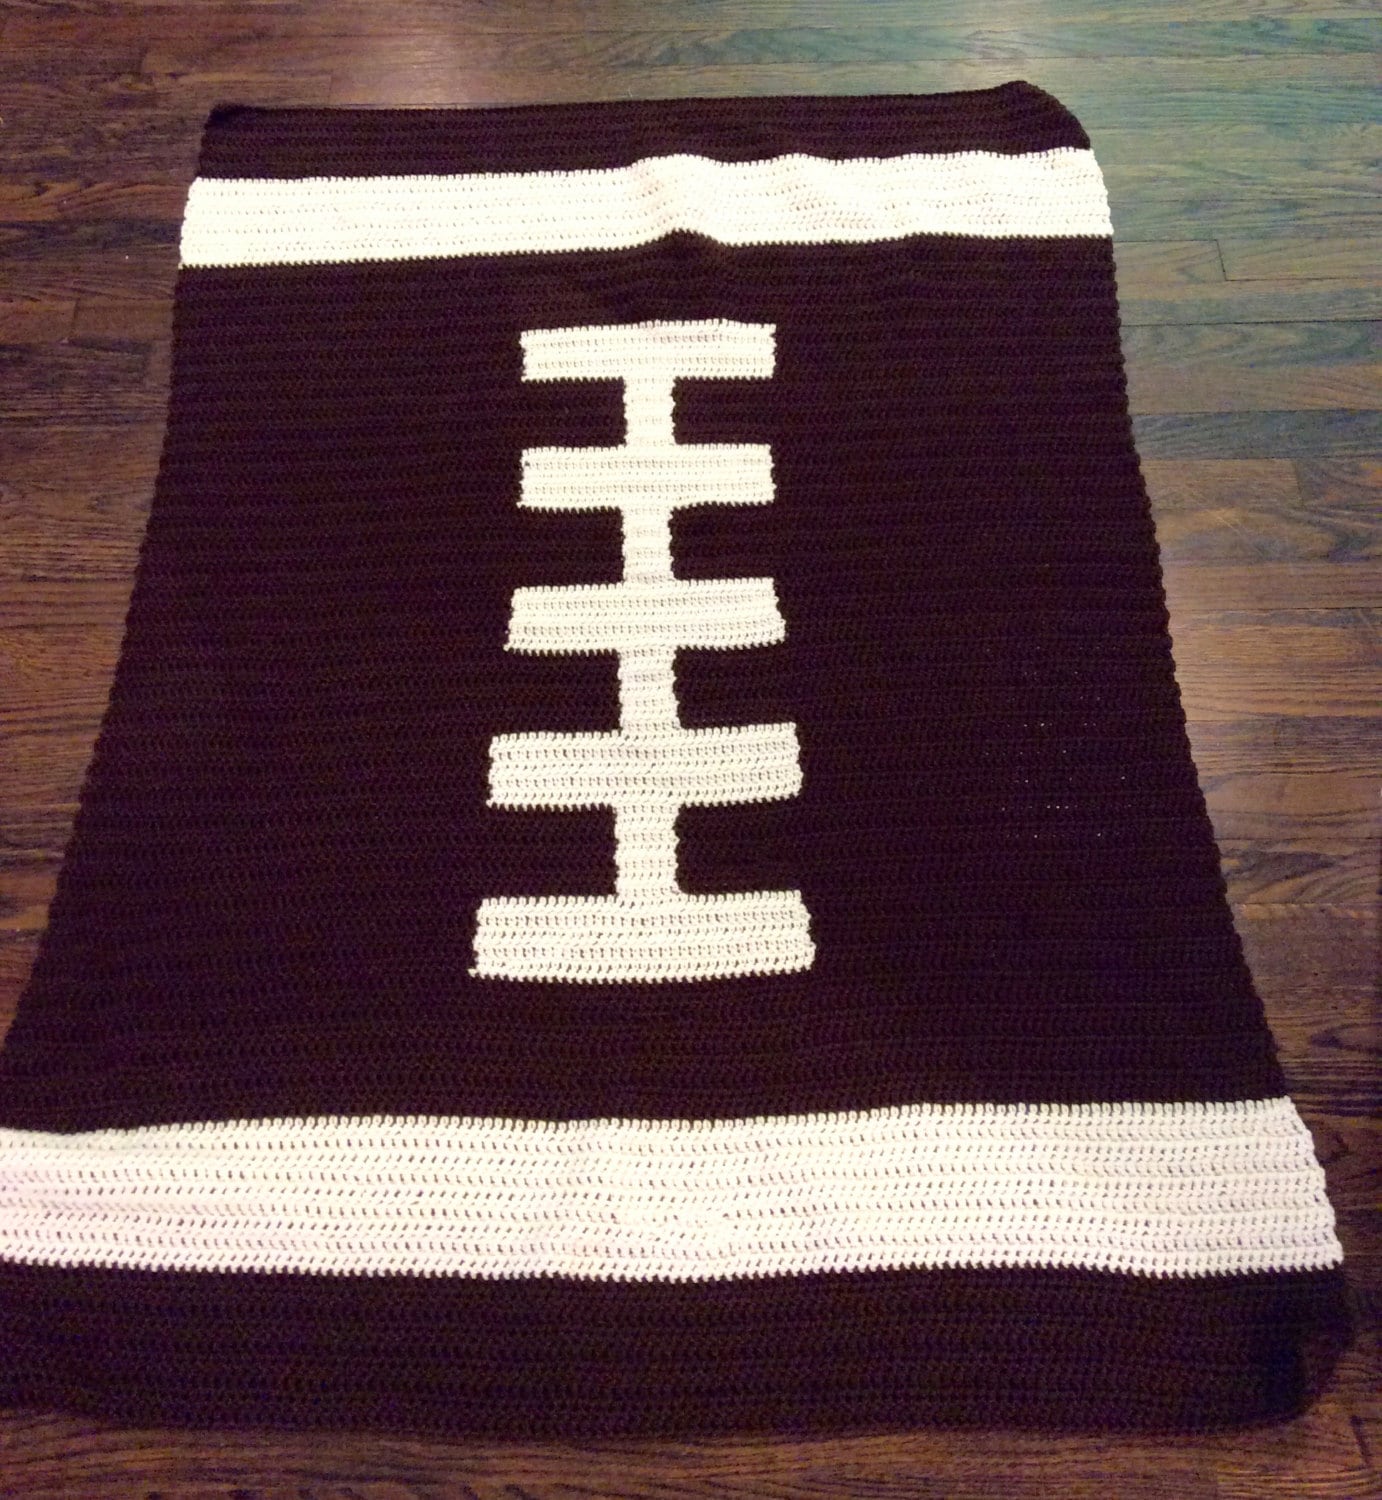
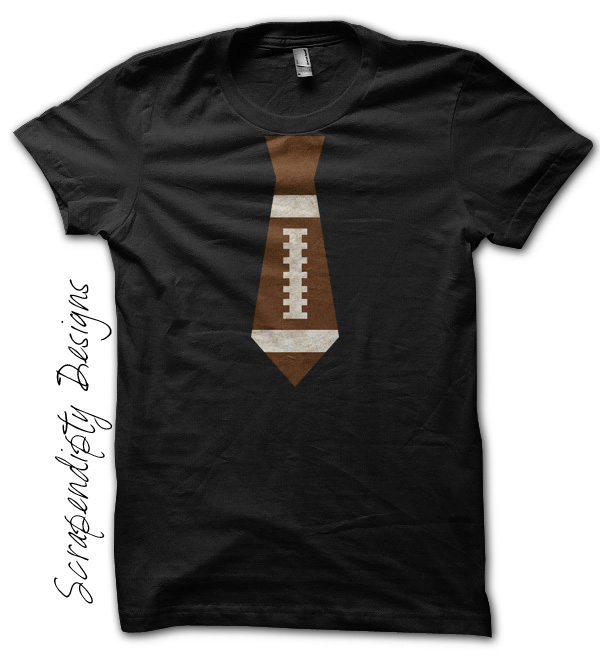
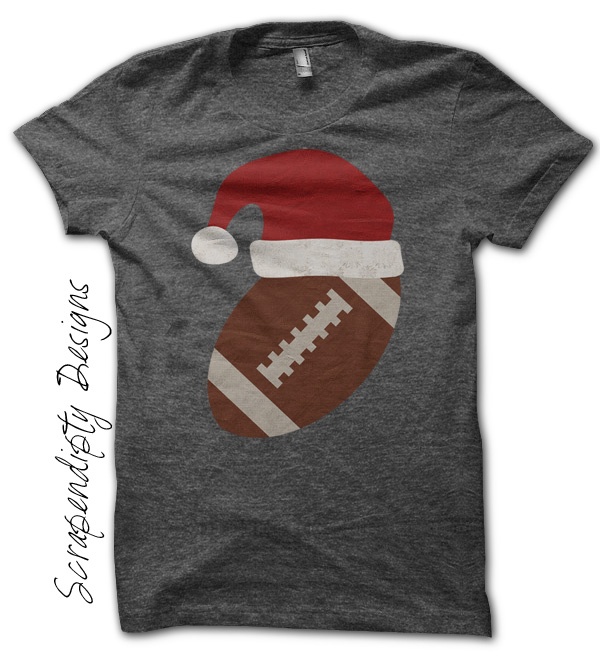
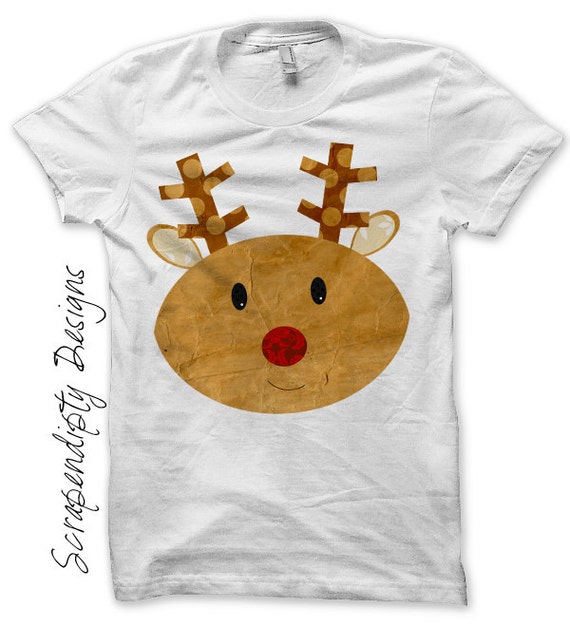
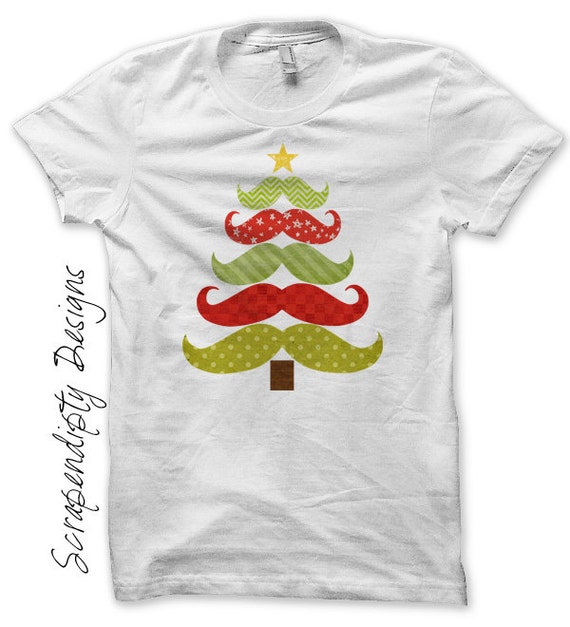
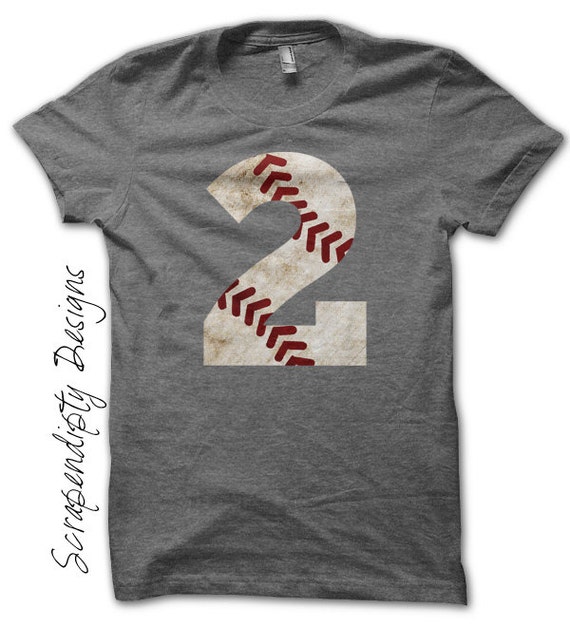
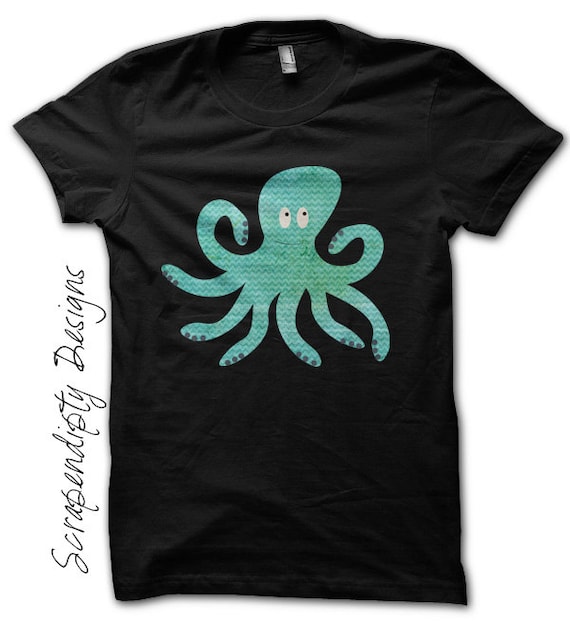
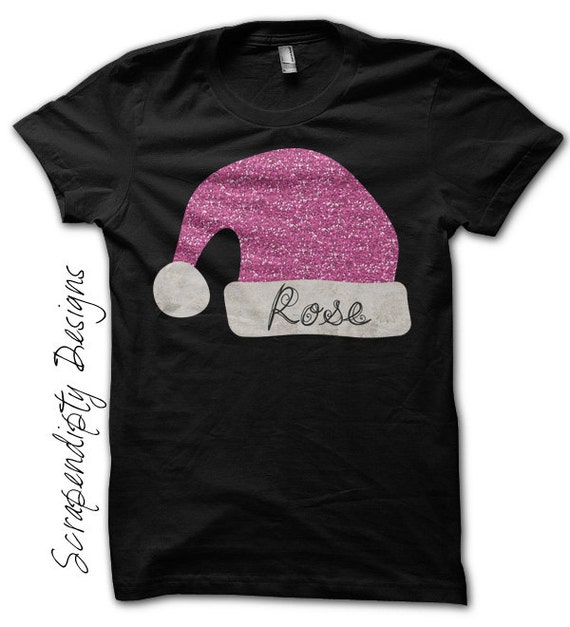
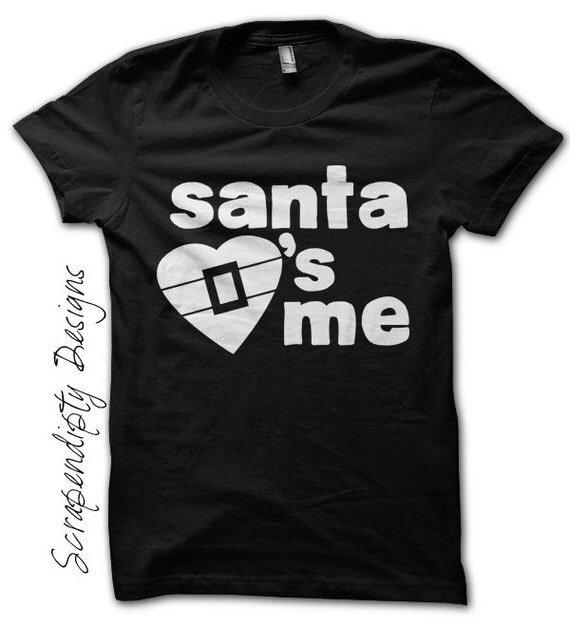
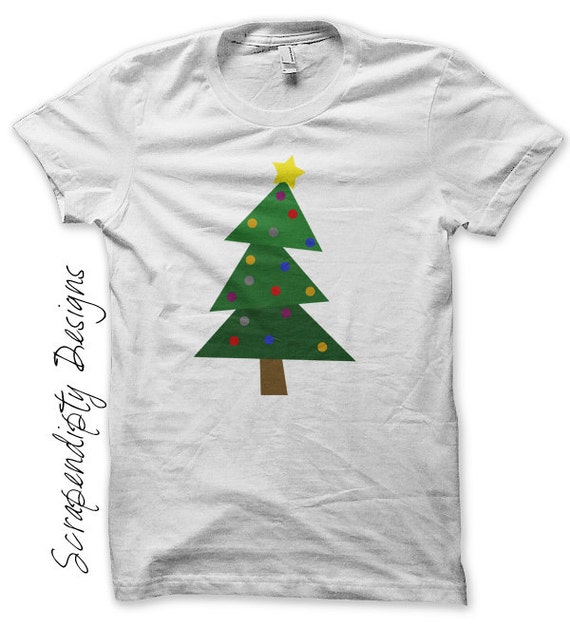
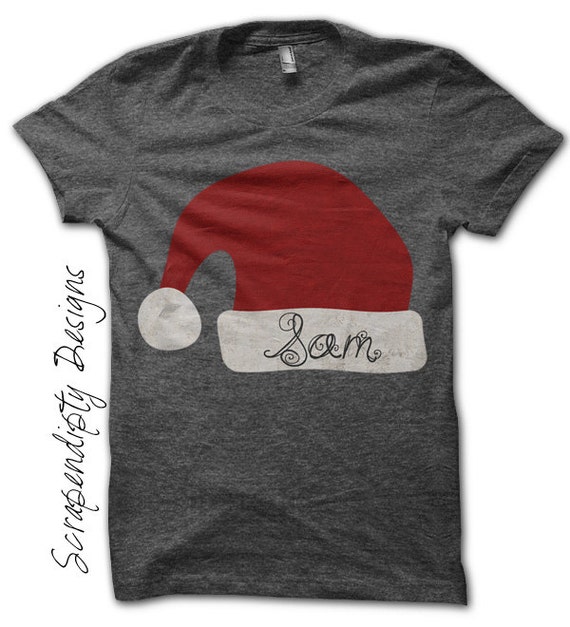
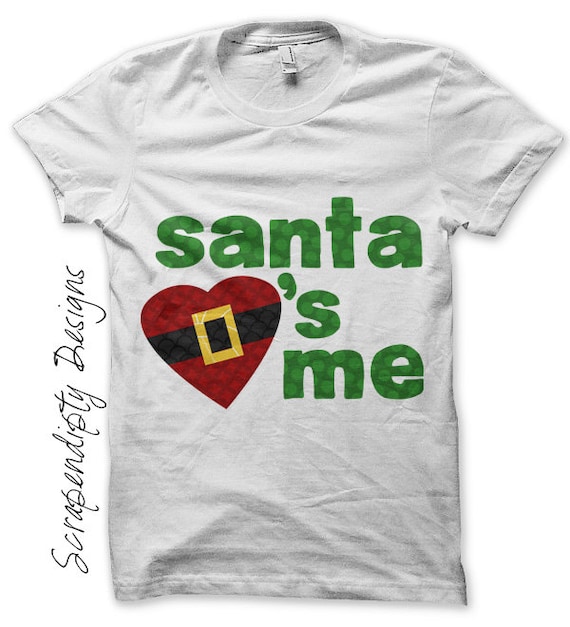
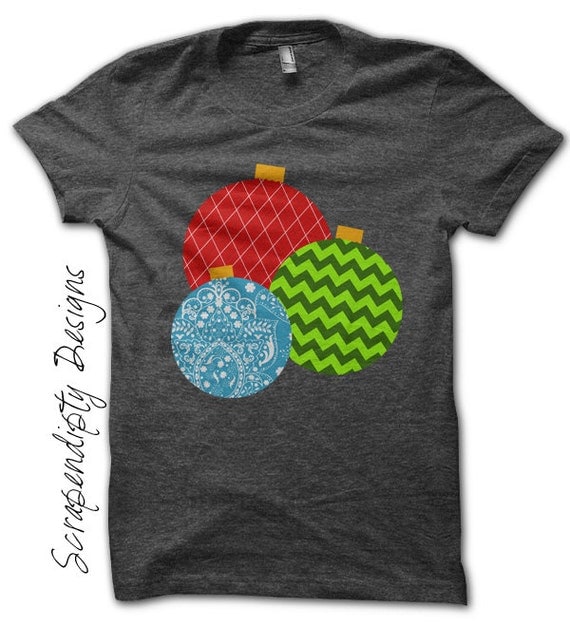
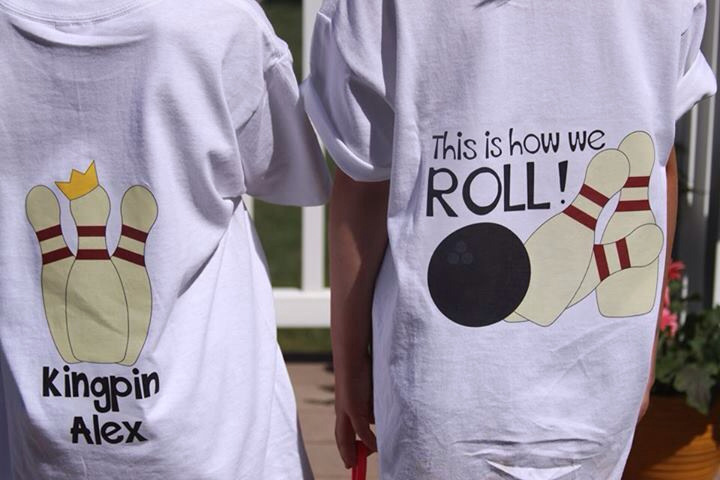
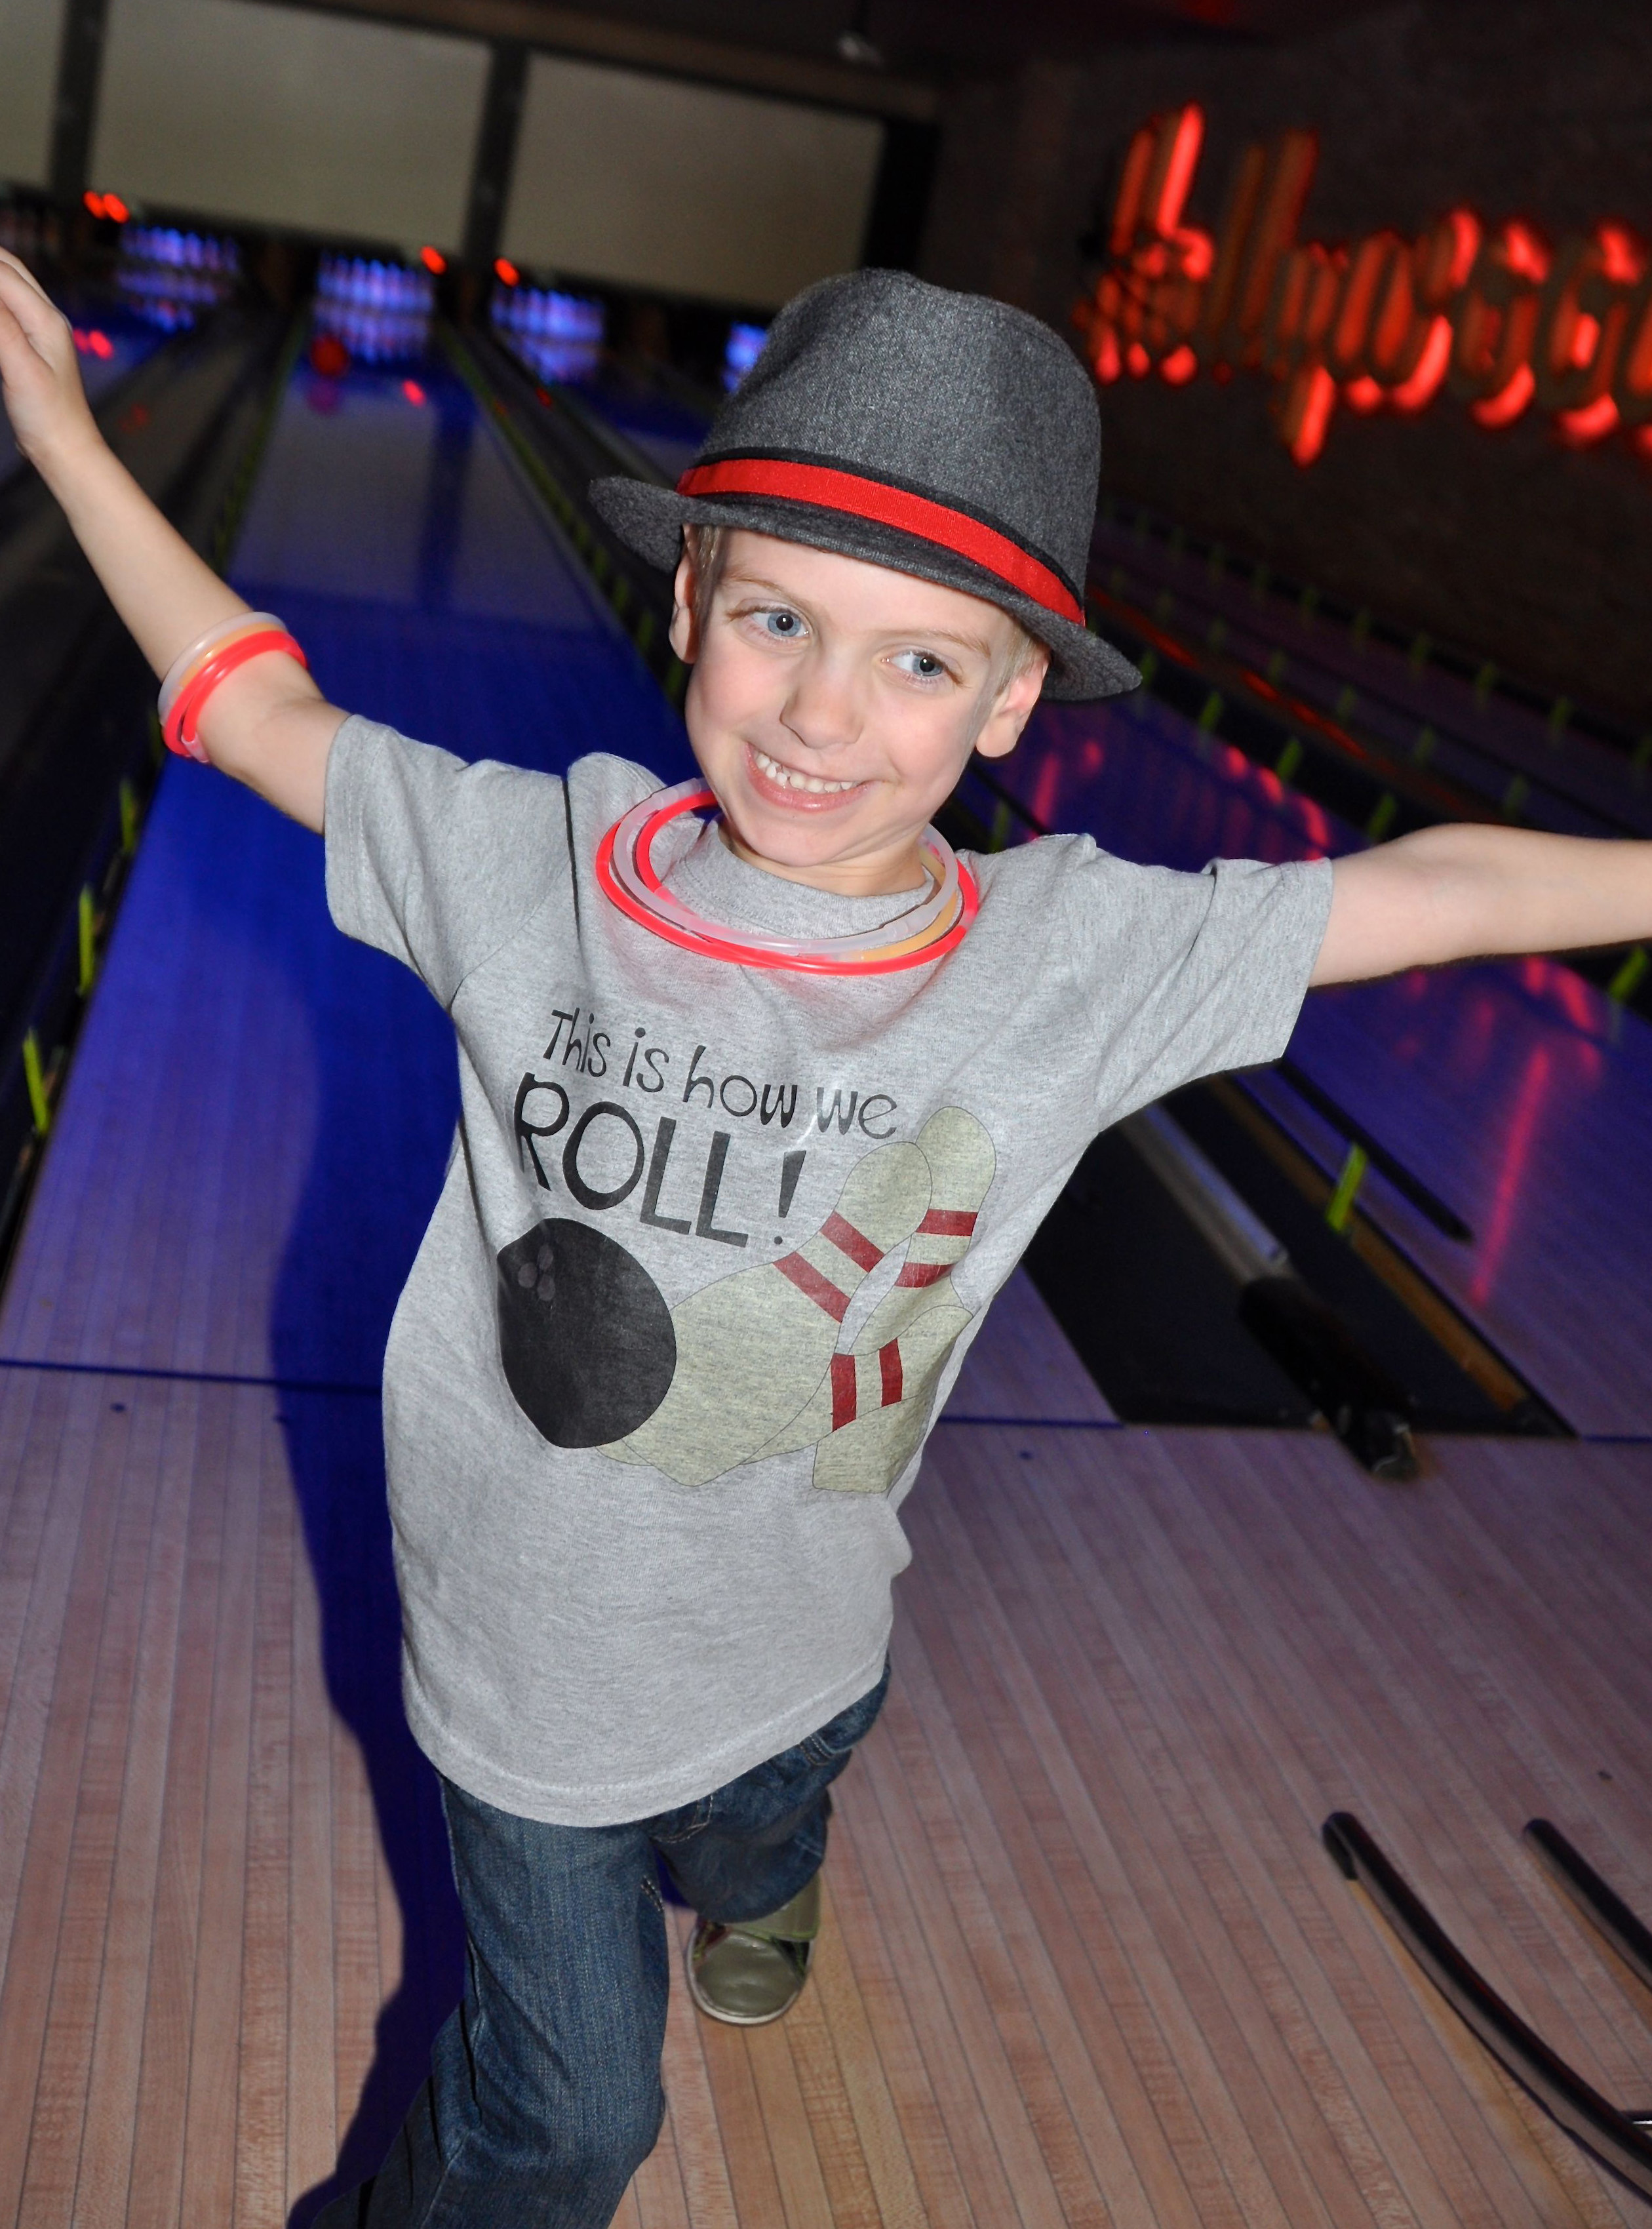
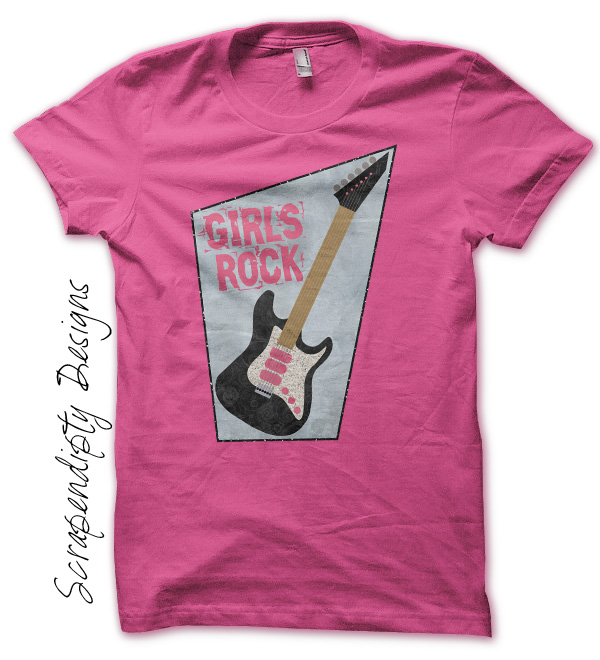
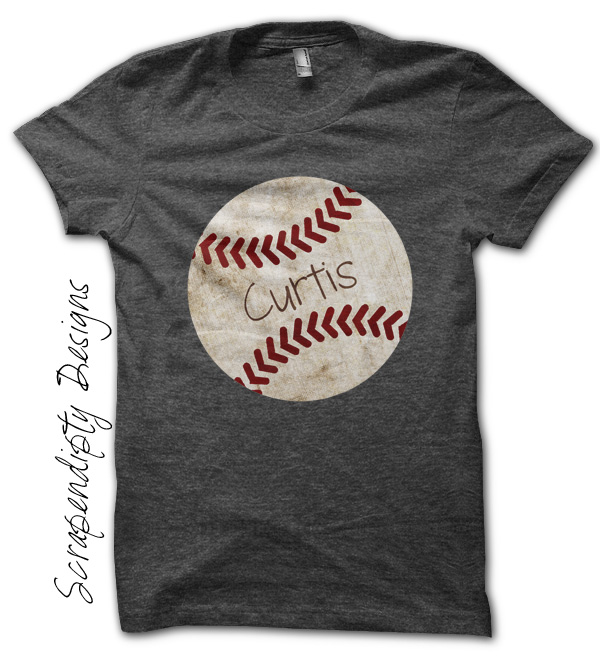
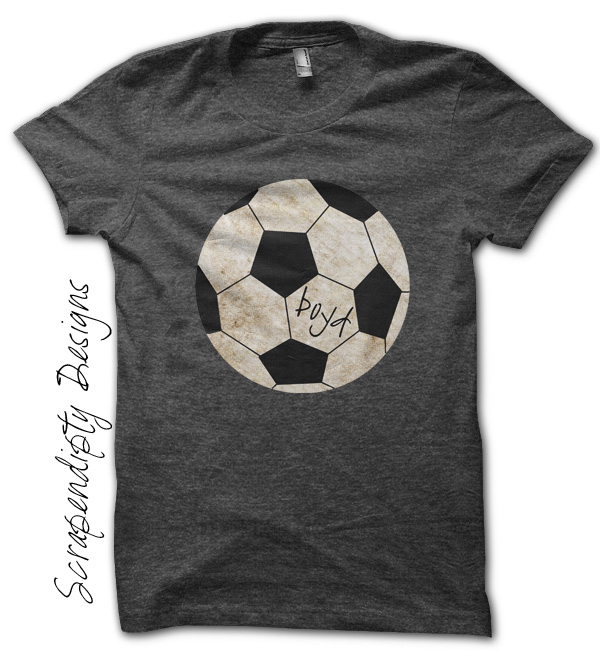
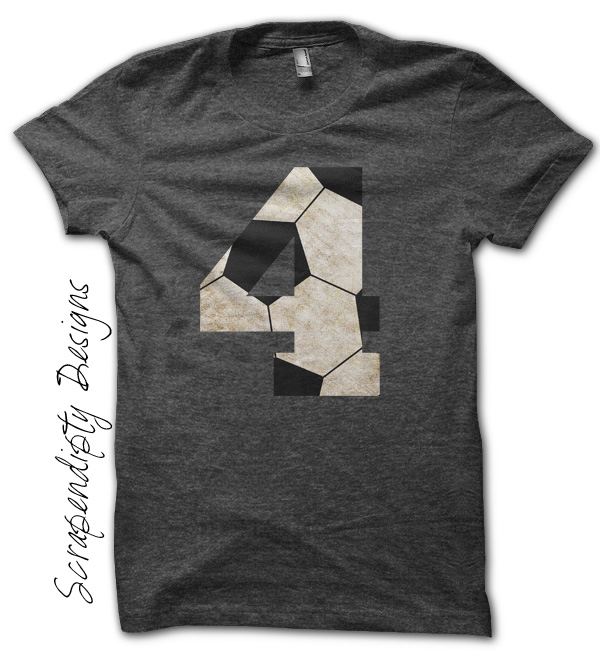
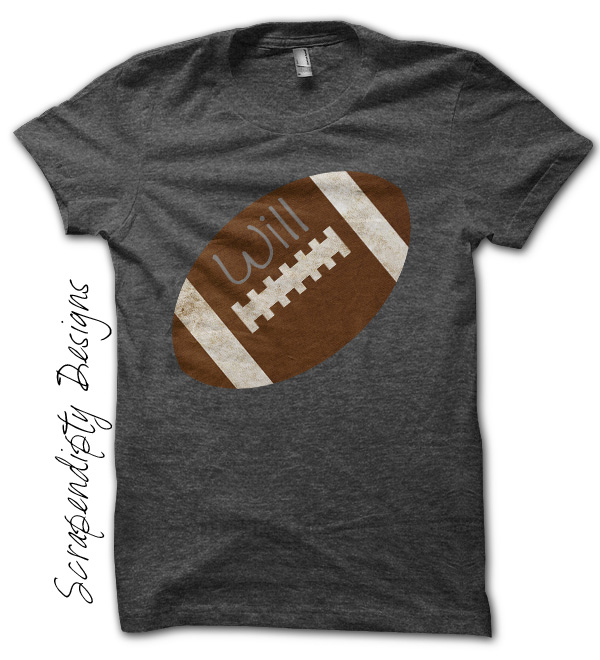
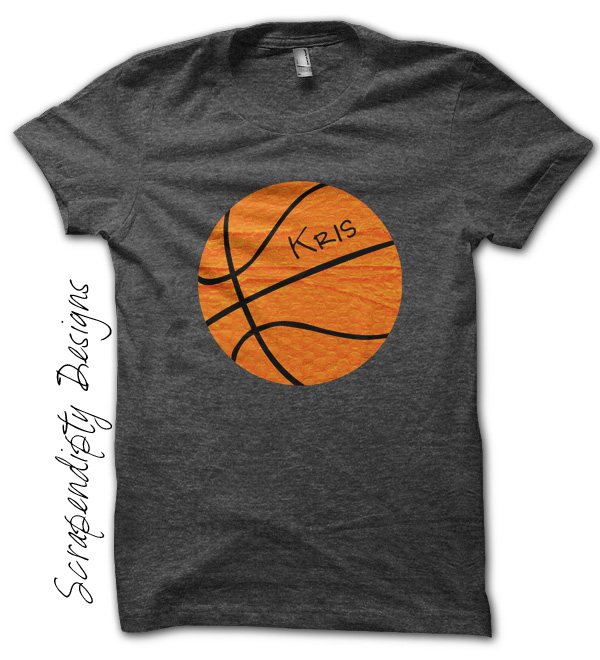
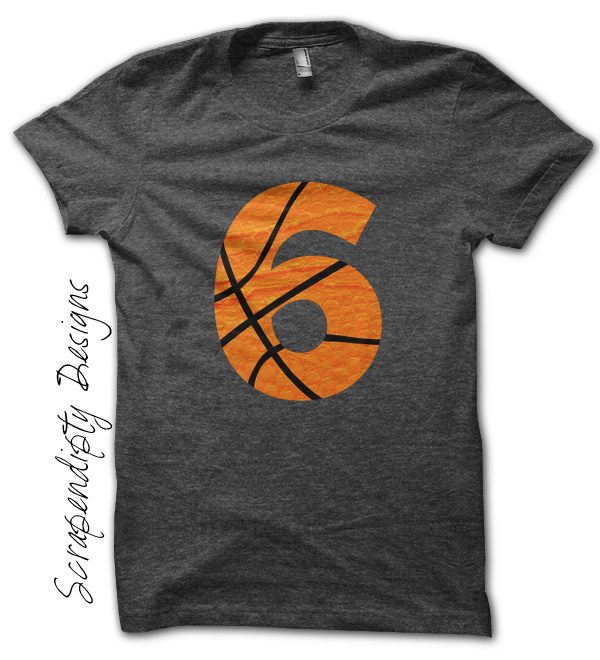
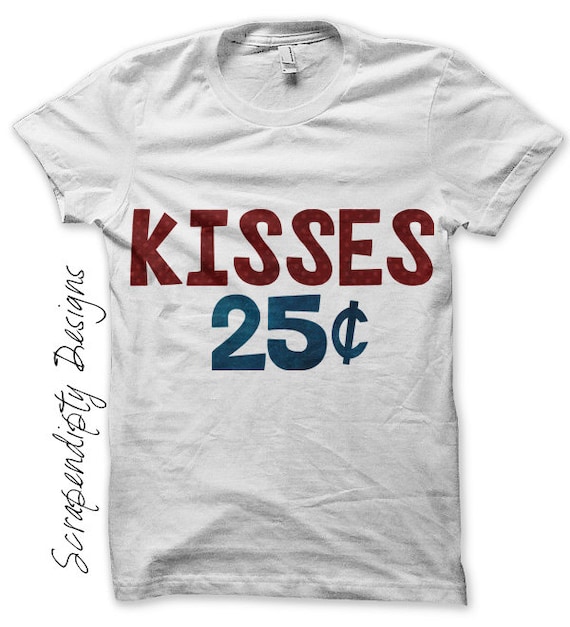
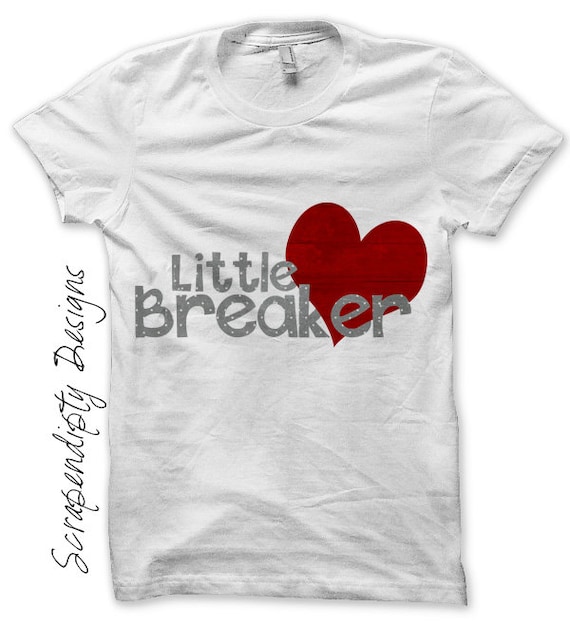
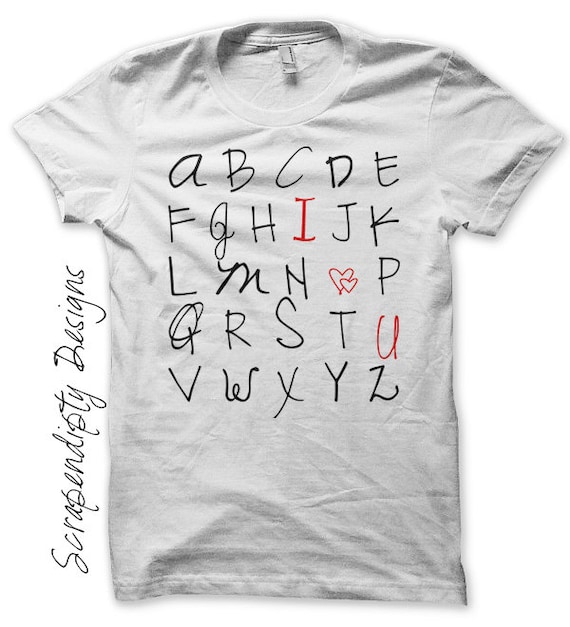
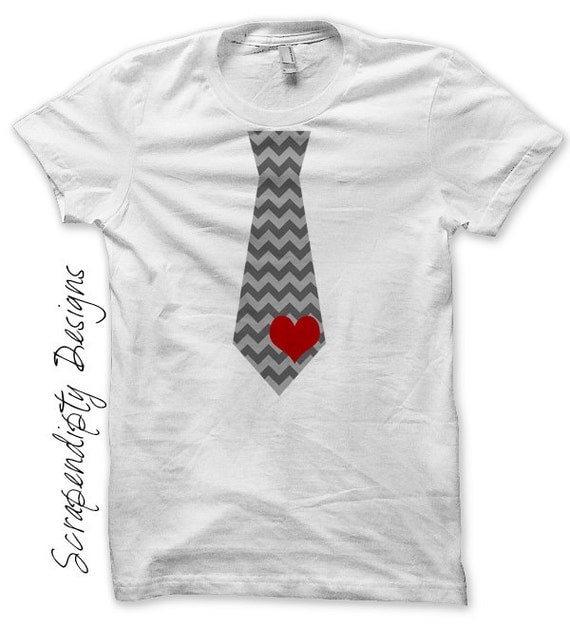
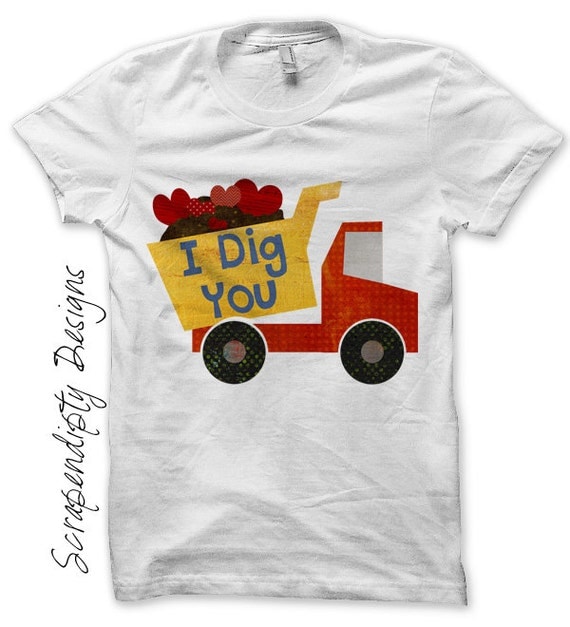
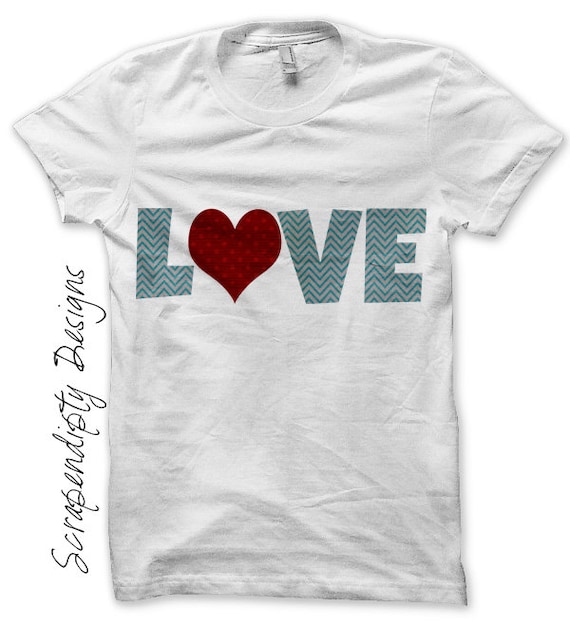
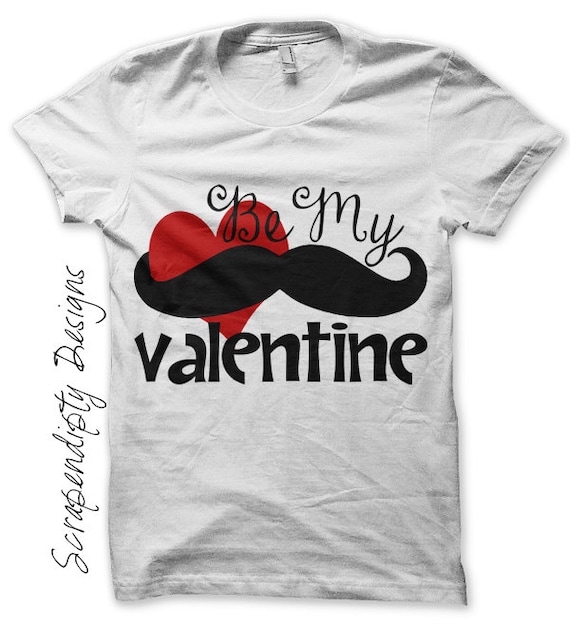
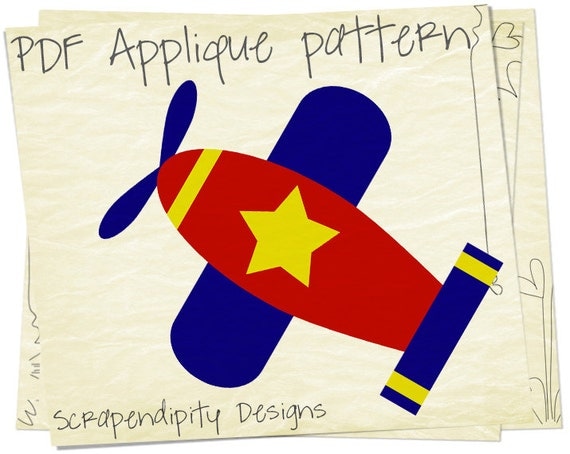
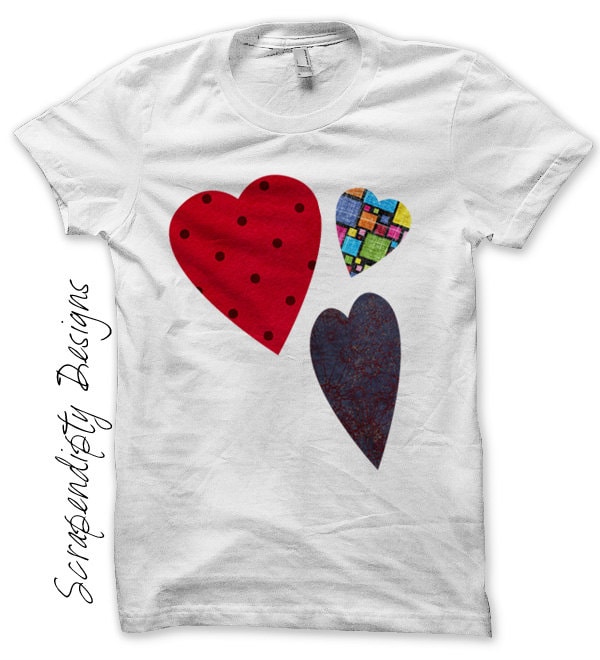
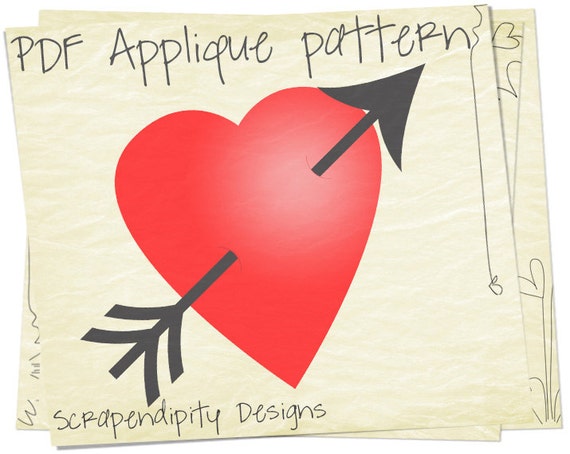
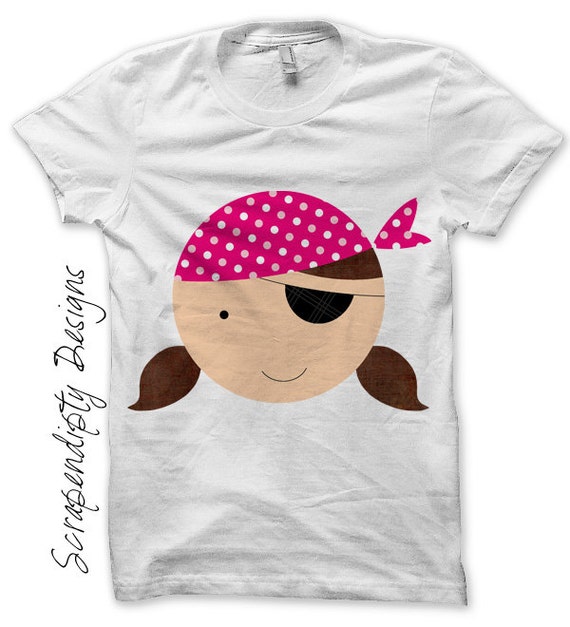
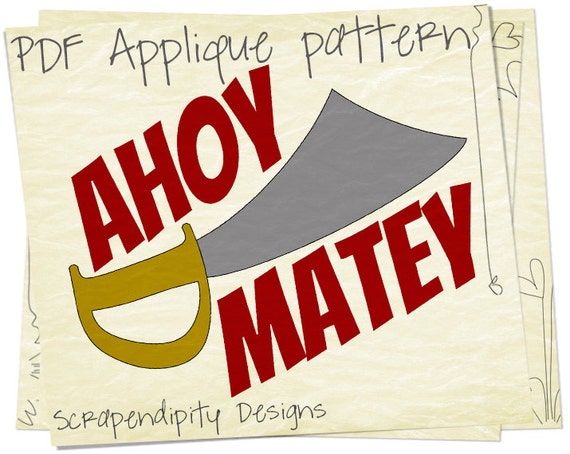
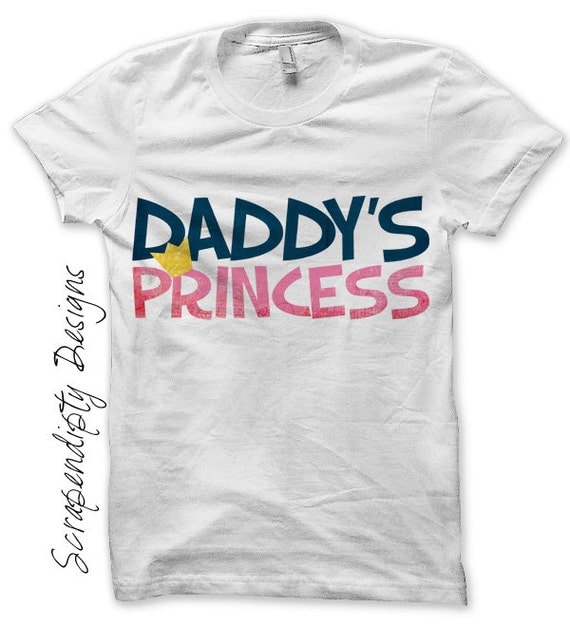
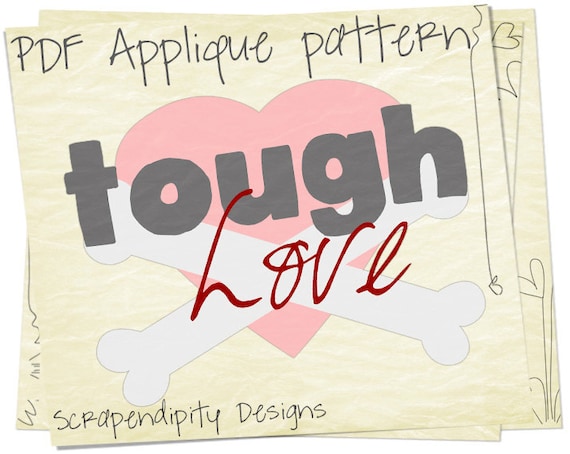
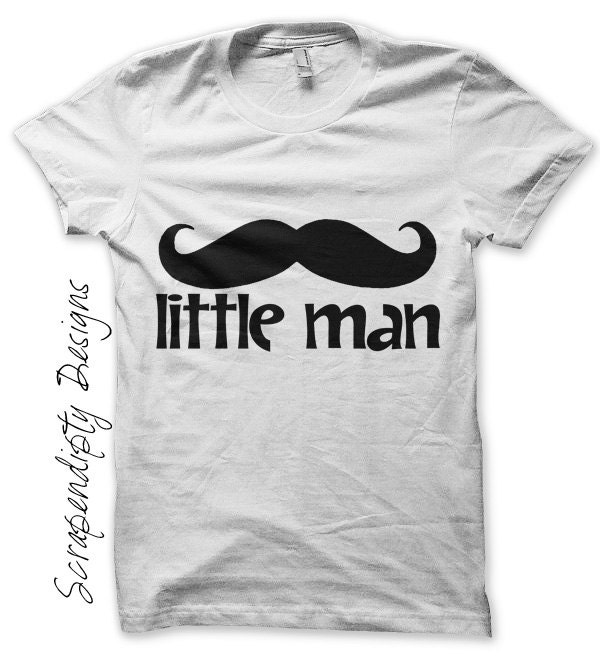
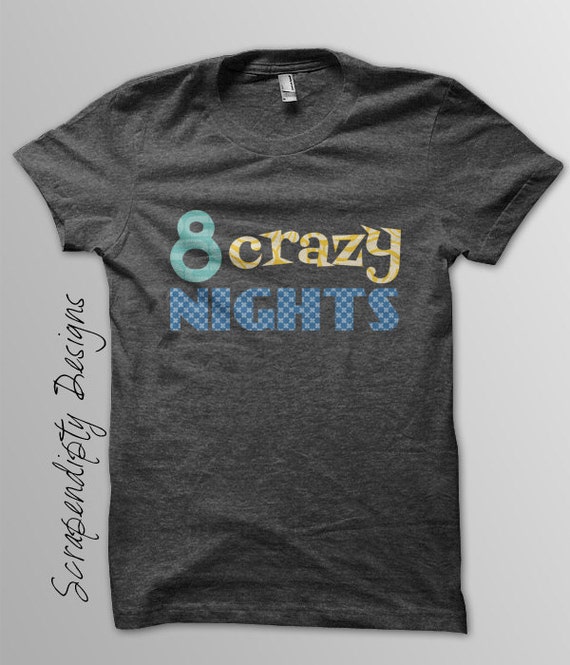
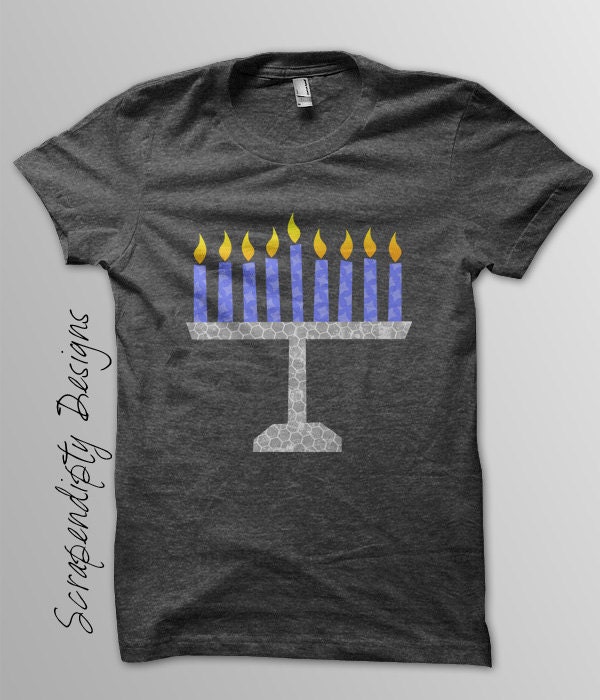
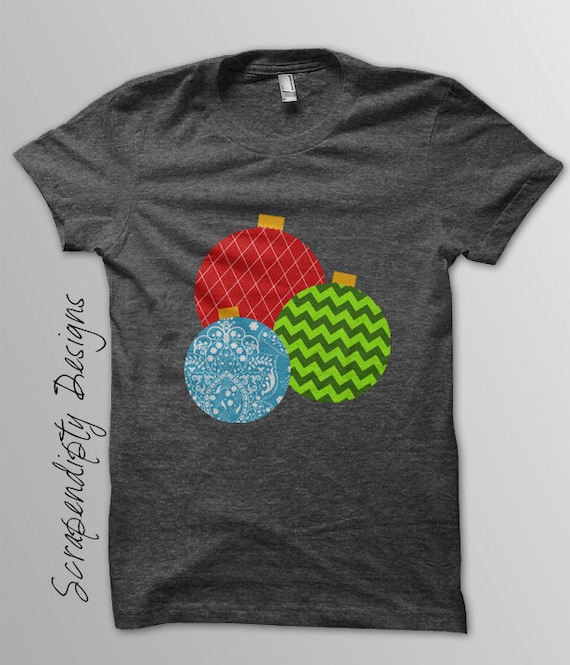
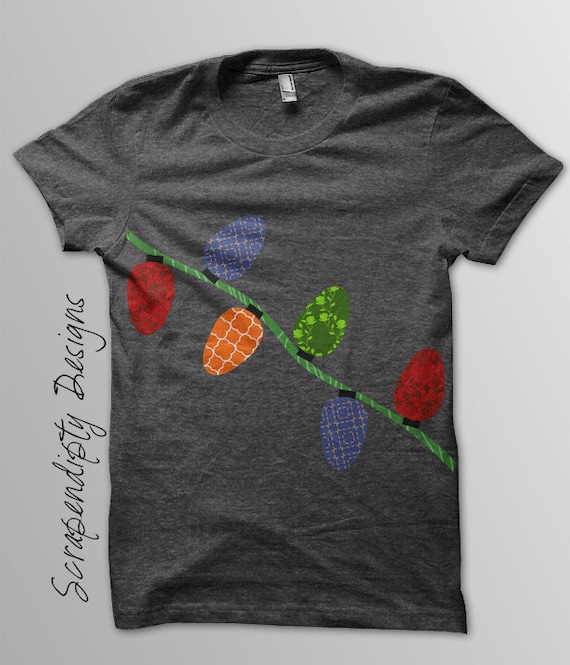
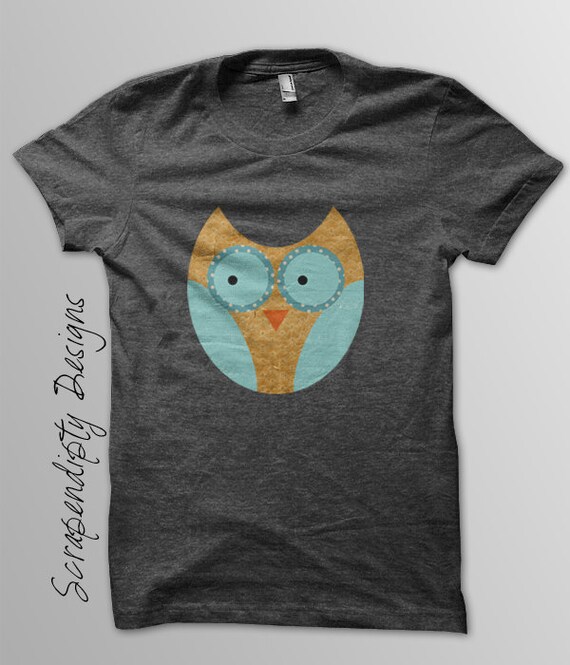
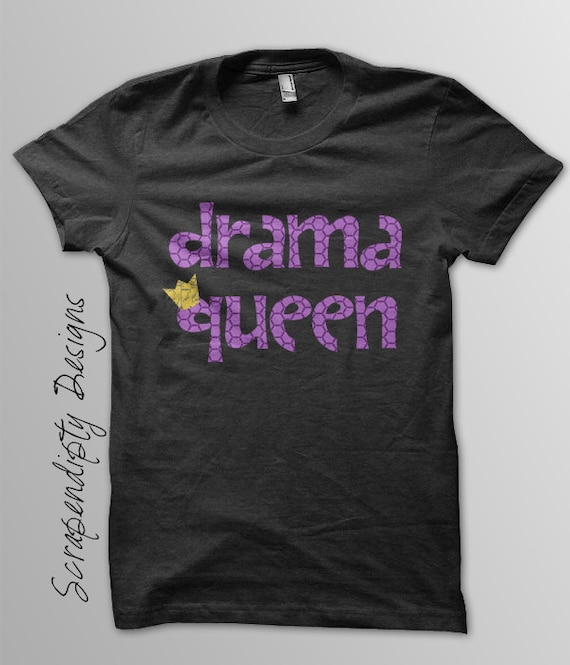
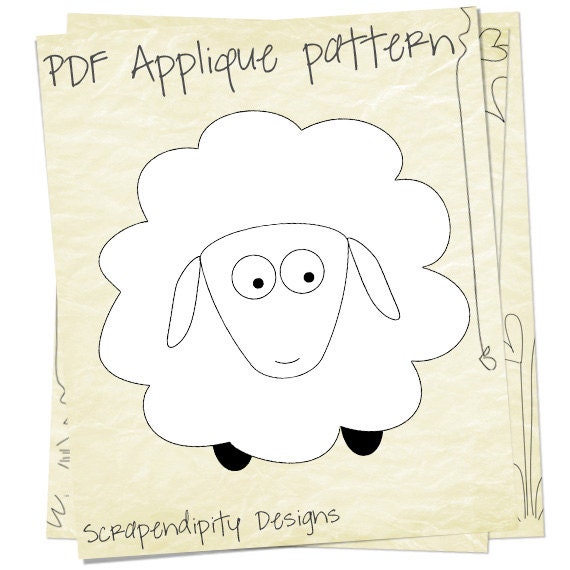
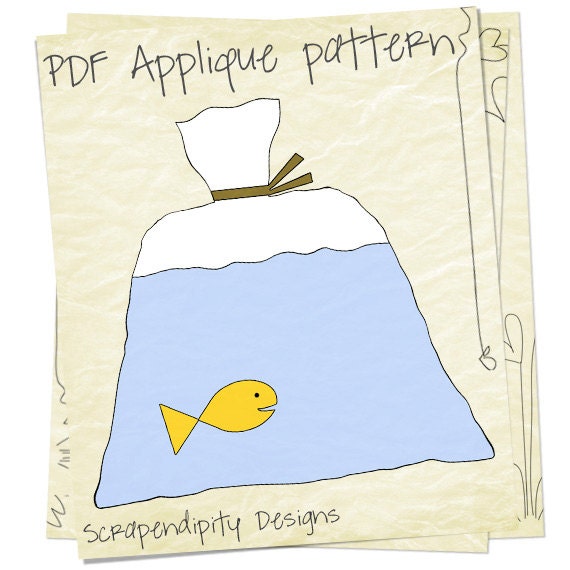
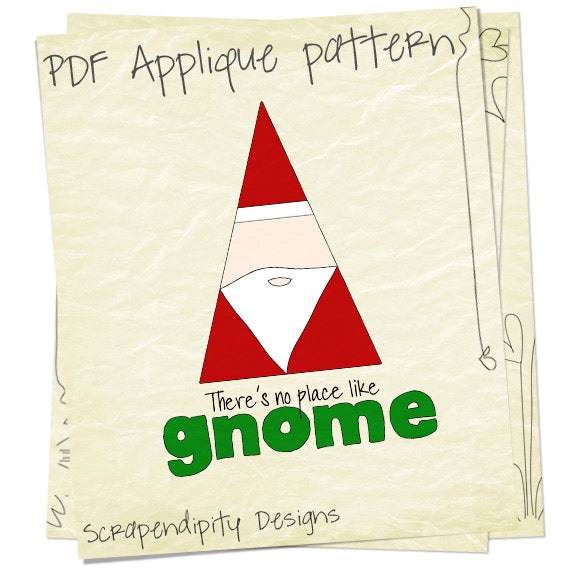
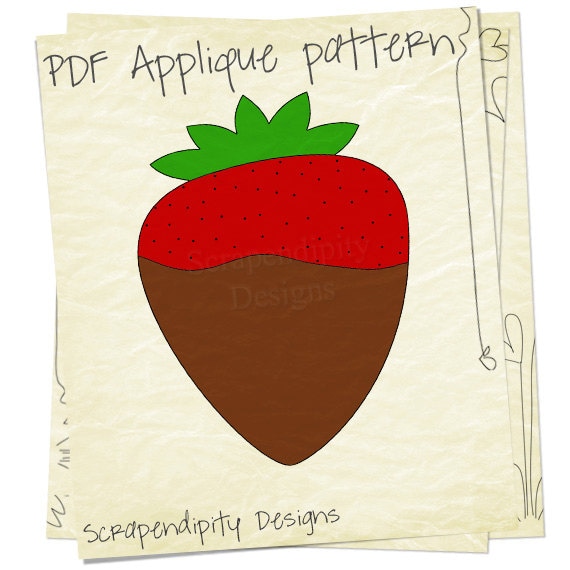
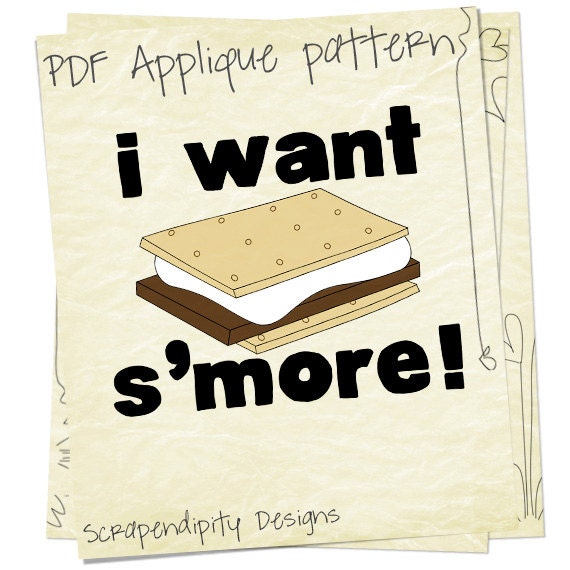
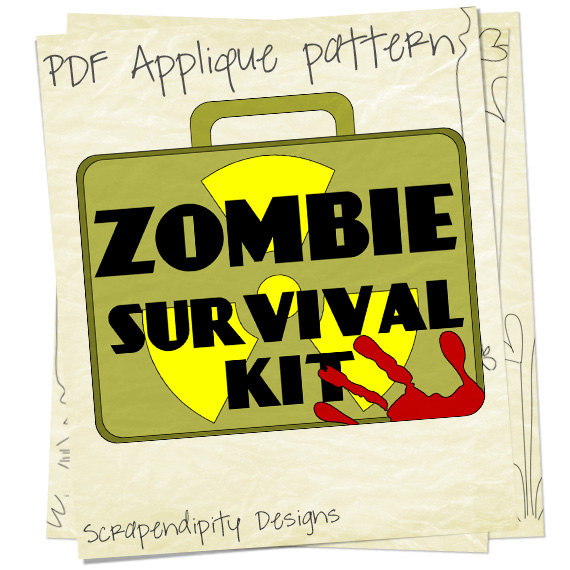
First you will want to print your design. Be sure the paper you are using is for light/white shirts. I have a lot of fun options available in my shop, Scrapendipity Designs. Here are a few that would work great with this tutorial!

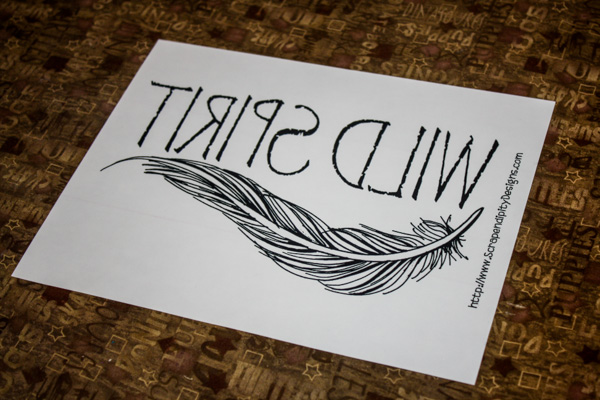
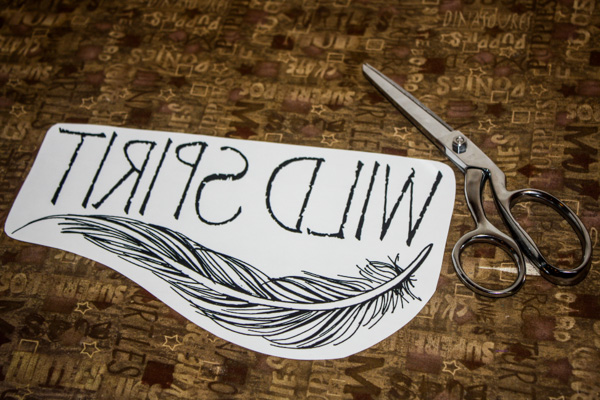
If you do not see a design you like there, please feel free to contact me. I am always willing to do a custom order. The design I used for this tutorial is not for sale unfortunately. Remember to pick a design that is either all black or a very dark color, this method may not have the desired results if your design is too close in color to your shirt color. You will have to print a mirrored version of the design. All of the iron on designs in my shop include this in the file you receive.

Once the design is printed,

trim the design. Cut a shape that is close to the design, but you do not need to be exact here.

It’s more important to have a shape that doesn’t have a lot of corners as that will make it more difficult to pull the paper up later.

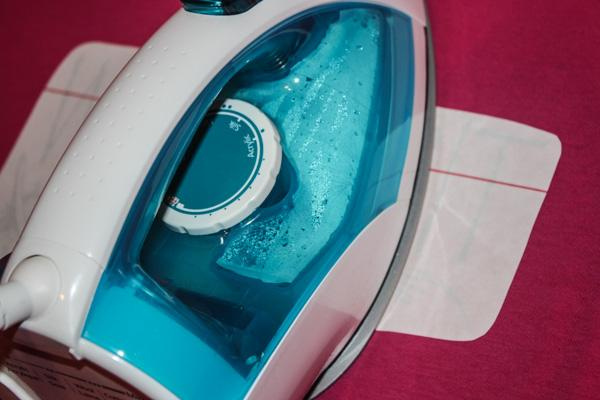
Pre-heat your iron to the cotton setting with no steam.

Per the instructions that come with the paper, you want to use a smooth, hard ironing surface that is NOT an ironing board. Place your pre-ironed pillowcase on this surface and then place your t-shirt on your pillowcase.

Iron your t-shirt so you have a nice smooth surface to work with.

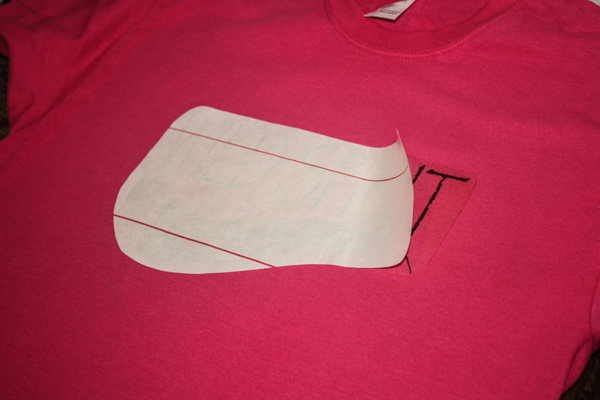
Place your design on the shirt, being careful to place it exactly where you want it to show up on the shirt.

Using firm pressure, place the iron on each part of the design for 20 seconds lifting the iron completely to move it to the next spot. Once you do the whole design once, turn the iron in a different direction and repeat. This will prevent getting spots where the iron vents are and helps apply the design more firmly.

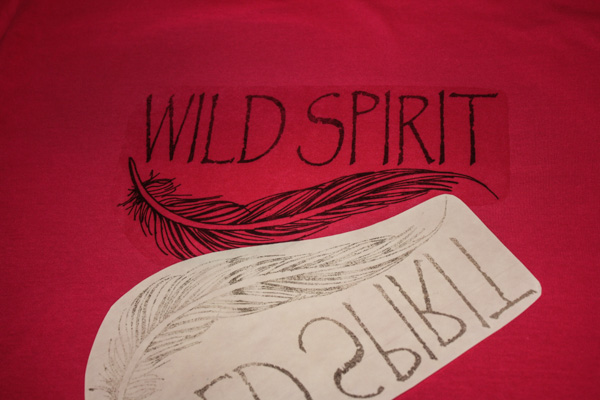
Once the design has cooled completely (about 2 minutes), pull the backing paper off of the design.

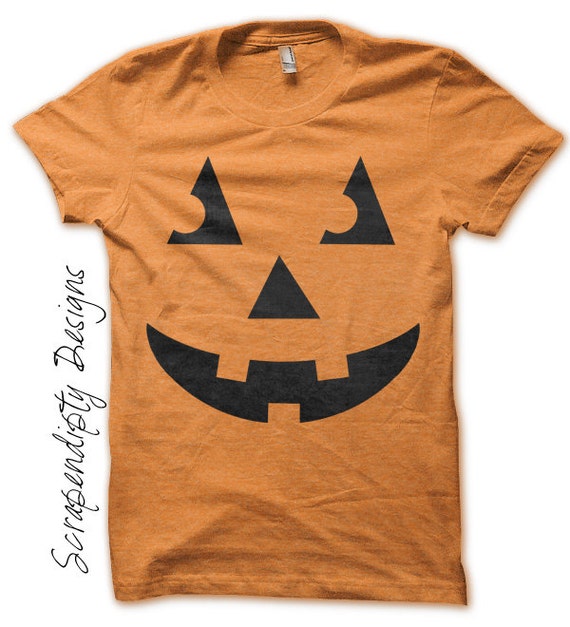
Your shirt is done! This method leaves a glossy version of the design behind. If there are spots that are whiteish, you can put the backing paper back on exactly and re-iron, just remember to let it cool completely to get that glossy look.

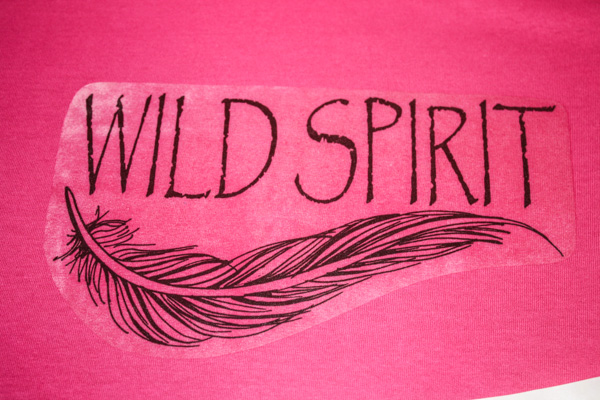
If you want more of a matte finish to the design, instead of pulling the design off when it is cool, you will want to pull it off while it is piping hot. You literally iron the design and pull the paper up immediately. If it cools at all, this method won’t work right. It’s scary at first, but works great! There will be a little ink left on the backing paper with this method.

You are left with a matte version of the image and I have found that I have no issues with washing when I use this method. The flash I used to take this picture makes the edges show up more than they do in real life, I promise!

That’s it! Please feel free to contact me directly if you have any questions about applying black text to a color shirt (rachel at scrapendipitydesigns dot com). This is a great way to get a screenprinted-like look for a fraction of the cost!

Happy ironing!
Rachel

Posted on

New Applique Patterns & Iron on Transfers in Store!

Whew …. it has been a while since I last posted. I have been a busy little bee though and posted many, many more designs in my Etsy shop. And even with all these new designs, I have a back log of about 50 items to still post!! So rather than chit chatting today, I will just post some of the new designs here, but be sure to check out my shop for all of them. Click on any picture to be taken directly to that design in my shop.

Be sure to check out my Etsy shop for even more!

Happy Quilting!
Rachel

Posted on

Hanukkah and Christmas Printable Iron on Transfers

I have been having so much fun creating my applique patterns for my Etsy shop, but then one day I was thinking about how fun it would be to make some iron on transfers that people could print themselves. I know not everyone loves to applique, so this would be an easy way to make a fun, unique, t-shirt. I have made a few iron on shirts for my son recently to test out my patterns, and they are so easy to make!! I am actually pretty impressed with the quality of iron on paper today. It used to be so stiff and the shirts never looked quite right, but the ones I picked up from Michael’s worked perfectly. Maybe soon I will do a quick tutorial for an iron on shirt. Hubby has been asking me to make him a shirt, so I can show the process with that.

I have been turning a lot of my applique designs into iron on transfers. These are made with patterned designs so it almost looks like fabric on your shirt, but it’s so much easier!! Of course all my applique patterns are still available if you want to use those to make a quilt or to make shirts with your own fabric. I still love the look of fabric on a shirt, but iron on transfers do make the process nice and quick! I have designed a few for Hanukkah and Christmas, and even though these holidays are close, since my designs are printables, there is still plenty of time to pick one up and make a special shirt for the holiday.

8 Crazy Nights Hanukkah Printable Iron on Transfer Design

Hanukkah Menorah Printable Iron on Transfer Design

Christmas Ornaments Printable Iron on Transfer Design

Christmas Lights Printable Iron on Transfer Design

I also have a bunch more Christmas designs in the shop, as well as a few non-Christmas designs:

Owl Printable Iron on Transfer Design

Drama Queen Printable Iron on Transfer Design

Right now I only have about 17 printable iron on transfer designs listed in the shop, but I am slowly listing one for each pattern, so if you like these, be sure to keep an eye on the shop as I add more!

Happy Quilting!
Rachel

Posted on

Tons of new PDF Applique Patterns and Templates in the Store!

Happy Halloween!! I hope everyone’s day is going very ghouly. Halloween was unfortunately postponed until Saturday in our town due to hurricane Sandy. Luckily we personally did not lose power or have anything bad happen to us because of the storm, but it did hit our town pretty hard. So instead of worrying about trick or treaters tonight, we are going to have our own little party just the three of us. We are all going to pick one favorite snack, we will turn on some good Halloween flicks, and we drink and be merry all night long! We all enjoy the holiday, so this will be a great way to celebrate it.

If you haven’t checked out my applique pattern store over at Etsy yet, I would highly recommend it. 🙂 I recently changed the name to match my business name here, so it is officially Scrapendipity Designs now! You can visit the shop here:

Scrapendipity Designs on Etsy

I have been designing and posting like crazy lately and now have over 103 patterns in my shop! Every time I make a new one, it becomes my favorite. 🙂 I have 10 sections in my shop (Etsy only allows 10, which is just a pain, but I deal with it since I have to!), here are a few of my newer items:

Animal Applique Patterns Section
Sheep Applique Template

Fish in a Bag Applique Pattern

Christmas / Winter Applique Patterns
Santa Gnome Applique Template

Santa Loves Me Applique Pattern

Food Applique Patterns
Chocolate Covered Strawberry Applique Template

I Want S’More Applique Pattern

Other Applique Patterns
Zombie Survival Kit Applique Pattern

Matchstick Zombie Survival Applique Template

This is just a small sampling of what I have made, so be sure to check out my shop to see more!!

Happy Quilting!
Rachel