Posted on

New Applique Patterns & Iron on Transfers in Store!

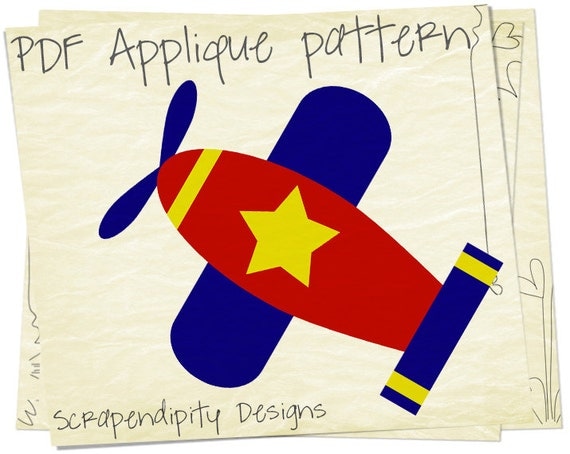
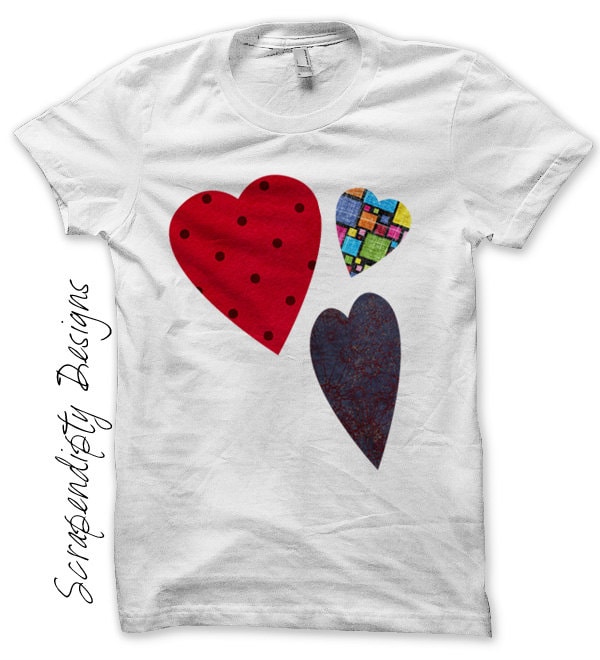
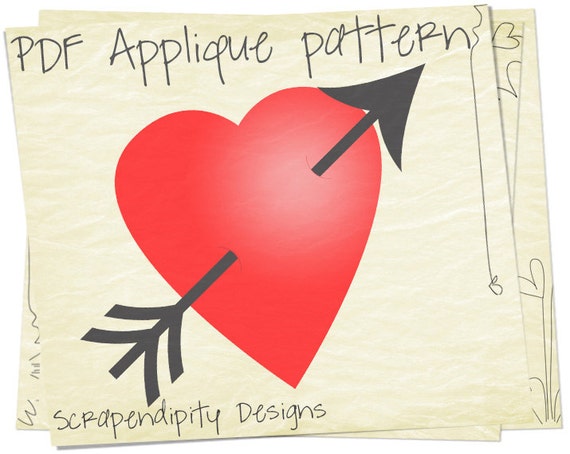
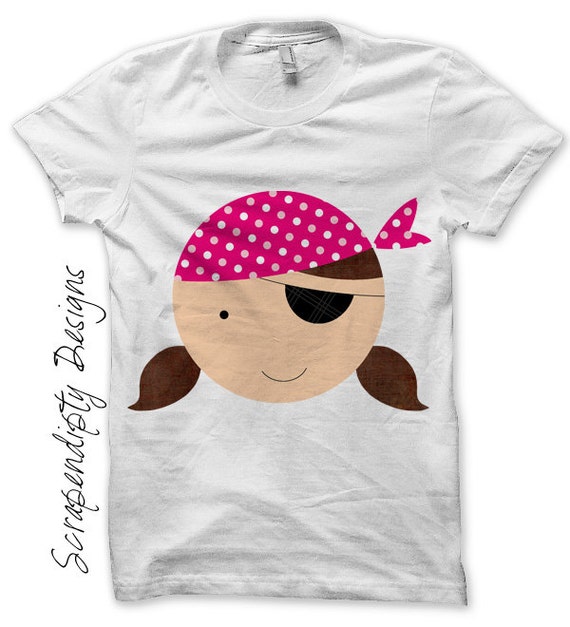
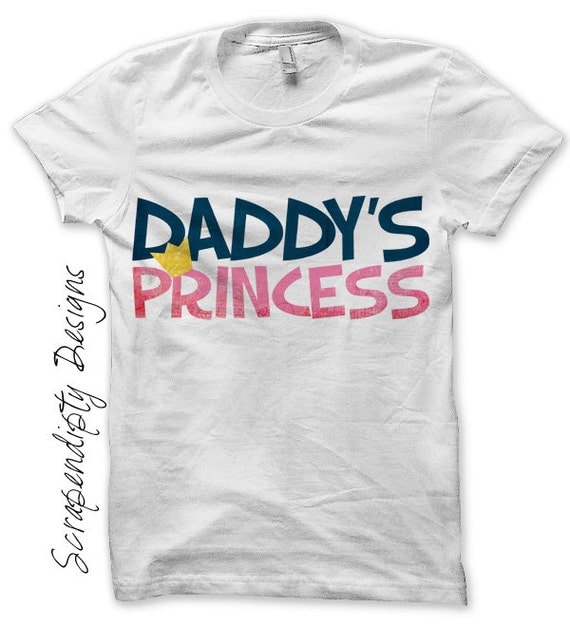
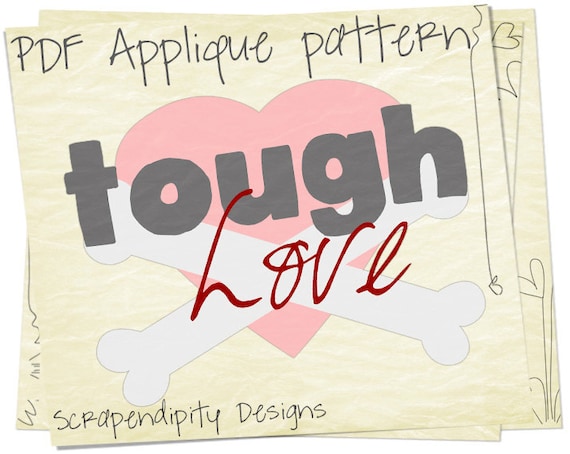
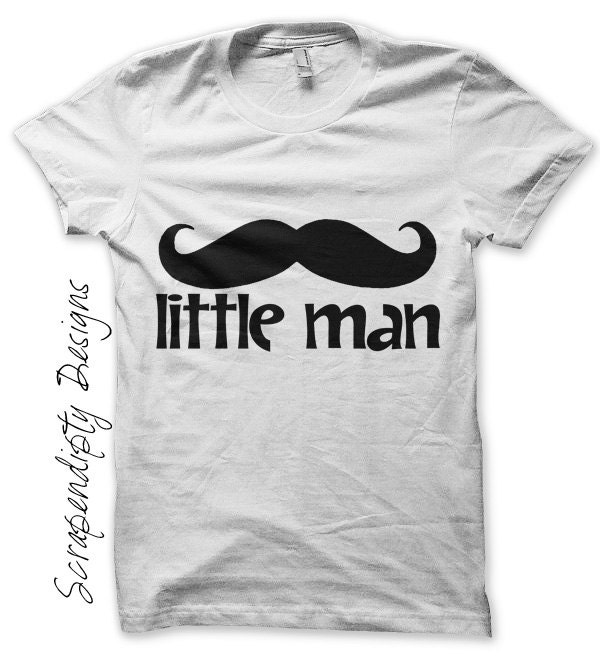
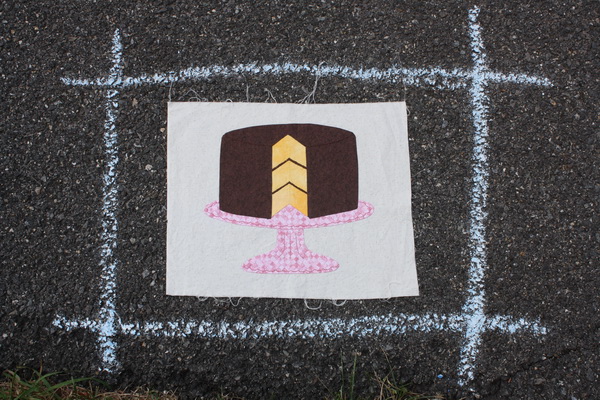
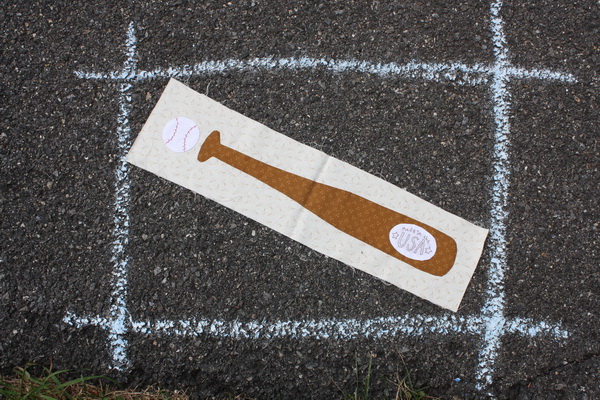
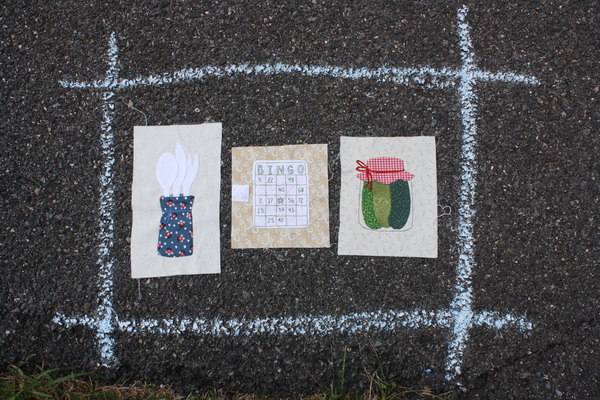
Whew …. it has been a while since I last posted. I have been a busy little bee though and posted many, many more designs in my Etsy shop. And even with all these new designs, I have a back log of about 50 items to still post!! So rather than chit chatting today, I will just post some of the new designs here, but be sure to check out my shop for all of them. Click on any picture to be taken directly to that design in my shop.

Be sure to check out my Etsy shop for even more!

Happy Quilting!
Rachel

Posted on

Tons of new PDF Applique Patterns and Templates in the Store!

Happy Halloween!! I hope everyone’s day is going very ghouly. Halloween was unfortunately postponed until Saturday in our town due to hurricane Sandy. Luckily we personally did not lose power or have anything bad happen to us because of the storm, but it did hit our town pretty hard. So instead of worrying about trick or treaters tonight, we are going to have our own little party just the three of us. We are all going to pick one favorite snack, we will turn on some good Halloween flicks, and we drink and be merry all night long! We all enjoy the holiday, so this will be a great way to celebrate it.

If you haven’t checked out my applique pattern store over at Etsy yet, I would highly recommend it. 🙂 I recently changed the name to match my business name here, so it is officially Scrapendipity Designs now! You can visit the shop here:

Scrapendipity Designs on Etsy

I have been designing and posting like crazy lately and now have over 103 patterns in my shop! Every time I make a new one, it becomes my favorite. 🙂 I have 10 sections in my shop (Etsy only allows 10, which is just a pain, but I deal with it since I have to!), here are a few of my newer items:

Animal Applique Patterns Section
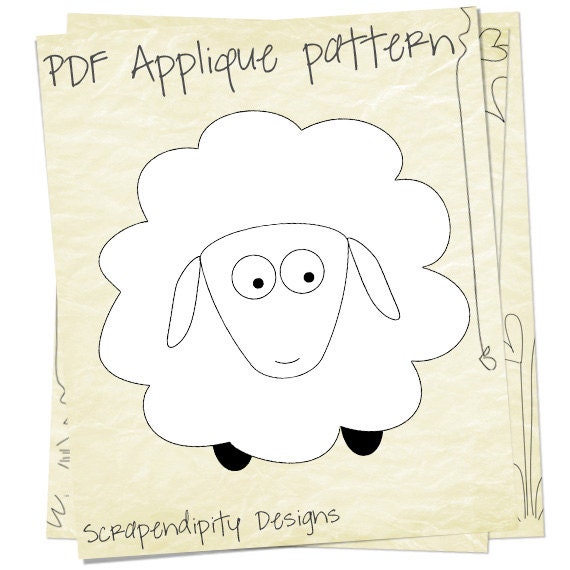
Sheep Applique Template

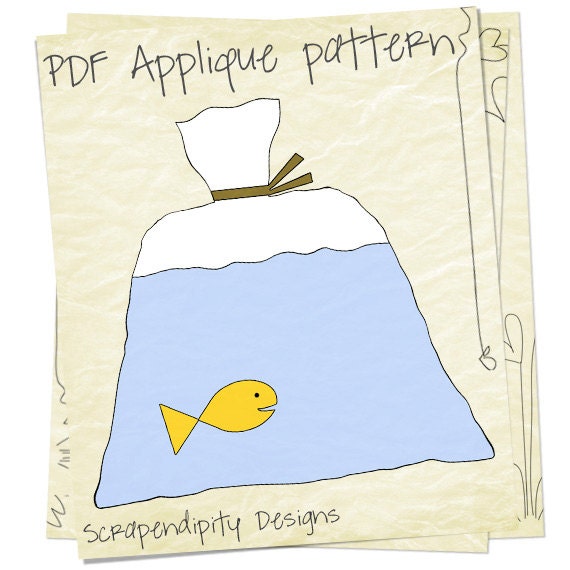
Fish in a Bag Applique Pattern

Christmas / Winter Applique Patterns
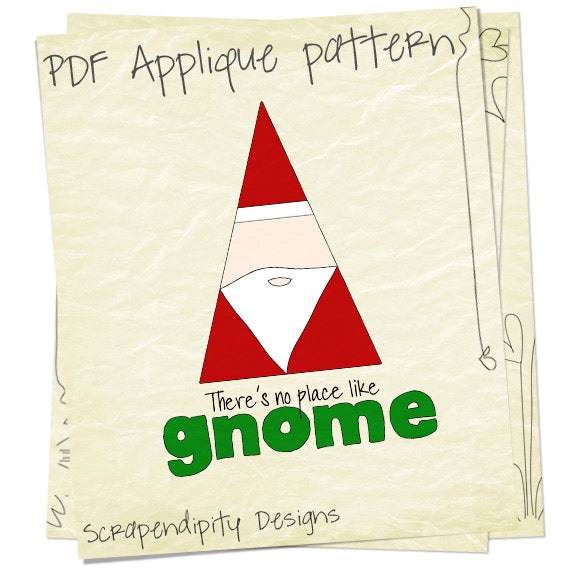
Santa Gnome Applique Template

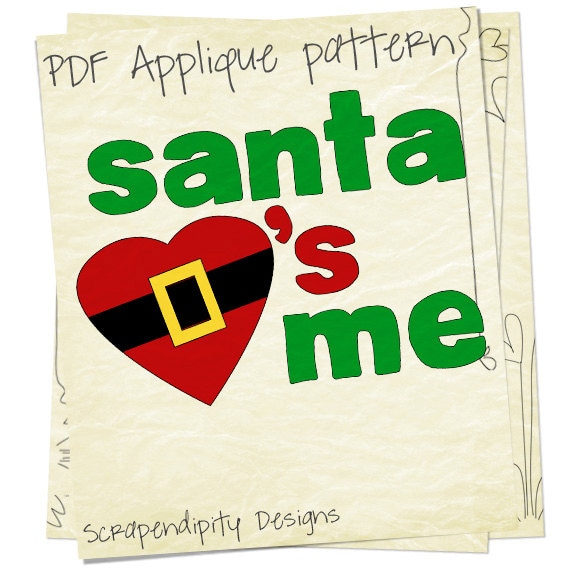
Santa Loves Me Applique Pattern

Food Applique Patterns
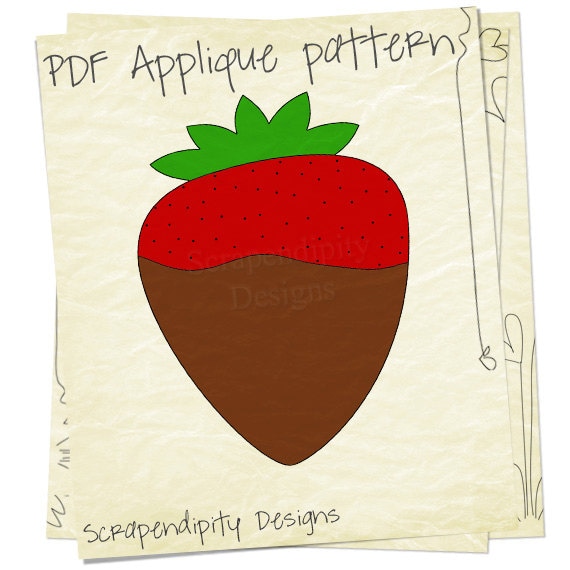
Chocolate Covered Strawberry Applique Template

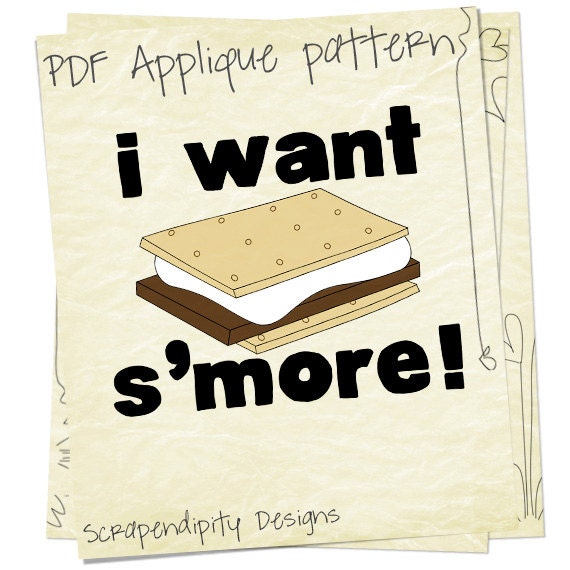
I Want S’More Applique Pattern

Other Applique Patterns
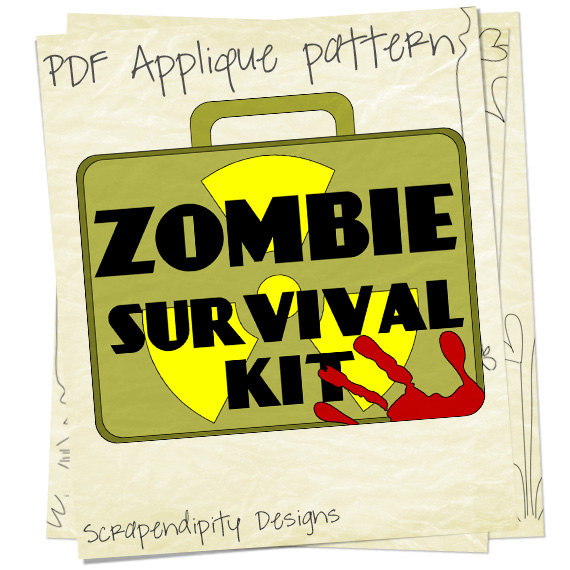
Zombie Survival Kit Applique Pattern

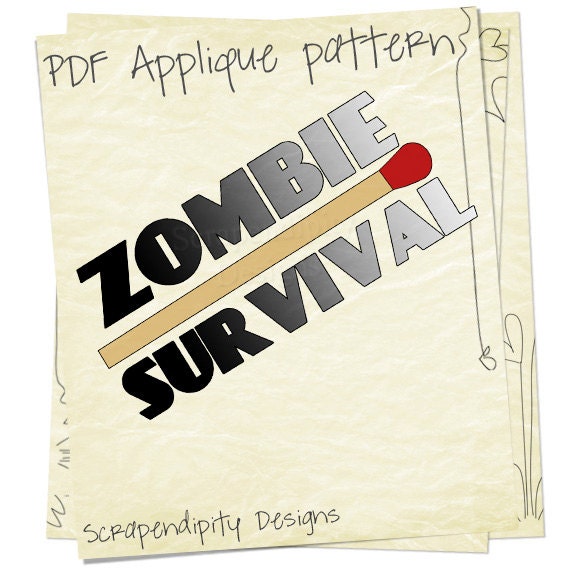
Matchstick Zombie Survival Applique Template

This is just a small sampling of what I have made, so be sure to check out my shop to see more!!

Happy Quilting!
Rachel

Posted on

Halloween Coupon on My Applique Patterns!

So before I get to the patterns, I just wanted to share that I have officially learned how to bunny hop on a scooter! LOL We got our son a scooter not too long ago, and he has been having a blast trying to learn tricks on it. He even took it to the skate park yesterday and was riding down the ramps and stuff. So today he asked me to come watch him ride, which I was happy to do, and he offered to teach me to bunny hop. It took me a few (okay more than a few) tries, but eventually I finally did it!! I was so happy for me, and it was so cute to watch my son be so excited for me. Now he insists that I must get my own scooter so we can go scootering together. I may just have to do that!

Today I wanted to share a few new PDF applique patterns I created. I am having so much fun coming up with ideas. I have a whole book of ideas that I haven’t even drawn up yet, and more that I have drawn, but not uploaded! But let’s look at some I did upload.

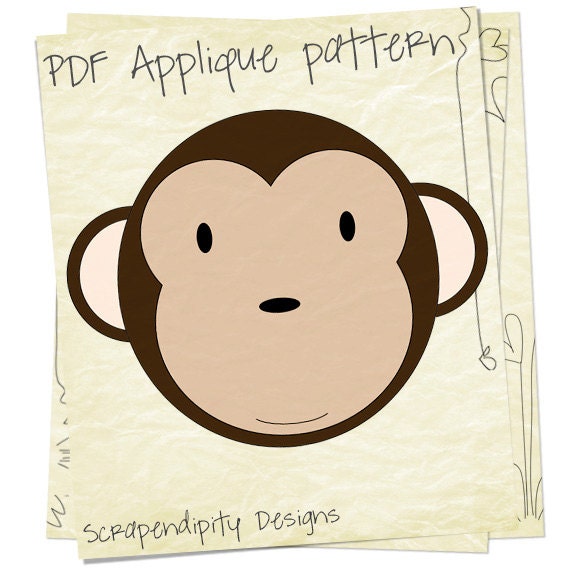
Monkey Applique Pattern
This adorable monkey is one of many animal patterns I have in my shop now. Wouldn’t he look so cute on a toddler’s t-shirt?

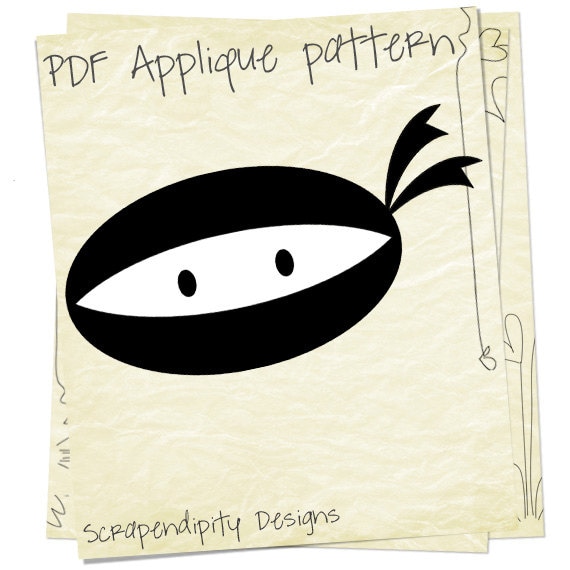
Ninja Applique Pattern
A crime fighting ninja is always a good addition to the family!

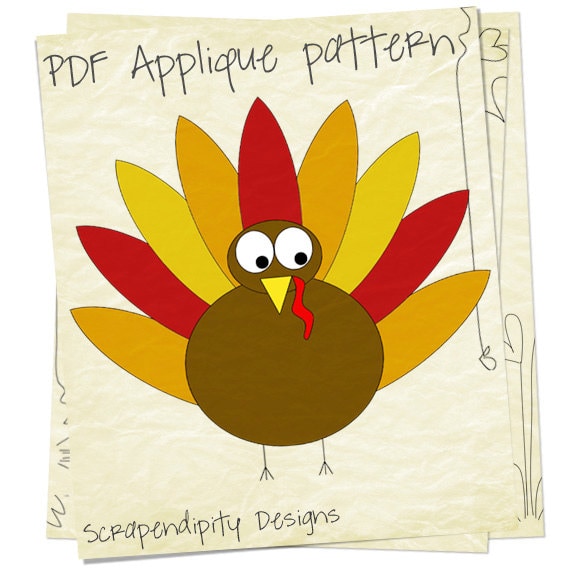
Thanksgiving Applique Pattern
Doing some holiday sewing? Wouldn’t this guy look awesome on an apron for the Thanksgiving chef?

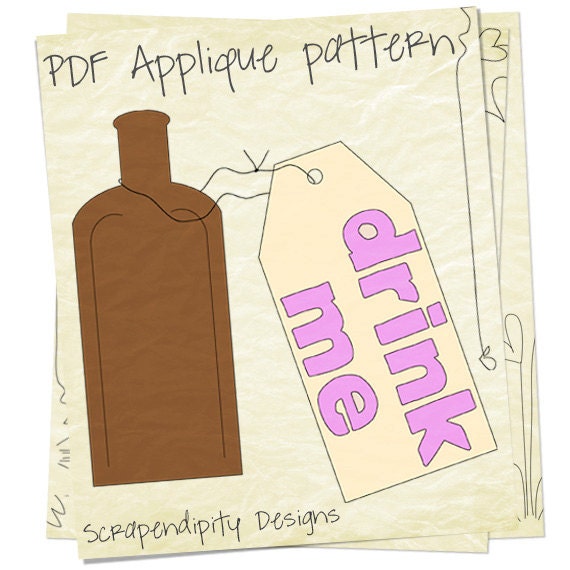
Alice in Wonderland Applique Pattern
I am working on a fairy Tale series of patterns, and this is one from Alice in Wonderland.

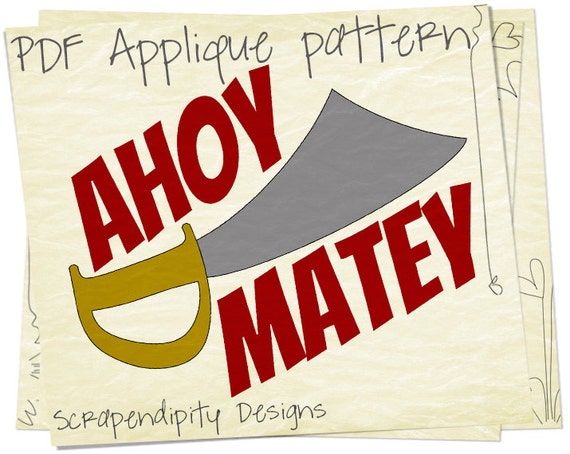
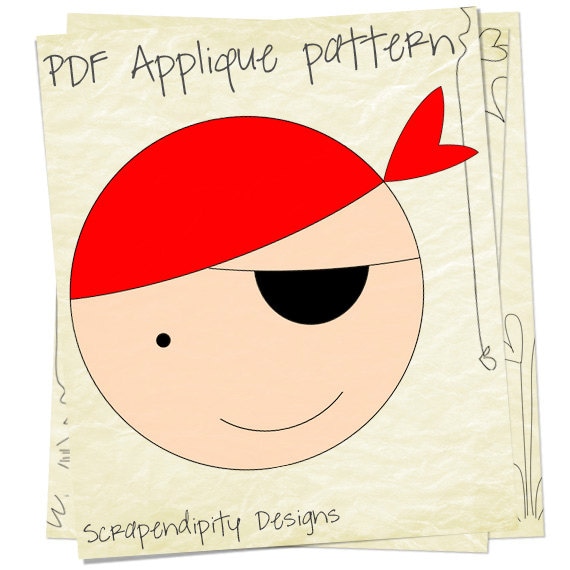
Pirate Applique Pattern
Yargh! How’s a pirate hit ya matey?

These are just a few of the new ones I have added. To see them all, check out my shop over at Etsy … Scrapendipity Designs.

I haven’t really done an applique tutorial on this blog yet, but I am hoping to do that soon. I am just having too much fun designing to stop and sew!! If you do purchase one of my patterns and you aren’t sure how to do applique, please just let me know and I would be happy to send along some links to good tutorials I have found.

Also, be sure to sign up for my newsletter. You can do so in the right hand side of this blog. I am planning on sending out periodic emails featuring the new patterns I add to my shop. That is probably the best way to keep up to date on what I am adding!

Happy Quilting (and scootering)!
Rachel

Posted on

Applique Pattern Samples

Today I was able to make up 3 samples for patterns. I used a few different styles of applique for these. If these ever get made into a quilt, I will ultimately longarm them, so even the raw edge applique will be sewn down. But I still like the look of needleturn applique, so I try to do that when I can as well. That method just takes longer to do and I am not real good at small pieces with that, so raw edge works great for those. If you are interested in the pattern for each of these, they are only $1.50 and can be found by clicking on the actual pictures.

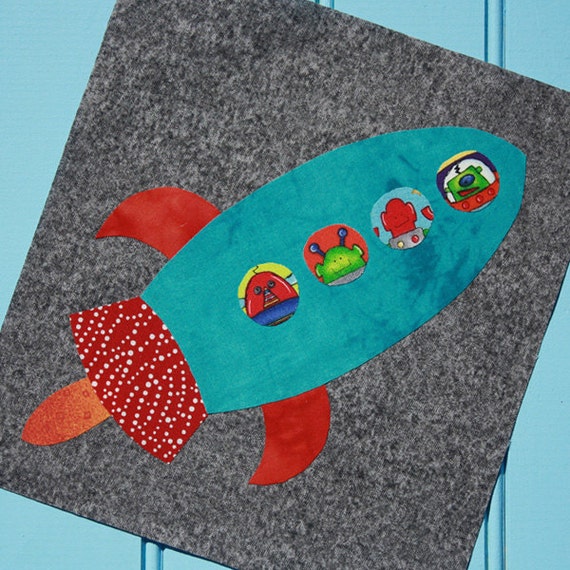
Here is a rocketship. I fussy cut a fun fabric for the guys in the windows. Hubby was impressed with that easy little bit of work.

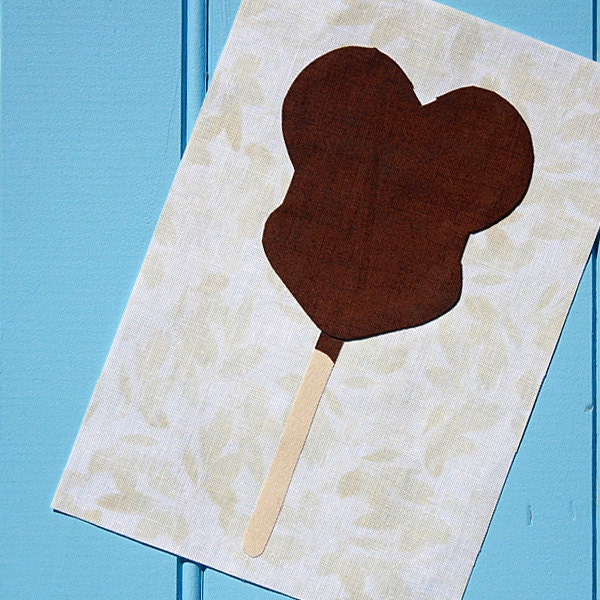
Here is the Mickey Ice Cream Pop. I love how this turned out. My favorite part of it is the bit of chocolate left on the popsicle stick from when it was dipped.

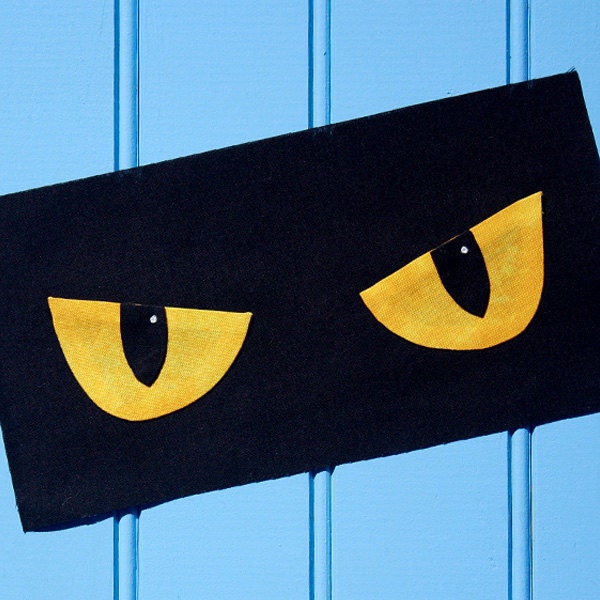
Here is a creepy pair of Halloween eyes. I thought they really popped off the black fabric, makes them look like they are lurking in the dark waiting to pounce on you.

I am having so much fun making patterns. Yesterday I had a flurry of ideas for future patterns and I am excited to make them up. I also have about 15 patterns I have already made, but haven’t posted for sale yet. So hopefully there will be plenty of choices of patterns to choose from!

Happy Quilting!
Rachel

Posted on

Virtual Sew Day and More Patterns!

So I have been keeping up with Virtual Sew Day over at Quiltingboard.com, even though I haven’t been posting it so much here. Tomorrow is another one! Honestly I haven’t been doing much sewing lately (hence the quiet blog), but now that I am creating patterns, I am starting to feel the sewing bug again. Tomorrow I will be working on some of my new patterns and maybe a few other projects thrown in for fun. If you would like to join in, Virtual Sew Day is just a fun day where you sew at home, I sew at home, and then we chat about our progress to keep each other motivated. You can post here, or check out the post I will start over at Quiltingboard.com.

I have created quite a few new patterns. You can pick any of them up at my Etsy shop or my Craftsy shop. These are all fabric applique patterns. They are sold as templates only. Here are a few new ones I have added, I will post some of the actual fabric blocks tomorrow as well.

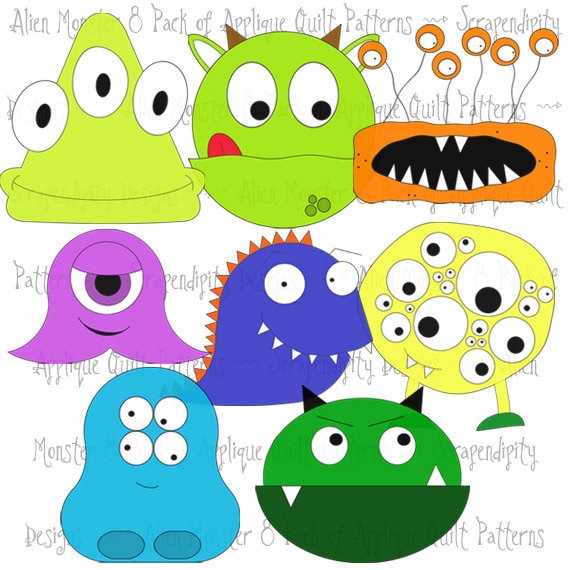
First up we have a large pack of alien monsters. These guys would look great as a whole quilt. The pack, however, only includes the templates not quilt instructions, so use your imagination to build something fun!! All these patterns are also sold individually.

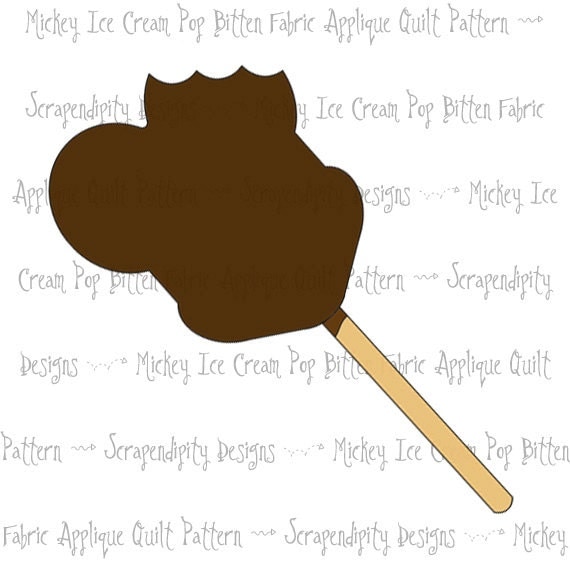
Next up I have something based on our recent trip to Disney World. These Mickey ice cream pops were everywhere and really signified that you had arrived. This one has a big bite out of it, but I also have one with no bite in my shop.

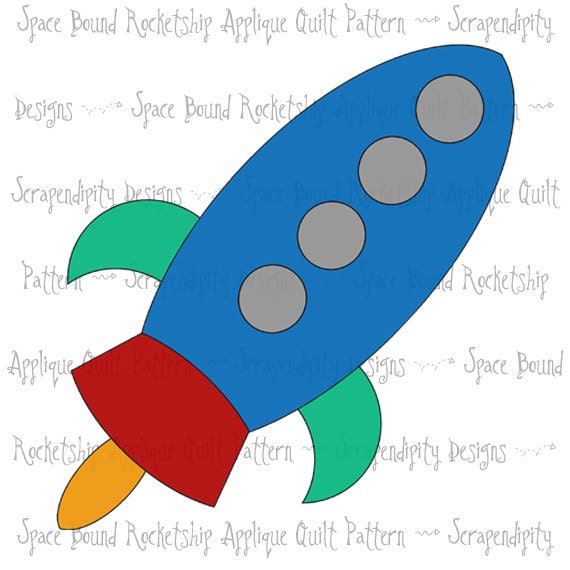
To go with the alien monsters, I also created a few space themed applique patterns like this rocketship. I think these would look great sprinkled in with the monsters as well!

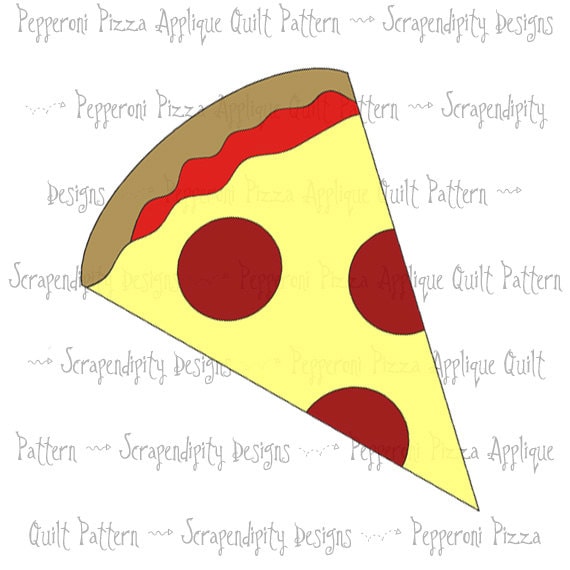
And lastly, I know it’s a bit odd to see food as a fabric applique, but I just thought it would be fun to see a quilt made of classic foods!! This pizza slice is one of the ones I have in my shop.

These are just a couple examples, I have more in my shop, so be sure to check them all out!! Tomorrow I will have some examples of what these look like when made out of actual fabric!!

Happy Quilting!
Rachel

Posted on

New Applique Halloween Patterns

I has been a while since I last sewed!! Of course I always love sewing, but sometimes it gets put aside for a while in the name of other pursuits. But I recently slowly started back up again, and the first thing I started with was making some patterns. I am having fun creating these, and of course I have a whole treasure trove of ideas locked away in my head to create. I am selling my patterns on Etsy and Craftsy. They are applique patterns, but the patterns themselves do not include applique instructions. I have used at least 5 different applique methods myself, and a Google search can yield hundreds of options, so I decided to only include the patterns and let people use their own preferred method. So you want to see my patterns? Here you go!

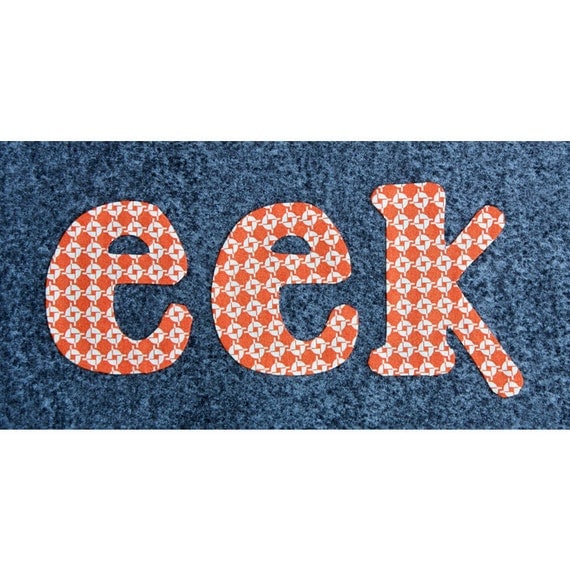
First up is some wordage. I love words in quilts, and of course Halloween words are just the best. I started with two smaller words eek ….

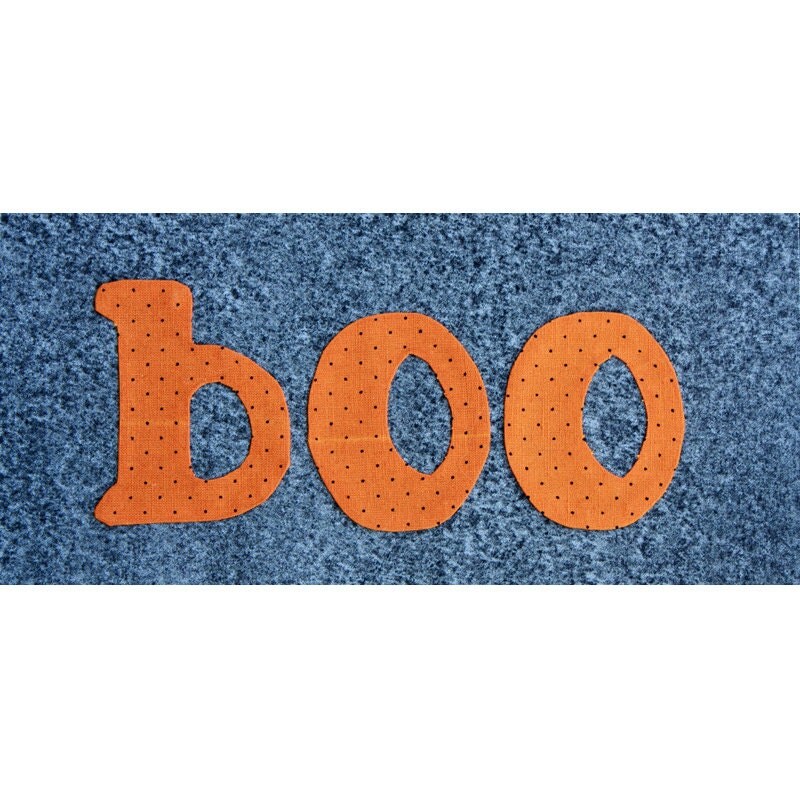
and boo …

Both words are included in one pattern, and I provided the right side and reverse pattern as well. The pattern can be found here:

Eek-Boo Halloween Pattern at Etsy
Eek-Boo Halloween Pattern at Craftsy

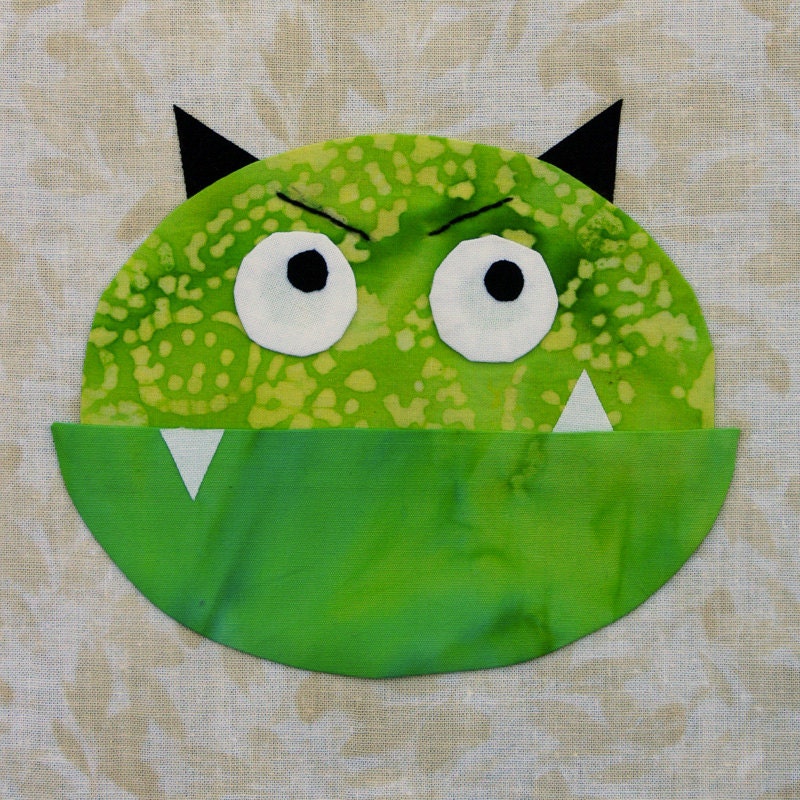
The second pattern is a fun monster who is looking not too happy.

I had fun making this little guy. I had a hard time deciding on the eyebrows, but ultimately I liked his angry look. Of course you can feel free to change the eyebrow placement to get a whole slew of expressions! The pattern for this guy can be found here:

Cute Monster Halloween Pattern at Etsy
Cute Monster Halloween Pattern at Craftsy

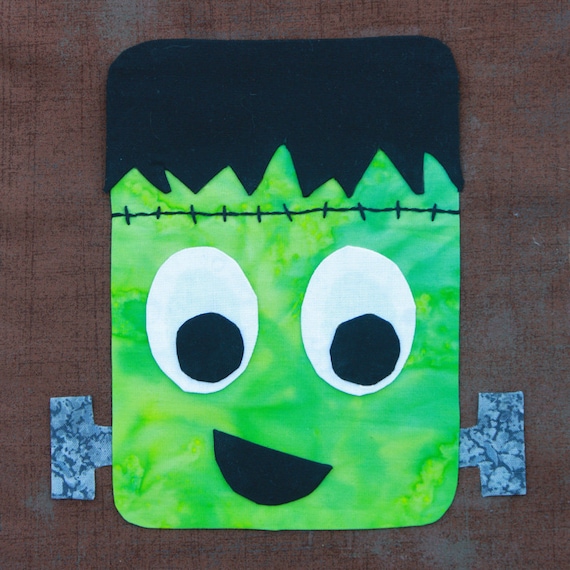
The third pattern is a fun and playful Frankenstein.

Since I went angry with the monster, I decided to make Franky a little more playful. I guess he is just happy to be alive!! The pattern for Franky can be found here:

Frankenstein Halloween Pattern at Etsy
Frankenstein Halloween Pattern at Craftsy

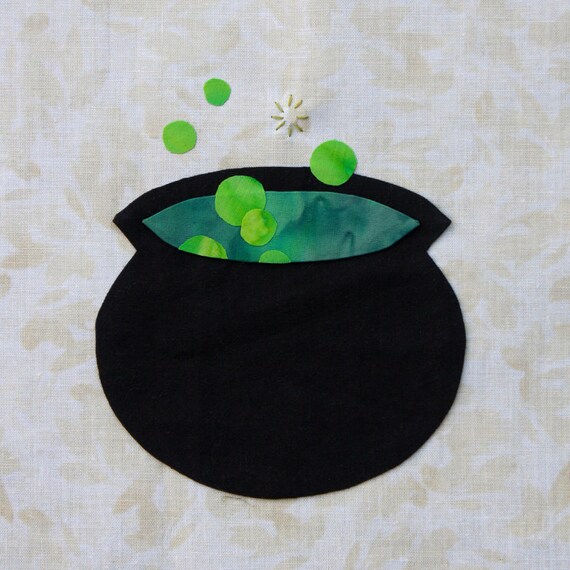
And last for today is a bubbling Witch’s Cauldron.

I have always loved the look of a bubbling witch’s brew. Is she making spells and potions, or just dinner? You can get the pattern for the cauldron here:

Witch’s Cauldron Halloween Pattern at Etsy
Witch’s Cauldron Halloween Pattern at Craftsy

That’s it for today!! I have a few more in the works that will get posted soon, but I had so much fun making these ones. I hope other people enjoy them as much as me.

Happy Quilting!
Rachel

Posted on

Family Reunion Applique Quilt

A while back I picked up a pattern called “Family Reunion“. As soon as I saw it, I knew it had to come home with me. The pattern is made by Lori Holt from Bee in My Bonnet. Here is a picture of the completed quilt:

Lori has created some of my absolute favorite applique patterns. I love her creativity and if she ever made a vintage Halloween pattern I think I would have just died and gone to heaven!! I have slowly been working on this pattern for 6 months or so.

I am doing this one with needle-turn applique. I have tried quite a few methods of applique, some of which I have shared on blog.

When I started the blocks for this pattern, I tried the method that was included with the directions. It worked out very well compared to other ways I have tried needle-turn, but going around the smaller curves was still pretty difficult for me.

Then I was perusing the interwebs and stumbled on a different method for needle-turn. I decided to give it a try to see if it was any easier around those smaller parts. The new method actually worked wonders on all those spots that were difficult for me.

I will do a tutorial for you on another thread, but I wanted to share the blocks I have done already. This is such a fun quilt to work on and applique is a wonderful project for sitting in front of the TV.

We do have this pattern in the shop (here), as well as some other patterns by Bee in My Bonnet. (Click the pics to see the patterns):

I have a 20% coupon code for any Bee in the Bonnet pattern. Just use the code “BONNET” (without the quotes) when checking out. I cannot wait to get other people hooked on these wonderful patterns.

Happy Quilting!
Rachel

Posted on 3 Comments

Raw Edge Applique Tutorial

This was written for Stash Manicure, but I wanted to share it here as well. I hope you enjoy!

Those that visit my blog know that Halloween is my absolute favorite holiday. In fact I have Halloween decorations up year round! The funny thing is, I never actually made myself a Halloween quilt. I have been collecting Halloween fabric for 2 years, but because it is my favorite holiday, I always felt it had to be the perfect quilt. This year I decided to change that and I ended up making two Halloween quilts. One of them is an applique quilt called ‘Don’t Drink and Fly’.

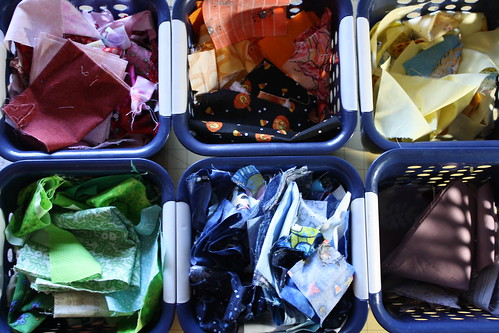
Applique gives you a great opportunity to use up all those scraps you have hanging around. I am a lover of scraps. Many of my scraps come from other people, for which I am very grateful. I prefer to work with other people’s scraps as it gives me a larger variety of scraps than I could ever come up with on my own. Not too long ago, I organized my scraps by color.
IMG_0755

I have considered mixing up the color and organizing them by size, but since doing applique, I have found the color method to be the best one. You can see that I am a little slim on some colors, I am always on the hunt for a new set of scraps to refill my buckets!

The ‘Don’t Drink and Fly’ pattern is from Eat Cake Graphics and is available in my shop here.

If you have never seen their quilt patterns before, be sure to check them out. They are so much fun!

When I received this pattern, I had never done applique before. I tested a few different methods, and found most of them to be too time consuming for me. I finally decided to use raw edge applique for this quilt. The pattern calls for needle turn applique, so I had to be careful about getting everything facing the right direction when I made the quilt with raw edge. Today I am going to give you a quick tutorial on how I did raw edge applique for this quilt top. Since my quilt top is already done and I didn’t take any process pictures with it, I will be making a small wall hanging instead.

Tools
Steam a Seam Lite 2

IMG_0761

Sharp scissors
Light box or Sunny Window
Iron
Pencil

Fabric requirements
All fabric can be found in your stash! That’s what is great about applique, the pieces are small, and you can easily use scraps you have hanging around. When I am done the tutorial I will show my completed quilt top and the one from the pattern, you will see that I changed a lot of the colors to fit the scraps I had on hand. I was also able to find a large piece of fabric I could use for the background, again a bit different from the pattern, but it works and it got that fabric out of my stash!

Step One
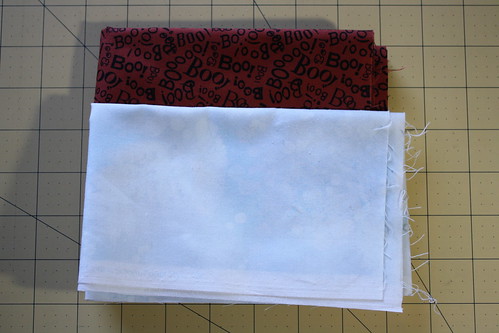
The first thing you want to do is prepare your background. My wall hanging will have a solid background and a border. I chose two fabrics from my stash for this.
IMG_0751

You want to iron your background fabric really good, I prefer to use starch, but it is not necessary. Having an unwrinkled background will make laying out your pieces much easier.

Step Two
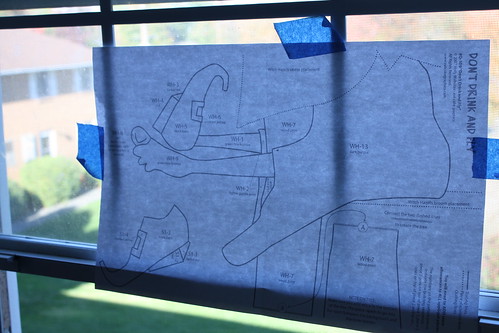
Once your background is pressed you want to trace the basic layout of the pattern to the background fabric. When I did my original quilt I just taped the pattern right side up to my window, but you could also use a light box if you have one.
IMG_0756

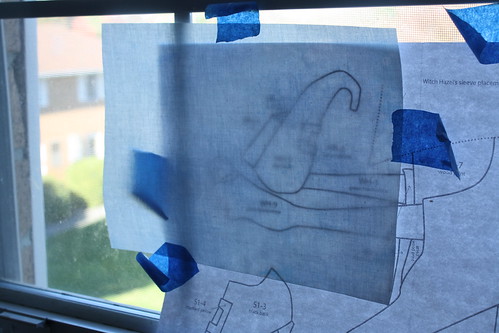
Next tape your ironed background fabric over the pattern, face up. Be sure to center everything right where you want it to go. For my wall hanging I am only doing a small portion of the pattern, but for a full quilt design, you will want to trace everything now to ensure that it is all centered properly.
IMG_0757

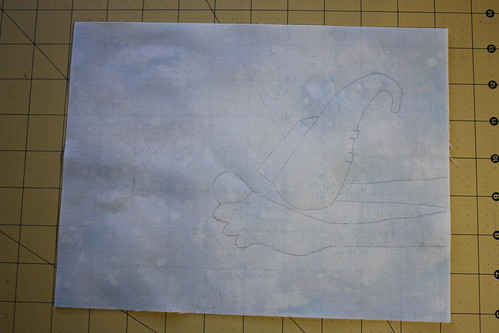
Trace your pattern to the front of your background fabric using pencil. You only need to trace enough lines to get an idea for placement of your pieces. Remember, some of the smaller detail parts will be on top of other pieces, so a placement line on the background would not help much.
IMG_0758

Step Three
Next we want to get our pattern traced onto the Steam a Seam Lite 2. With Steam a Seam, the material gets ironed to the wrong side of the fabric, because of this we need to reverse the pattern before we draw our lines on the Steam a Seam. If we do not, we will end up with a mirror image of our pattern and nothing will fit with the background lines we just drew.

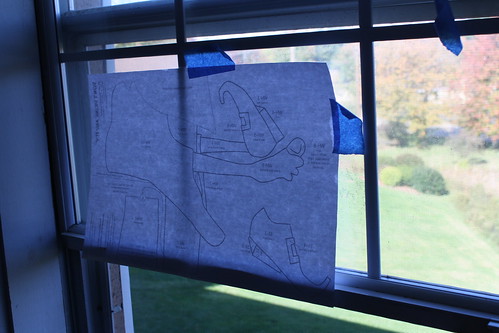
The first thing I do is turn over my pattern taped to the window. Now the pattern is taped with the back facing out. This gets me my reverse image I need to trace.
IMG_0759

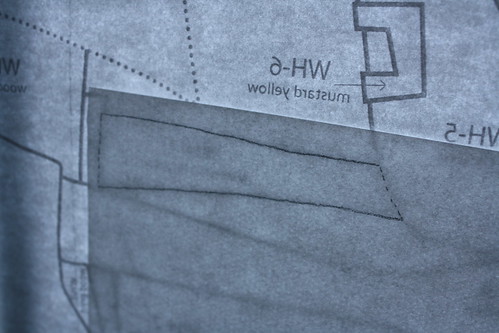
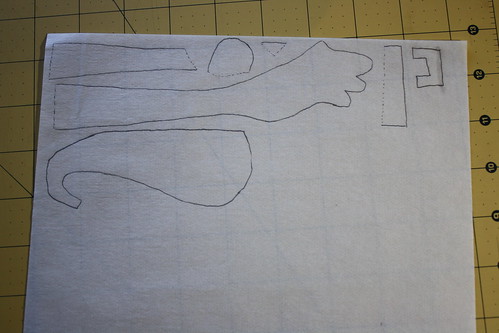
Now you can just trace each piece of your pattern on to the Steam a Seam. For the edges that are supposed to look like the are under another piece, draw a dotted line on that edge. For all the edges that are supposed to look like they are on top, draw a solid line. When placing the pieces on the Steam a Seam, you want to leave about a 1/4 inch next to any dotted lines, you do not need to leave much space next to solid lines.
IMG_0762

IMG_0764

Step Four
Now that you have your pieces traced, you want to pull scraps for each piece.
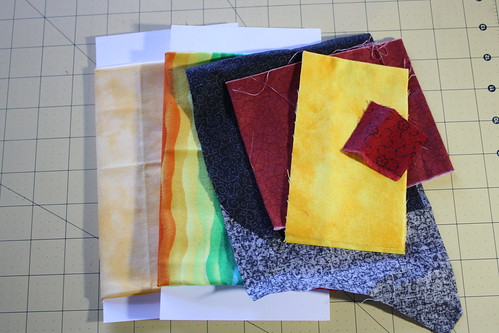
IMG_0766

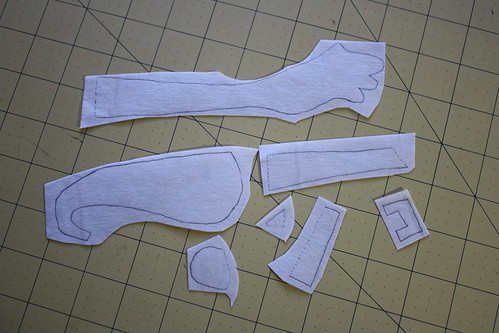
Iron all your pieces nice and flat (again I personally use starch). Then rough cut each pattern piece out from the Steam a Seam Lite. I do not cut on the lines yet, leave a little edge around the whole thing, and a little more than 1/4 inch next to the dotted lines.
IMG_0767

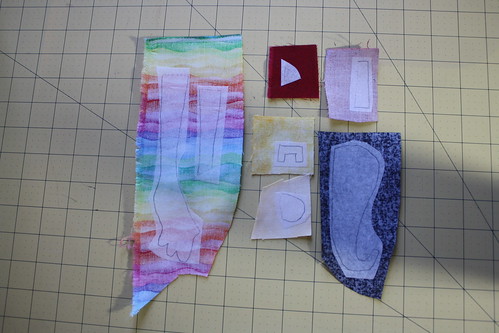
Now peel the paper that does not have your pattern on it from the Steam a Seam Lite and iron it to the wrong side of your chosen scraps according to the package instructions.
IMG_0768

Step Five
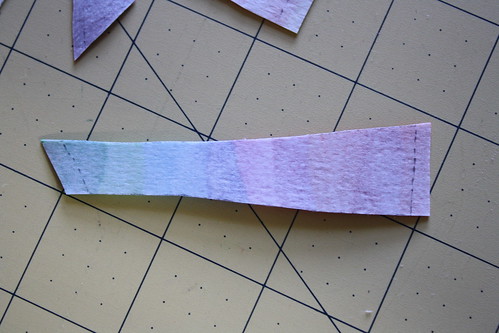
Now that your pattern pieces are ironed to the back side of your fabric, you want to cut them out. When cutting, you want to cut directly on the solid lines, and you want to leave about a 1/4 inch edge on the dotted lines. This will help you tuck these pieces under other ones.
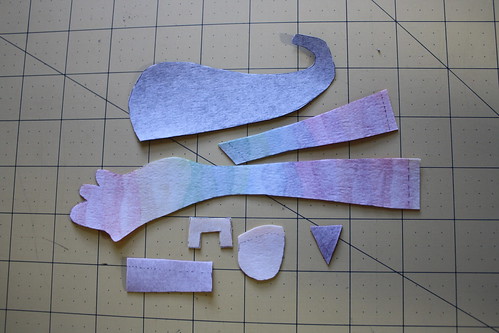
IMG_0770

Here’s a close up of one of the pieces so you can see the extra bits next to the dotted lines.
IMG_0772

Step Six
Now we need to get our pieces on to our background fabric. Lay out your background fabric, find each piece and peel off the paper from the Steam a Seam Lite, and place the piece on the background.

Do not iron it on yet.
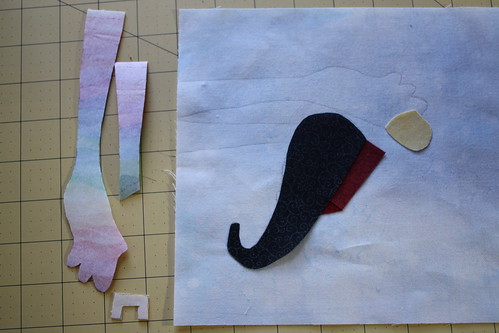
IMG_0773

The Steam a Seam has a little tack to it, so your pieces will not slide around. Place each piece on according to your drawn guide. Keep in mind pieces that should be over and under each other, and remember that you have a little bit extra on the pieces that should be under something else, so those edges will not line up with your guide exactly. Use your pattern as a visual while you are doing this. Since the pieces are not ironed on yet, you can move the pieces around, or trim a few things, until you get the look you want.
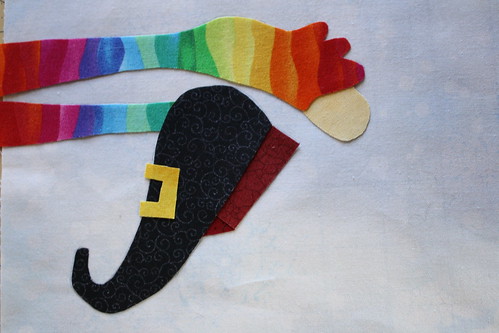
IMG_0775

Step Seven
Once all your pieces are in place as you like them, iron everything down. Remember you cannot undo this! So be sure everything is as you want it before you iron.

Now you can add your borders and finish your top as you would like.
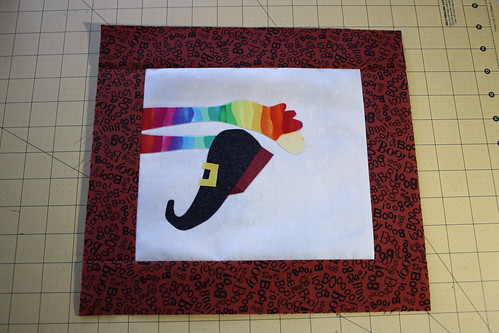
IMG_0778

I hope this tutorial helps you do a raw edge applique quilt. This type of applique is very quick and easy. Once you have your top complete, you can sew around the edges of each piece with invisible thread or like colored thread to tack everything down. I have not done this yet on my quilt.

Here is a picture of the ‘Don’t Drink and Fly’ quilt from the pattern:

And here is my version of this quilt:

IMG_0779

I have not done all the details on this yet, but you can see that many of my fabric choices are different from the pattern. This is because I wanted to use the scraps I had on hand. I did not have to buy a single piece of fabric to make this top! Applique is a great way to trim down your stash, I hope you will give it a try.
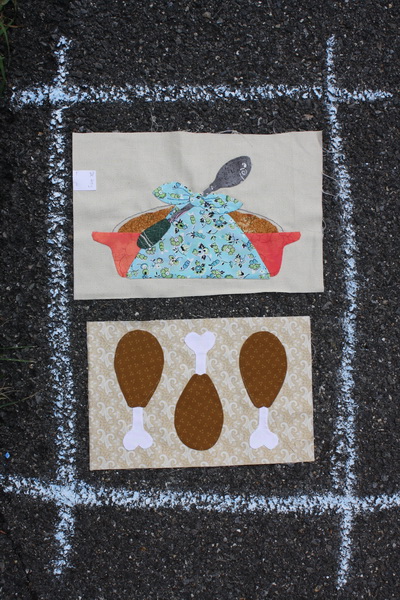
If you are looking for more applique patterns, I sell my own at my Etsy shop, Scrapendipity Designs.

Happy Quilting!
Rachel