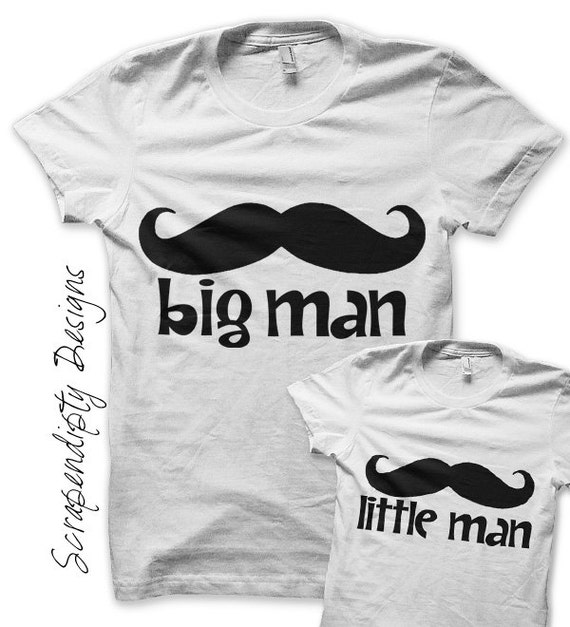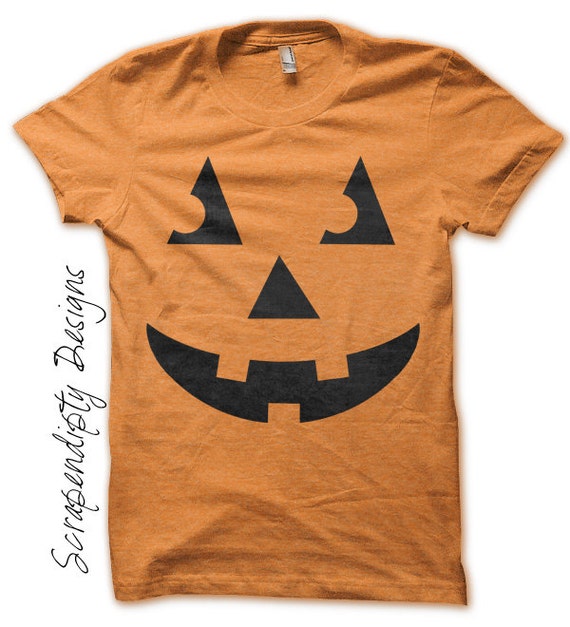
Using iron on transfer is very different than screen printing. You cannot always get the same look, but the cost savings of being able to do it yourself is great. Screen printing is not a DIY project, but with a little practice you can get a screen printed look even with iron on transfers. Today I am going to show you how to get black text on a color shirt with no white around the text. This method really only works for dark text and a shirt that is not too dark. If the color of the shirt is too close to the color of the text, then the text will not show up well at all. Keep that in mind when picking out a shirt color.
Materials
1 Shirt in a fun color
1 Sheet iron on transfer paper for White/Light shirts
Printer
Iron
Pillow case
Smooth, heat proof surface
Instructions
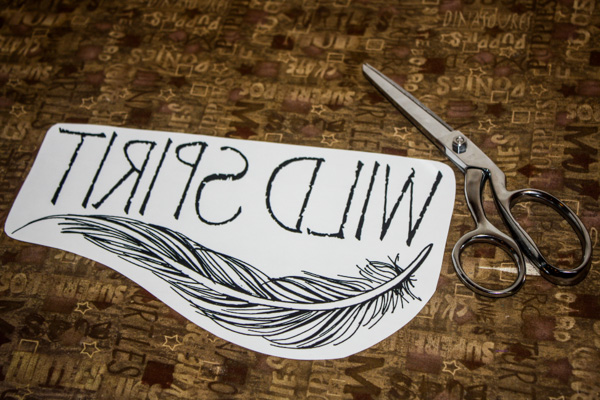
First you will want to print your design. Be sure the paper you are using is for light/white shirts. I have a lot of fun options available in my shop, Scrapendipity Designs. Here are a few that would work great with this tutorial!
If you do not see a design you like there, please feel free to contact me. I am always willing to do a custom order. The design I used for this tutorial is not for sale unfortunately. Remember to pick a design that is either all black or a very dark color, this method may not have the desired results if your design is too close in color to your shirt color. You will have to print a mirrored version of the design. All of the iron on designs in my shop include this in the file you receive.
Once the design is printed,
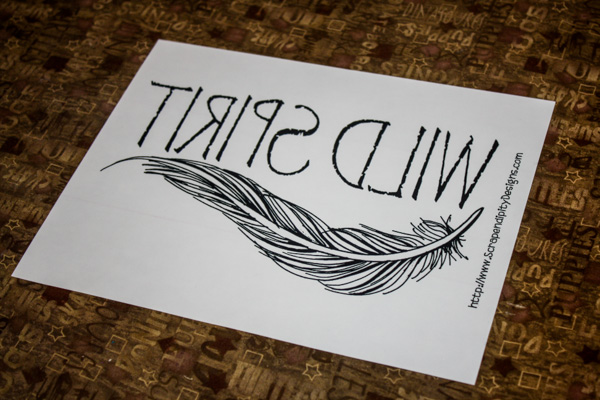
trim the design. Cut a shape that is close to the design, but you do not need to be exact here.

It’s more important to have a shape that doesn’t have a lot of corners as that will make it more difficult to pull the paper up later.
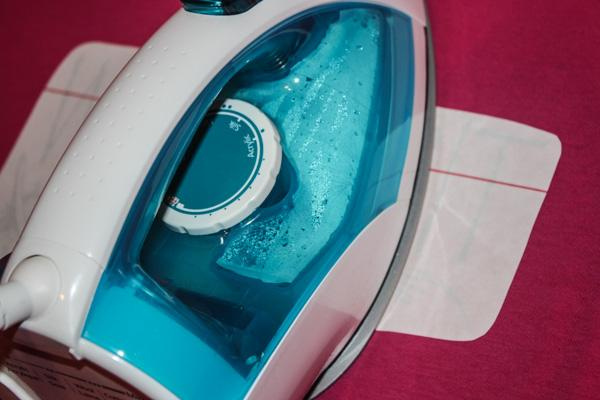
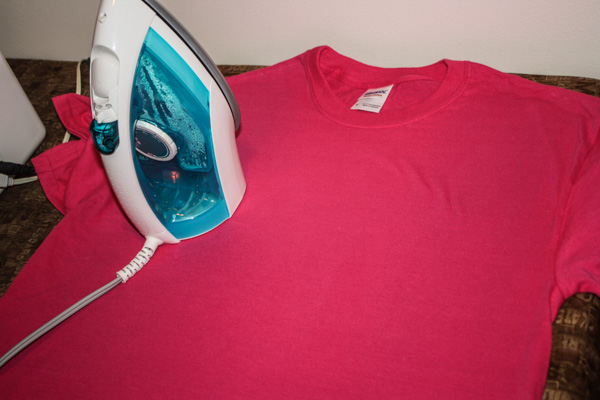
Pre-heat your iron to the cotton setting with no steam.
Per the instructions that come with the paper, you want to use a smooth, hard ironing surface that is NOT an ironing board. Place your pre-ironed pillowcase on this surface and then place your t-shirt on your pillowcase.
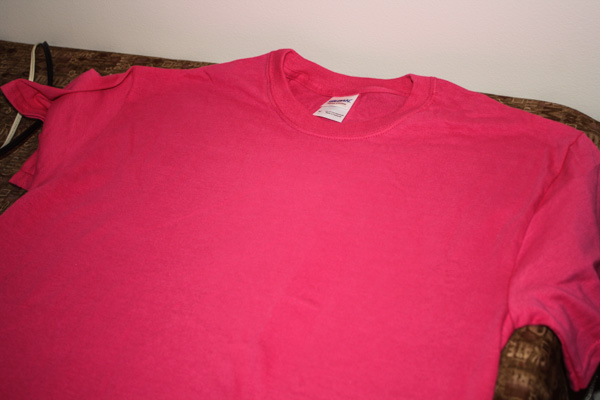
Iron your t-shirt so you have a nice smooth surface to work with.
Place your design on the shirt, being careful to place it exactly where you want it to show up on the shirt.

Using firm pressure, place the iron on each part of the design for 20 seconds lifting the iron completely to move it to the next spot. Once you do the whole design once, turn the iron in a different direction and repeat. This will prevent getting spots where the iron vents are and helps apply the design more firmly.
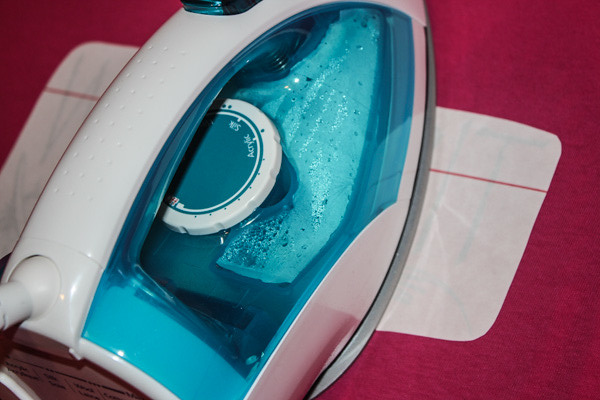
Once the design has cooled completely (about 2 minutes), pull the backing paper off of the design.
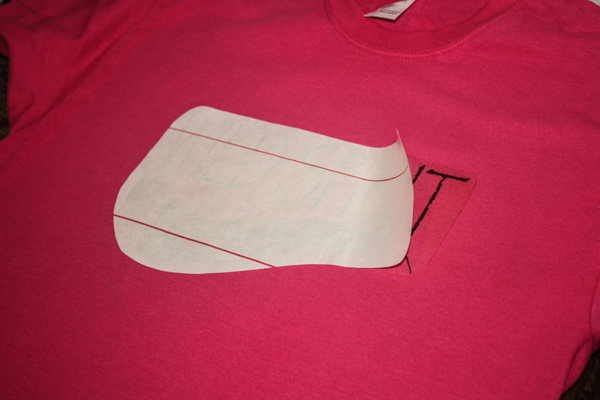
Your shirt is done! This method leaves a glossy version of the design behind. If there are spots that are whiteish, you can put the backing paper back on exactly and re-iron, just remember to let it cool completely to get that glossy look.
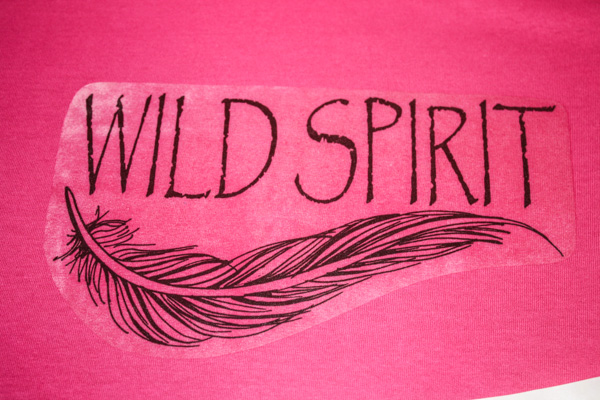
If you want more of a matte finish to the design, instead of pulling the design off when it is cool, you will want to pull it off while it is piping hot. You literally iron the design and pull the paper up immediately. If it cools at all, this method won’t work right. It’s scary at first, but works great! There will be a little ink left on the backing paper with this method.
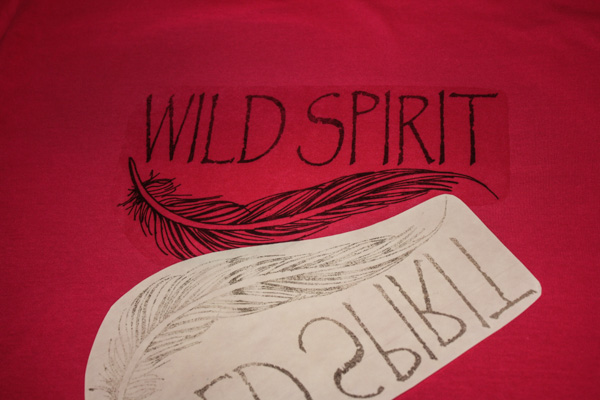
You are left with a matte version of the image and I have found that I have no issues with washing when I use this method. The flash I used to take this picture makes the edges show up more than they do in real life, I promise!
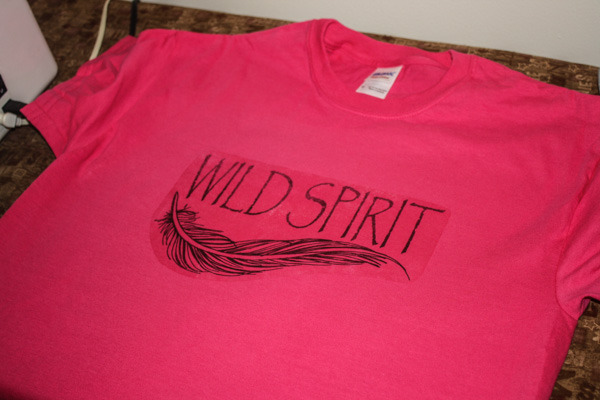
That’s it! Please feel free to contact me directly if you have any questions about applying black text to a color shirt (rachel at scrapendipitydesigns dot com). This is a great way to get a screenprinted-like look for a fraction of the cost!
Happy ironing!
Rachel

