Posted on 4 Comments

Bee Creative Swap Blocks

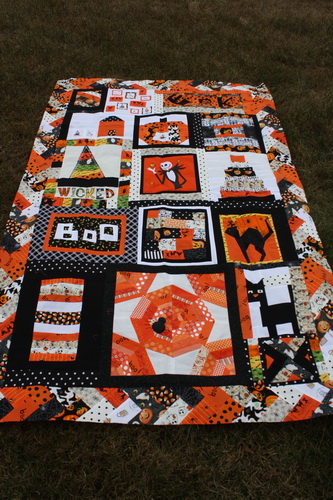
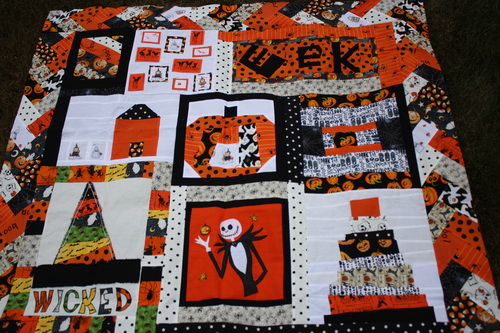
The last two months have been rough for me. My shoulder gave out and I had to do some physical therapy, then I needed an emergency root canal, so needless to say I haven’t felt very much like sitting in front of my sewing machine. Projects round here have been light because of that. I finally found some time and energy to do some sewing, so first on my list was finishing up some tardy Bee Creative swap blocks.

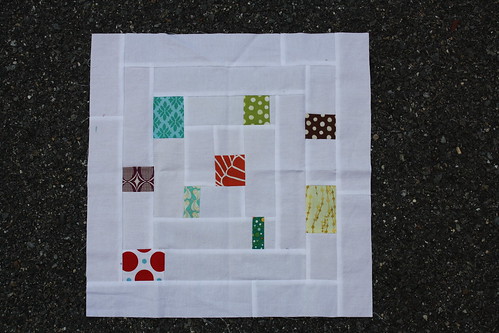
First up was the block for August, she asked for a log cabin block with little bits of color running through it. She used a sheet for the white, which I found to be a little harder to sew, but I think the overall block ended up quite nice.

IMG_0730

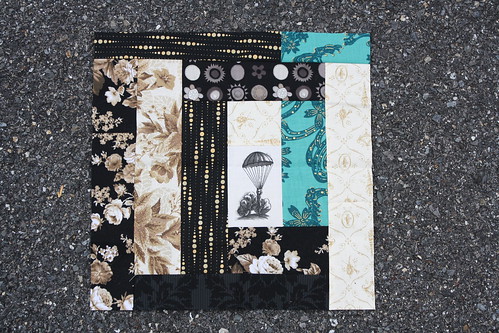
The second block was for September. She asked for a fussy cut center and a standard log cabin block. Unfortunately I ended up cutting my strips a half inch larger than I had planned so my log cabin blocks looked a little weird, but I hope she is able to use it anyway.

IMG_0732

Happy Quilting!
Rachel

Posted on 1 Comment

Funky Neighborhood Swap

Recently I was the hostess for a Funky Neighborhood swap. This idea was born out of the Funky Chicken swap. Members had about 3 months to sew up blocks and mail them to me. There were about 30 members, some made as little as 6 blocks, others made as many as 48. It was a bear to swap the blocks, but I did well being only one block short in the end!

I wanted to make a bunch of blocks like I did for the funky chicken swap so I could make a lap size quilt, but unfortunately time got away from me, so I was not able to make that many. I am very happy for the blocks I did get though.

IMG_0431

I am not sure how I am going to make these into a quilt, I have a few house type fabrics that I was going to use for more blocks, so I will probably incorporate those. I probably won’t get to this one for a while since I don’t have an inspired idea right now.

Cheers!
Rachel

Posted on 2 Comments

Finished Chicken Top

A while back I showed you all my funky chicken swap blocks laid out ready to be sewn together. I never showed the full finished top, so here it is!

IMG_0415

IMG_0416

IMG_0418

I was going to do a bunch of embroidery on it, but I wasn’t as inspired to do so as I thought I would be, so I just left what I did do and I am just going to finish it as is.

Happy Quilting!
Rachel

Posted on 1 Comment

Bee Creative Halloween Quilt Top

As I told you earlier, I recently put together my Halloween top that the girls from my Bee Creative swap made for me. It was like a puzzle putting all the blocks together. I didn’t give them any direction on the size of the blocks, so I had all different sizes. I laid them out on the floor and moved them around until I liked the look. Then I added a little extra fabric here and there to make everything fit.

When I was done putting it all together, I felt like it needed something more, so since I have a lot of fabric left I wanted to try a border. I went for a braided border because it really shows off the leftover pieces of Halloween fabric. This was the first time I ever tried a braided border, and it was easier than I thought it would be. I used a tutorial from Quiltville. I cut my pieces 2.5 by 4.5 inches, which made a 4.5 inch border.

IMG_0408

IMG_0411

IMG_0412

I am totally in love with this top, once it is totally finished it will probably hang in my hallway.

Happy Quilting!
Rachel