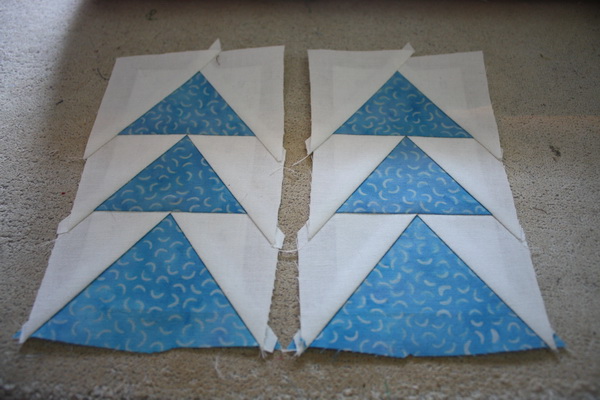
Today I am going to talk about a little known form of paper piecing. I do not claim to be the originator of this method in any way, shape, or form. I first saw the method demonstrated on the Twiddletails website when I jumped into her Geese in the Forest paper piecing quilt pattern. I have shown my progress on this quilt here before, but I am enamored with this quilt.
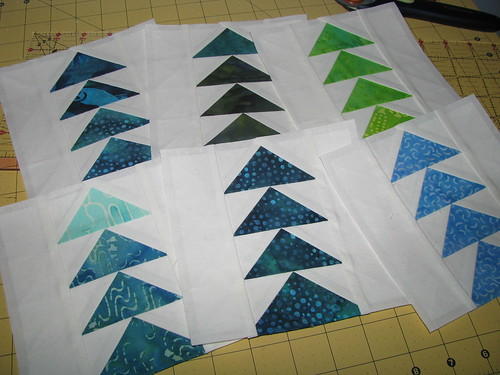
I am not sure if she is the originator of this paper piecing method, but this is how I do all of my paper piecing now. Even my Dear Jane blocks get done in this method. I love it!! I am going to do a tutorial for you today. My method is slightly different from the tutorial I saw on Twiddletails. I hope you like it enough to give it a try as it’s really not that hard, and you will discover so many benefits over the traditional way of paper piecing (which I will point out as we go).
Before you get started, you need freezer paper. You can find this at the grocery store in rolls. That is what I used when I started, but then I discovered this stuff:

This is freezer paper that is cut into sheets that fit in your printer. In my tutorial I used the rolls because I didn’t have any of this on hand when I was taking the pictures (a few months ago actually). But let me tell you, this pre-cut stuff is well worth the slightly added cost. Trying to tame the curled paper to fit in your printer is no treat. We do have this in the store of course, C. Jenkins Freezer Paper, and it is 10% off retail right now.
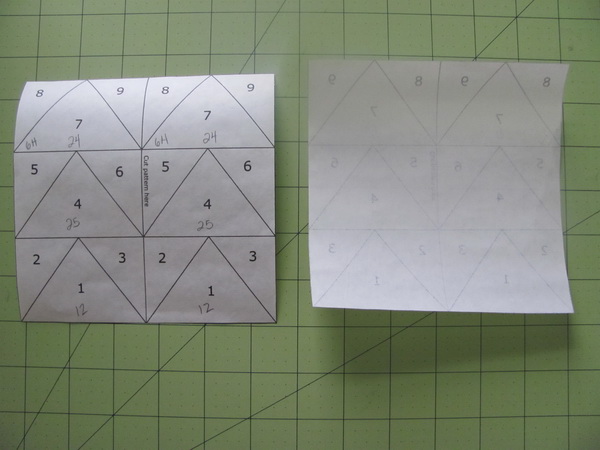
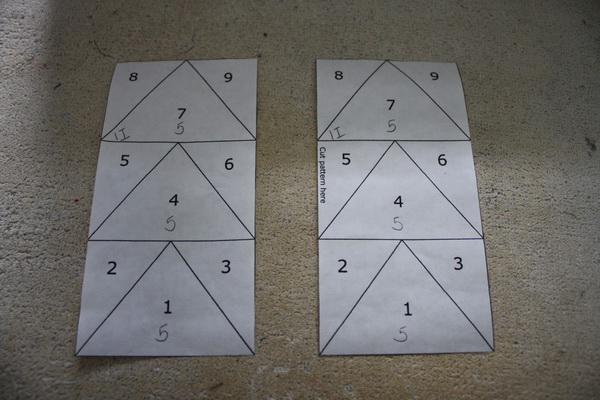
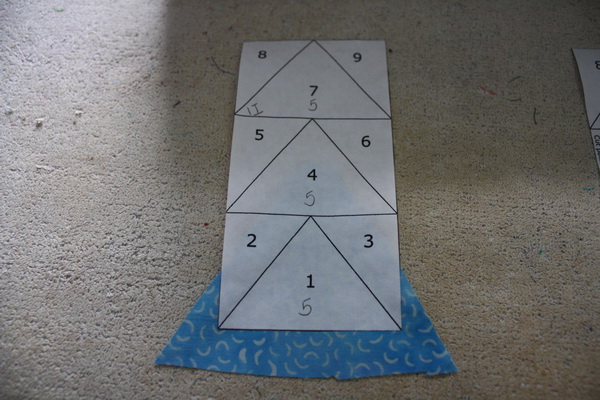
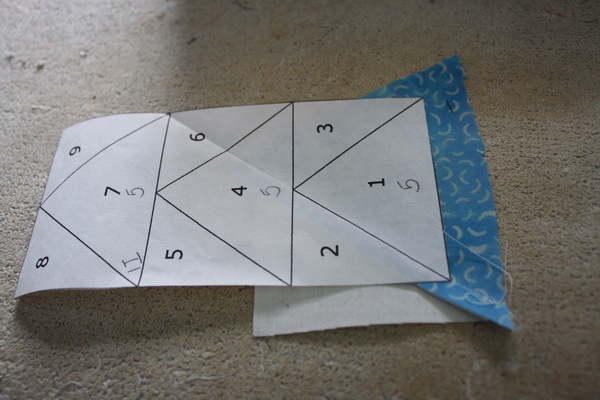
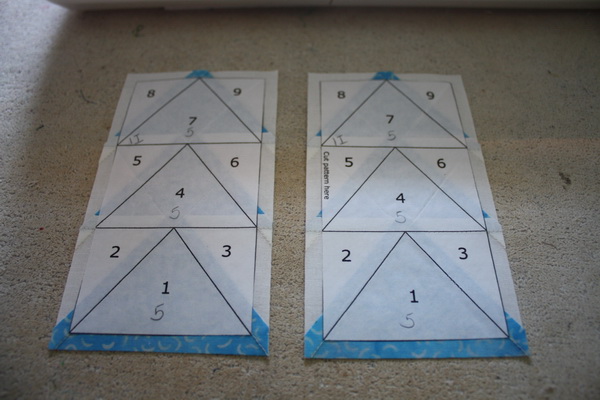
Once you have your freezer paper, you will want to print your pattern right on there. Be sure to print on the papery side, not the shiny side. Any ink-jet printer will work (laser printers will work too, just use Google to find directions), as the papery side is just like normal paper. If your block is directional, please remember that your block will be a mirror image of what is printed, so if the pattern has not already done it for you, you may need to use an image software to flip your design before printing. Once printed, cut the pattern out on the seam line. Follow your pattern instructions to determine where else to cut, you are not cutting out each individual piece, just the blocks that will be paper pieced together.
Now I pick out my pieces of fabric for the block, I usually rough cut the shapes of each piece leaving a generous seam allowance.
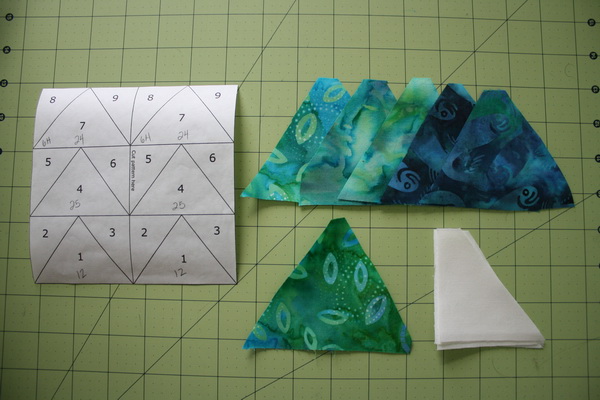
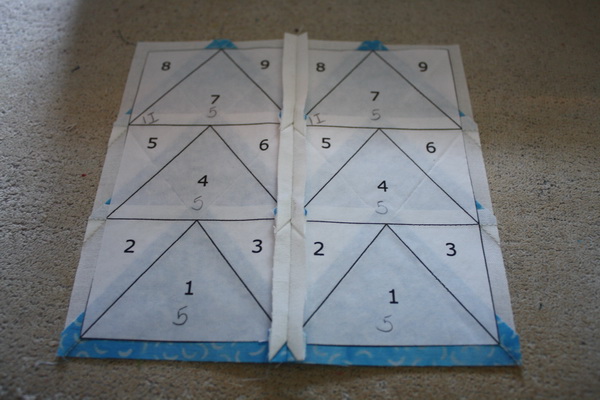
You can see that I have cut down the line in the middle of the block. This is specified in the instructions for the block. Some blocks will have no extra cuts, some will have a few, just be sure to follow your pattern.
In these pics you can see that I have hand written numbers on the pieces. This corresponds to the fabric I will use. You certainly don’t have to do this part, but it does make it a lot easier to keep everything in line while you are piecing. The printed numbers are for the actual paper piecing, they will tell us what order to sew in.
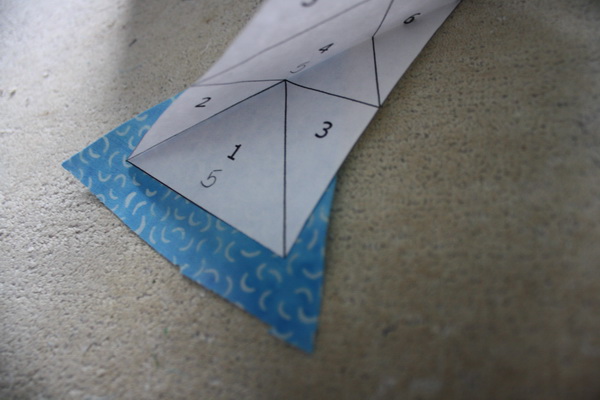
Take your fabric piece number one, and lay it right side down under spot number one. The wrong side of the fabric should be touching the freezer paper. Make sure to leave at least a 1/4 inch around all the sides. Iron the freezer paper to the fabric. Try to only iron in the number one spot, it will make doing the rest of the block so much easier.
Fold along the line between the number one and number two spot. You should be able to see your lines easily through the back of the freezer paper.

Pick your fabric piece number two up.
This part is where we come across one of the benefits of this method of paper piecing over traditional paper piecing. With regular paper piecing, you have to place the piece of fabric on the opposite side of where it is going end up, so it is kind of a guess as to the size of the piece of fabric you need, especially with something like triangles. This can be such a waste of fabric in the long run. With this method, the piece you are filling is folded back to the right spot, so you can hold your piece up to the light and line it up perfectly. This allows you to cut pieces that are close to the correct shape and waste less fabric.
Place piece number two behind piece number one with right sides together. You can see where piece number two is folded in front, and the fabric itself is placed perfectly to fit it. We will be sewing along the folded edge of the freezer paper.
You can start sewing at the beginning of the fabric, and sew right along the edge of the folded edge of the freezer paper (do not sew through the freezer paper, just right next to it).
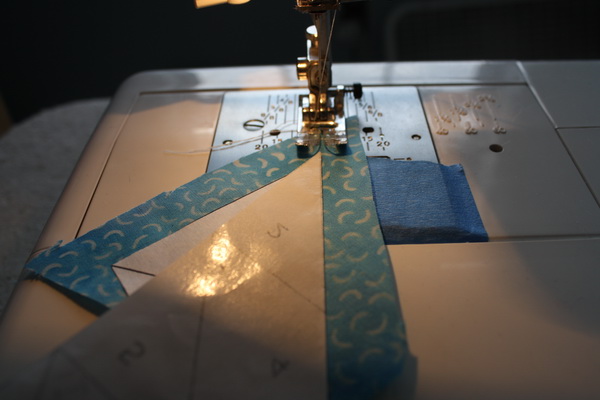

This is where we have another benefit of this method over traditional paper piecing. You do not have to stop when you reach a line. Since we are not sewing through the freezer paper and are folding the freezer paper back, there is nothing in the way of our sewing. You start at the beginning of the two pieces and sew all the way to the ends of the fabric, you don’t have to stop at the end of the freezer paper, just continue the straight line off the fabric.
Because you are going to the end of the fabric, you can actually chain piece these blocks, you can see here I went to the end of my first piece and then slid my second one under the needle behind it.


This makes the blocks go much faster and is much easier than the “stopping at a certain line” method of traditional paper piecing.
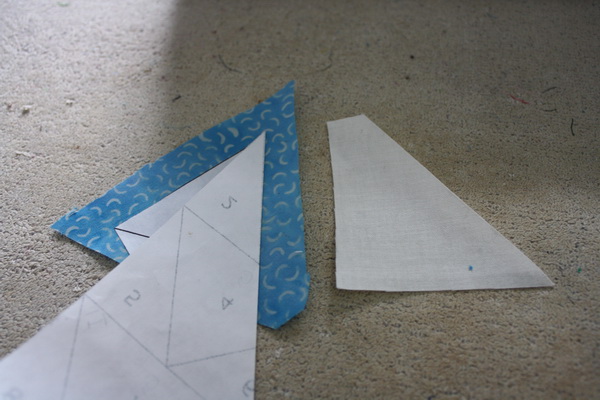
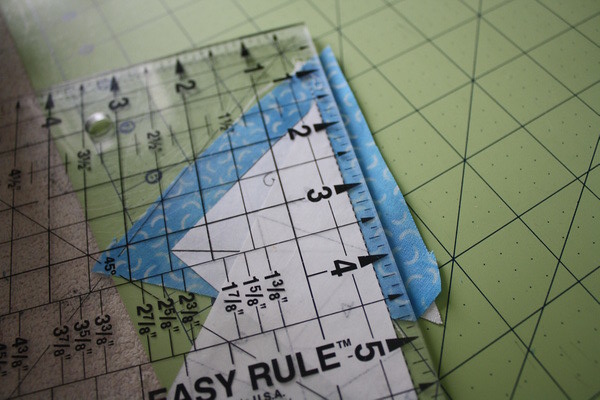
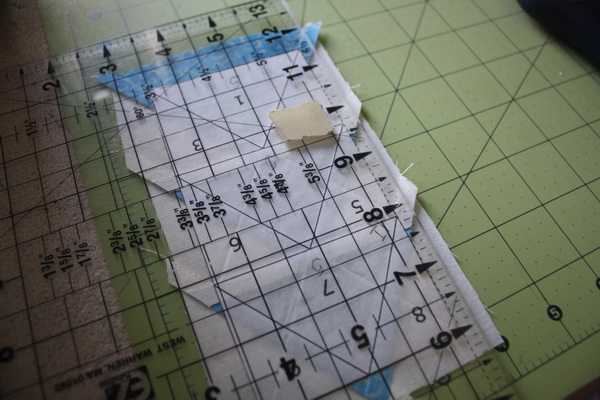
Once your line is sewn, you want to trim for your quarter inch seam. Just line the quarter inch line of your ruler up on the seam (folded edge of the freezer paper) and trim to a quarter inch.
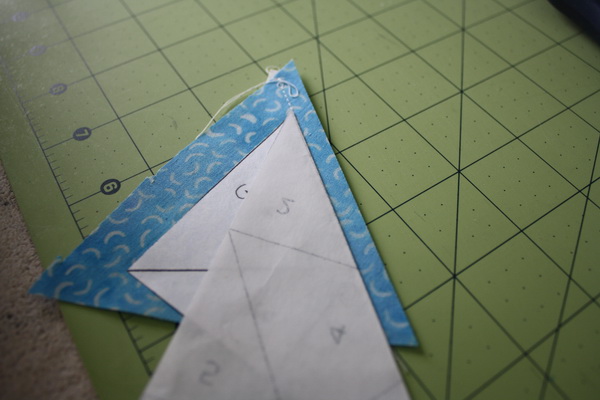
Unfold the freezer paper and fold the fabric for piece number two back into place. Iron the piece to the freezer paper, making sure to iron only in spots number one and two.
Next fold along the line between spot number one and three, and repeat all of the above steps. Continue on in this way for each spot.
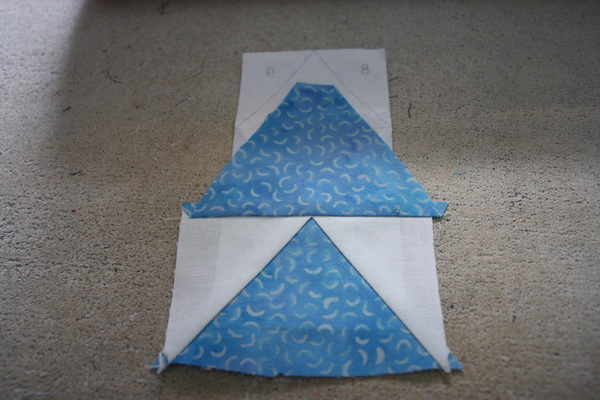
If you have multiple pieces for the block, you will need to join them together now.
First trim around all the block edges, lining the quarter inch line of your ruler up to the edge of the freezer paper. Trim your quarter inch seam.
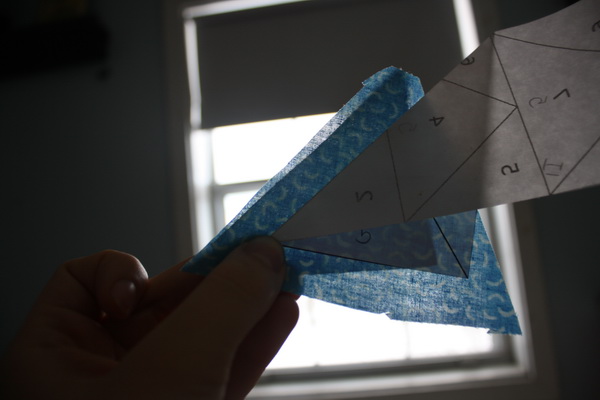
Now lay the two pieces right sides together, if you trimmed properly, you should be able to line the top and bottom of the pieces up and have accurate results. Pin the pieces together in the seam allowance.

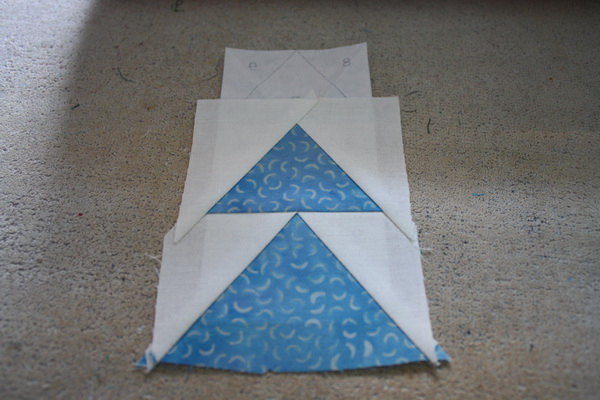
Sew right along the edge of the freezer paper. If everything was lined up right, you should also be sewing along the edge of the freezer paper on the bottom.

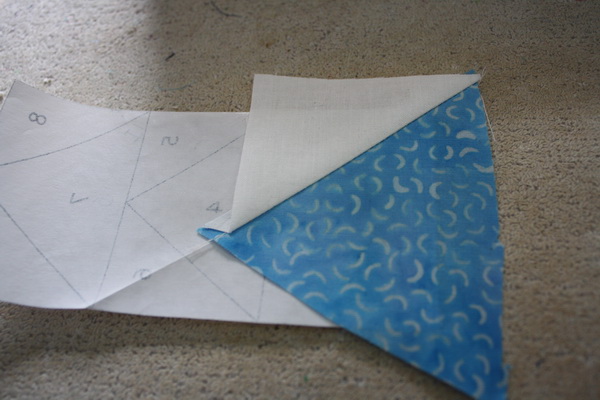
Open up the block and iron the seam. I ironed this one open since there is a lot of bulk.
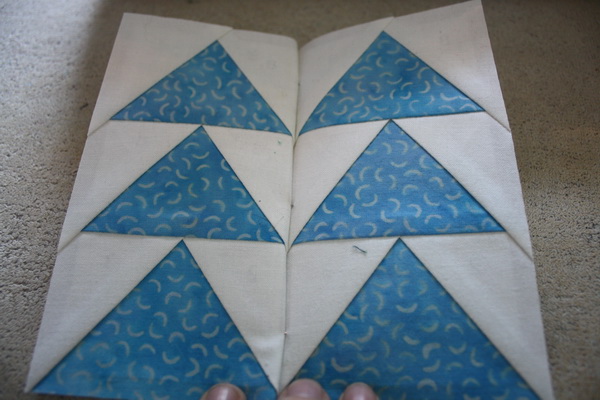
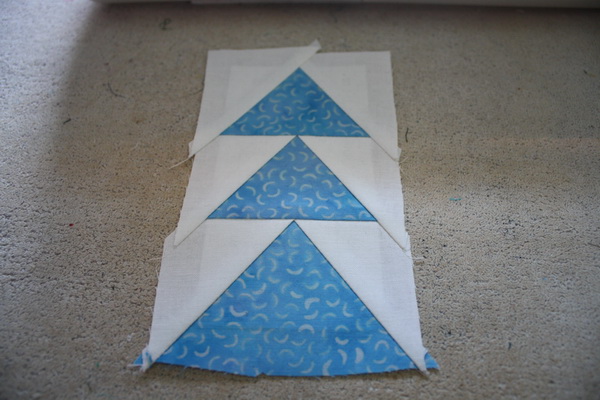
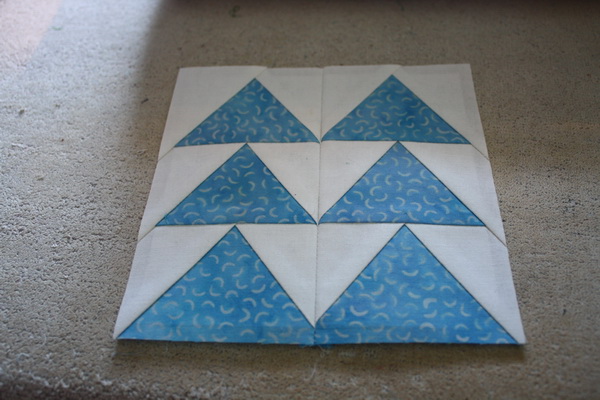
Turn your block over and admire your work.
The freezer paper on the back can now be peeled off. This is another added benefit to this method. With the traditional paper piecing, the stitches are sewn right through the paper, which can make getting the paper off hard and possibly stretch the block. With this method, there is nothing sewn through the paper so the freezer paper will peel right off of the back without distorting your block.
You may want to use Google to find a simple, free pattern for paper piecing. Any block that can be done with traditional paper piecing can be done with this method. I find this method to be so much easier than the traditional method and I think, once you try it, you will too.
Happy Quilting!
Rachel